 Save to Pinterest
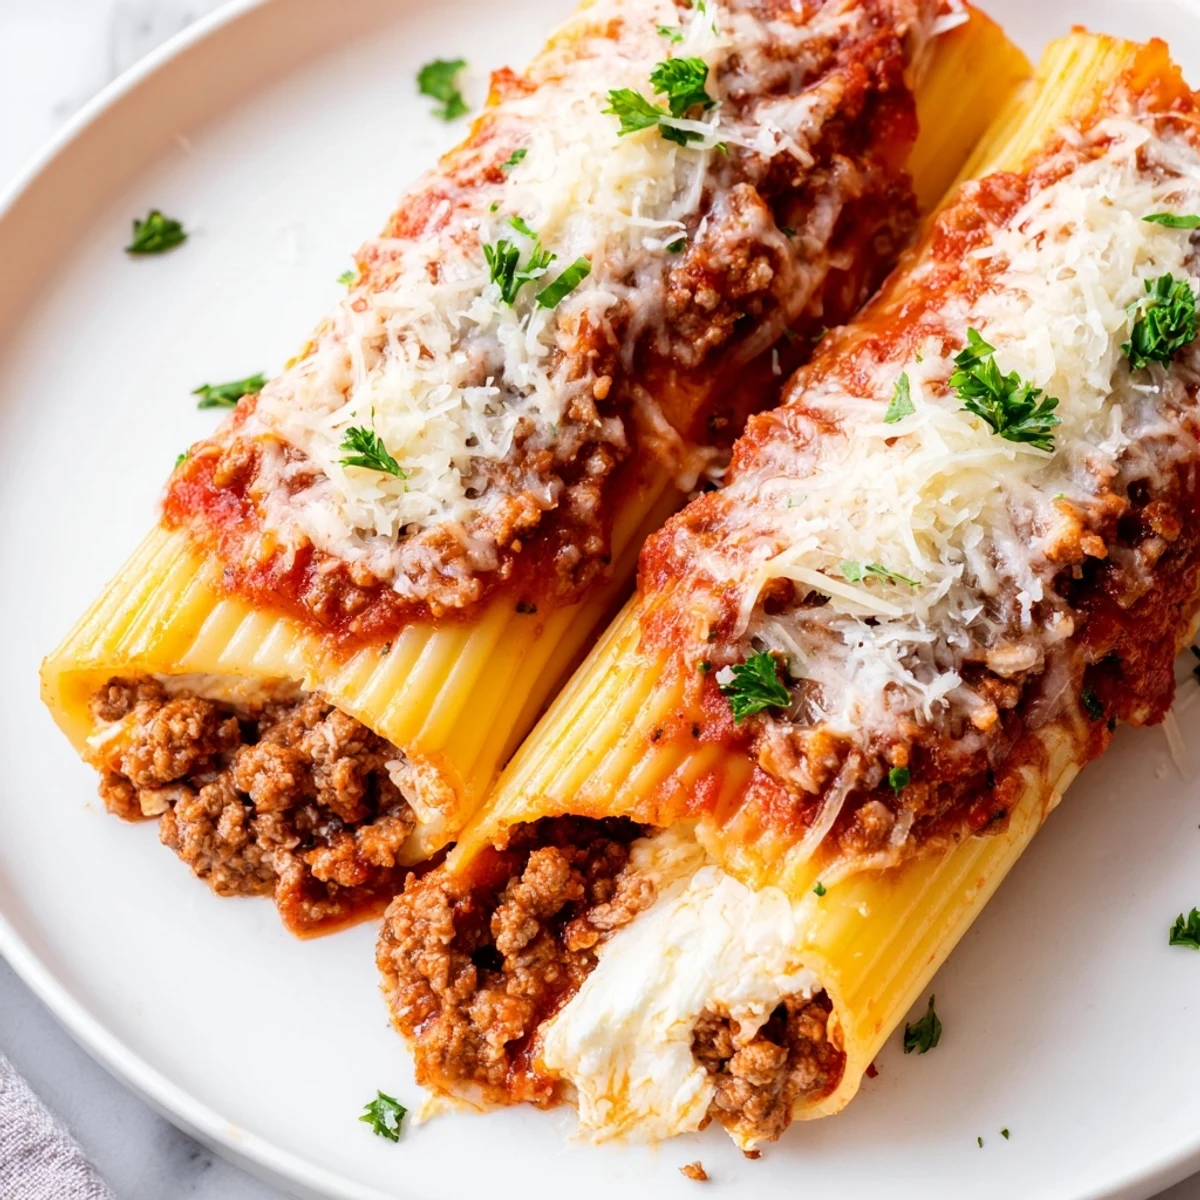
 These tender manicotti tubes are generously filled with a velvety blend of ricotta, mozzarella, and Parmesan cheeses, accented with fresh parsley and a hint of nutmeg. The stuffed pasta is nestled in a robust homemade meat sauce crafted from ground beef, crushed tomatoes, and aromatic herbs like basil and oregano. After baking until the cheese melts into golden perfection, this dish delivers the ultimate Italian comfort experience.
The smell of simmering tomatoes and garlic filled my tiny apartment kitchen during my first winter away from home. I had been craving something that felt like a Sunday dinner at my grandmother house, even though it was just a random Tuesday. This manicotti became my go-to comfort food during those lonely months, turning simple ingredients into something that made the whole building smell like an Italian restaurant.
I made this for my roommates during our first dinner party as adults, nervous about everything coming together at the right time. We ended up eating slightly later than planned because I refused to rush the sauce simmering step, and nobody minded one bit. That night turned into hours of talking around the table, long after the manicotti disappeared.
Ingredients
- 1 tbsp olive oil: Creates the foundation for your meat sauce and helps develop those deep caramelized flavors in the onion
- 1 medium onion, finely chopped: Provides the essential aromatic base that melds seamlessly with the tomatoes
- 2 garlic cloves, minced: Fresh garlic transforms the sauce from good to unforgettable
- 1 lb (450 g) ground beef: The backbone of your meat sauce, adding hearty texture and savory depth
- 1 (24 oz / 680 g) can crushed tomatoes: These provide the body and rustic texture that makes homemade sauce so special
- 1 (15 oz / 425 g) can tomato sauce: Smooths out the crushed tomatoes and adds concentrated tomato flavor
- 2 tbsp tomato paste: Intensifies the tomato notes and helps thicken the sauce beautifully
- 1 tsp dried basil: Brings that classic Italian herb flavor we all recognize and love
- 1 tsp dried oregano: Essential for that authentic Italian restaurant taste
- ½ tsp red pepper flakes: Optional but adds just enough warmth to make the sauce interesting
- 1 tsp sugar: Cuts the acidity of canned tomatoes and balances everything perfectly
- Salt & black pepper: Essential for bringing all flavors together
- 1 (15 oz / 425 g) container ricotta cheese: Creates that velvety, creamy filling that contrasts with the meat sauce
- 1½ cups shredded mozzarella cheese: Melts into gooey perfection inside every pasta tube
- ¾ cup grated Parmesan cheese: Adds salty, nutty depth to the cheese filling
- 1 large egg: Binds the filling together so it doesnt escape during baking
- 2 tbsp chopped fresh parsley: Adds fresh herbal brightness to cut through all the rich cheese
- ¼ tsp ground nutmeg: The secret ingredient that makes Italian cheese fillings taste professionally made
- 12 manicotti shells: The perfect vehicle for holding all that delicious cheese mixture
- 1 cup shredded mozzarella cheese: Forms that irresistible golden cheesy crust on top
- ½ cup grated Parmesan cheese: Creates a salty, crispy topping that everyone fights over
Instructions
- Build the foundation of your meat sauce:
- Heat olive oil in a large skillet over medium heat and sauté the finely chopped onion for 3-4 minutes until it turns translucent and fragrant. Add the minced garlic and cook for just one minute more until it becomes aromatic but not browned.
- Brown the beef to develop deep flavor:
- Add the ground beef to the skillet and cook until thoroughly browned, breaking it up constantly with a wooden spoon. Drain any excess fat before moving on to build your sauce.
- Simmer everything into a rich sauce:
- Stir in the crushed tomatoes, tomato sauce, tomato paste, basil, oregano, red pepper flakes, sugar, salt, and pepper. Let the sauce simmer uncovered for 15-20 minutes until it thickens beautifully, stirring occasionally to prevent sticking.
- Cook the pasta just enough:
- Boil the manicotti shells in salted water for 1-2 minutes less than the package instructions since they will finish cooking in the oven. Drain and rinse gently with cold water to stop the cooking process and make them easier to handle.
- Create the creamy cheese filling:
- Mix the ricotta, mozzarella, Parmesan, egg, parsley, nutmeg, salt, and pepper in a large bowl until completely smooth. The mixture should be thick and spreadable but not stiff.
- Fill every tube with cheese goodness:
- Use a piping bag, spoon, or zip-top bag with the corner snipped to fill each manicotti shell with the cheese mixture. Be generous but leave enough room to seal the ends without the cheese overflowing during baking.
- Layer everything for maximum flavor:
- Spread 1 cup of meat sauce over the bottom of your greased baking dish. Arrange the filled manicotti in a single layer over the sauce, then spoon the remaining meat sauce evenly over the pasta.
- Add the cheesy crown and bake:
- Sprinkle the remaining mozzarella and Parmesan over the top. Cover with foil and bake for 25 minutes, then uncover and bake for 10-15 minutes more until the cheese is bubbly and golden brown.
- Let it rest before serving:
- Allow the manicotti to rest for 10 minutes before serving. This crucial step helps the cheese set slightly so portions hold together better on the plate.
 Save to Pinterest
 This recipe became my signature dish during college, the one everyone requested for birthdays and celebrations. I still make it whenever I need to feel grounded and connected to those days of learning to cook in a kitchen that barely fit two people.
Making It Your Own
The beauty of this manicotti lies in its adaptability. Ground Italian sausage adds fantastic depth if you want to intensify the meat sauce, or try a mix of beef and pork for that authentic Italian-American flavor profile. For something lighter, ground turkey works surprisingly well especially if you add extra herbs and perhaps some sautéed mushrooms to compensate for the richness you lose with beef.
The Make-Ahead Magic
This dish was practically designed for busy schedules. You can assemble the entire manicotti up to 24 hours in advance, cover it tightly, and refrigerate until you are ready to bake. This actually improves the flavor as the sauce and cheese filling have time to become acquainted. If baking from cold, add about 10 minutes to the covered baking time.
Perfect Pairings
A crisp green salad with a bright vinaigrette cuts through the richness and adds freshness to each bite. Garlic bread is non-negotiable in my house because mopping up that extra sauce with crusty bread might be the best part of the entire meal.
- Simple roasted vegetables like broccoli or green beans balance the heaviness
- A medium-bodied red wine like Chianti complements the tomato sauce beautifully
- Keep dessert light since this meal is already quite satisfying on its own
 Save to Pinterest
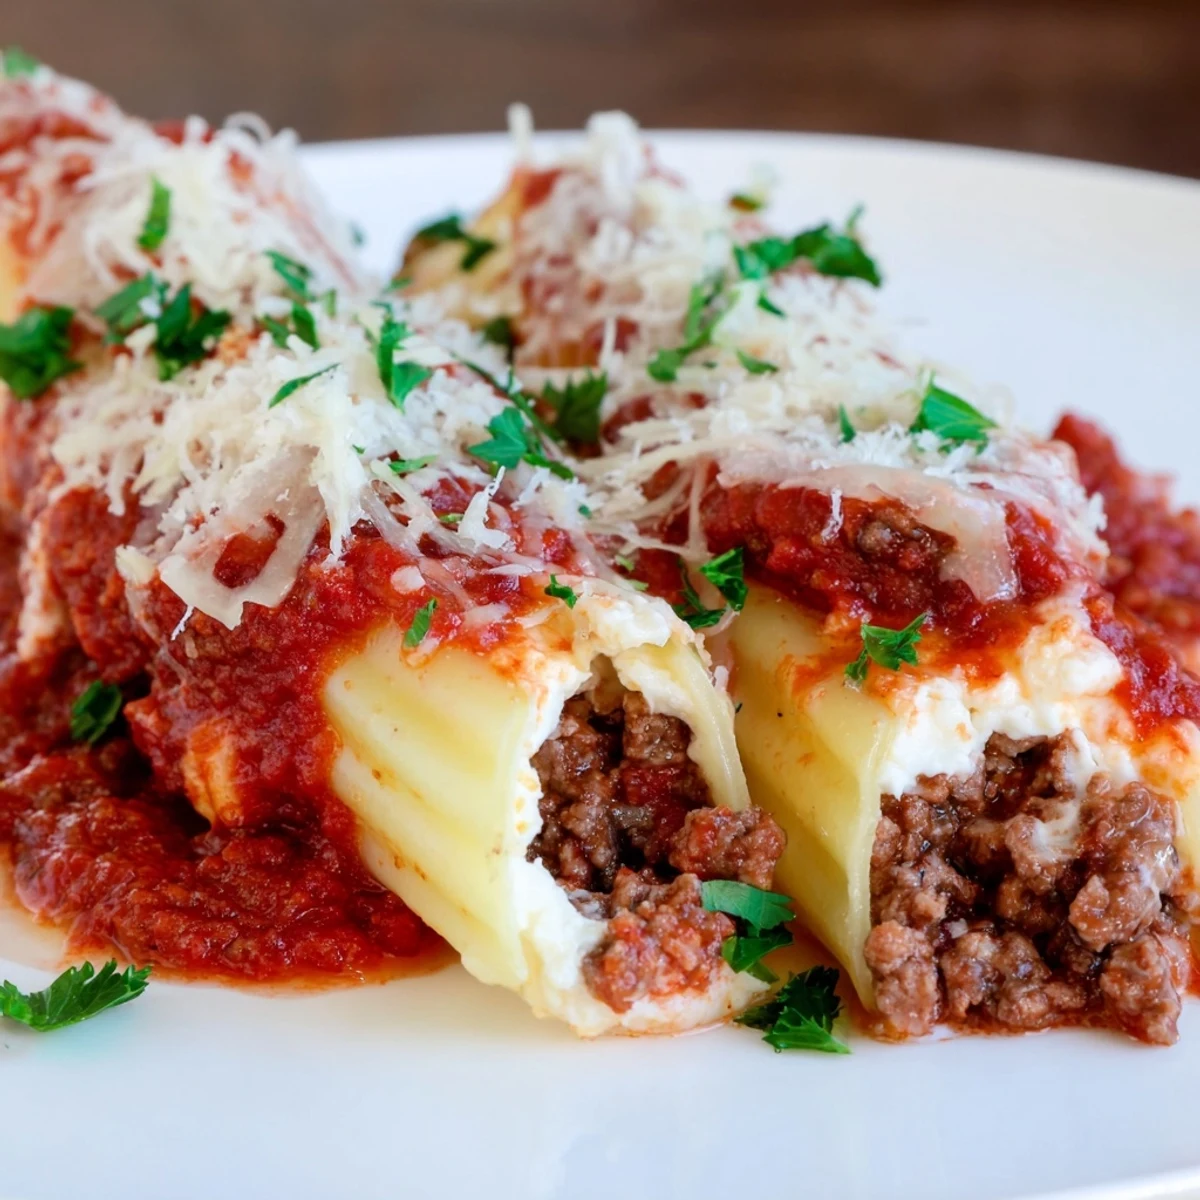
 There is something deeply satisfying about pulling that foil off a bubbling dish of manicotti, watching the cheese stretch as you serve it. This recipe has fed friends, family, and curious neighbors, turning ordinary dinners into memories.
Recipes Q&A
- → Can I prepare manicotti ahead of time?
-
Yes, you can assemble the entire dish up to 24 hours in advance. Cover tightly and refrigerate. When ready to bake, add 10-15 minutes to the covered baking time to ensure it heats through completely.
- → What's the easiest way to fill manicotti shells?
-
Use a zip-top bag with one corner snipped off or a piping bag to pipe the cheese mixture directly into the cooked shells. This method is less messy than using a spoon and helps fill the tubes evenly without breaking them.
- → Can I freeze this dish?
-
Absolutely. Assemble the manicotti in a freezer-safe dish, wrap tightly with plastic and foil, and freeze for up to 3 months. Thaw overnight in the refrigerator before baking as directed, adding about 15 minutes to the cooking time.
- → What can I substitute for ground beef?
-
Ground turkey, Italian sausage, or a plant-based meat alternative work well. For a vegetarian version, omit the meat entirely and add sautéed mushrooms, spinach, or bell peppers to enhance the sauce's flavor and texture.
- → Why do I cook the pasta less than package directions?
-
Par-cooking the manicotti shells ensures they don't become mushy during baking. The pasta will finish cooking in the oven as it absorbs flavors from the sauce, resulting in perfectly tender tubes that hold their shape.
- → What sides pair well with manicotti?
-
A crisp green salad with Italian vinaigrette, garlic bread or focaccia, and roasted vegetables like broccoli or asparagus complement this rich dish beautifully. For beverage pairing, try a medium-bodied red wine such as Chianti or Merlot.
