 Save to Pinterest
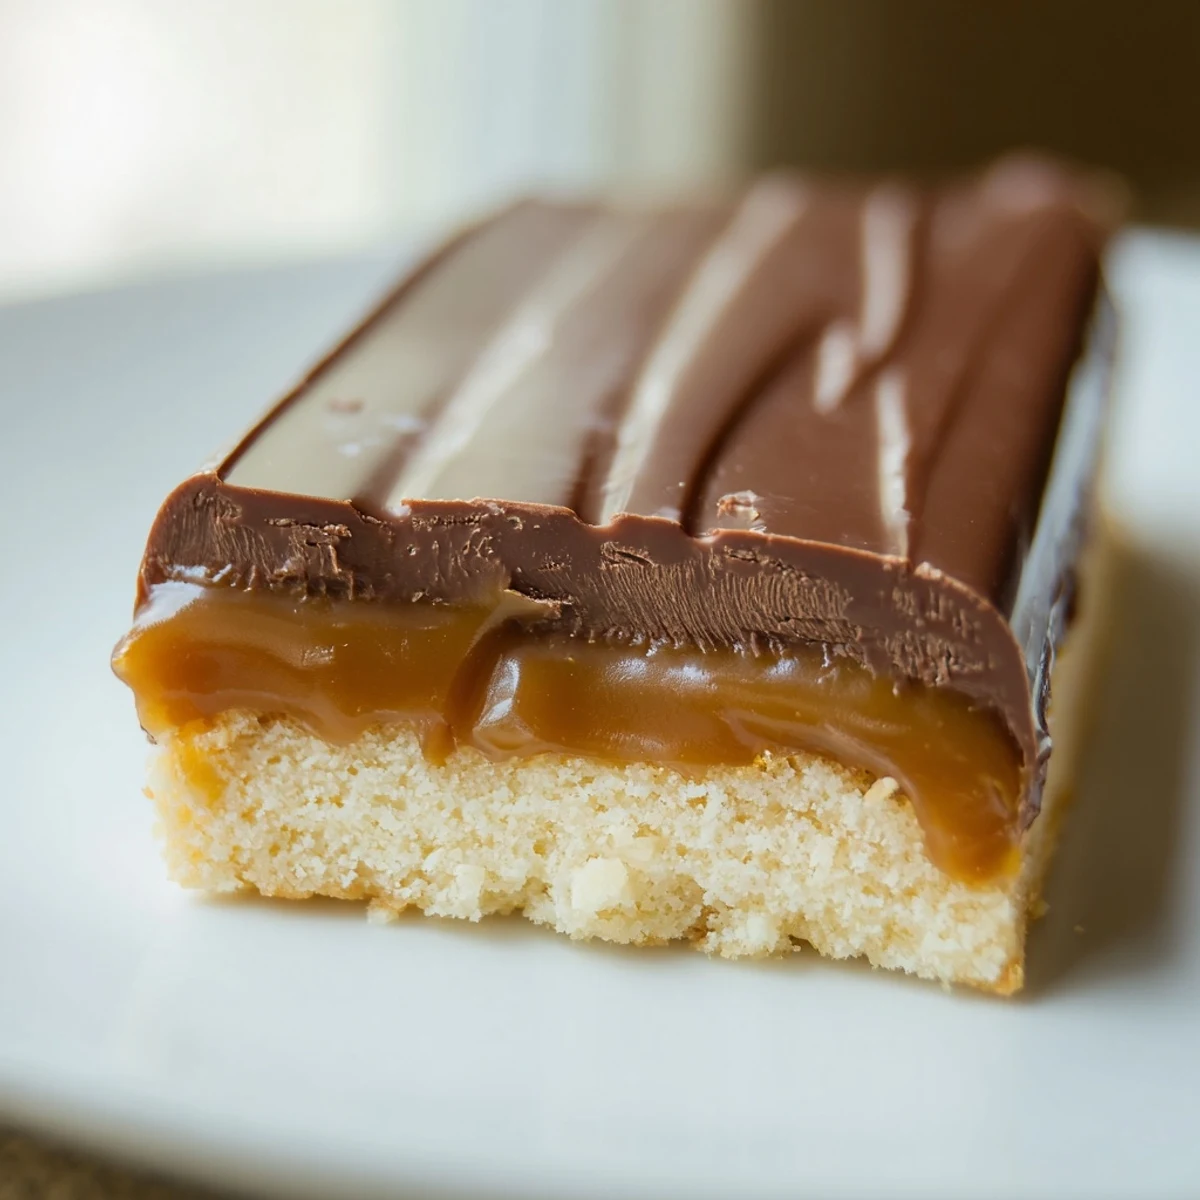
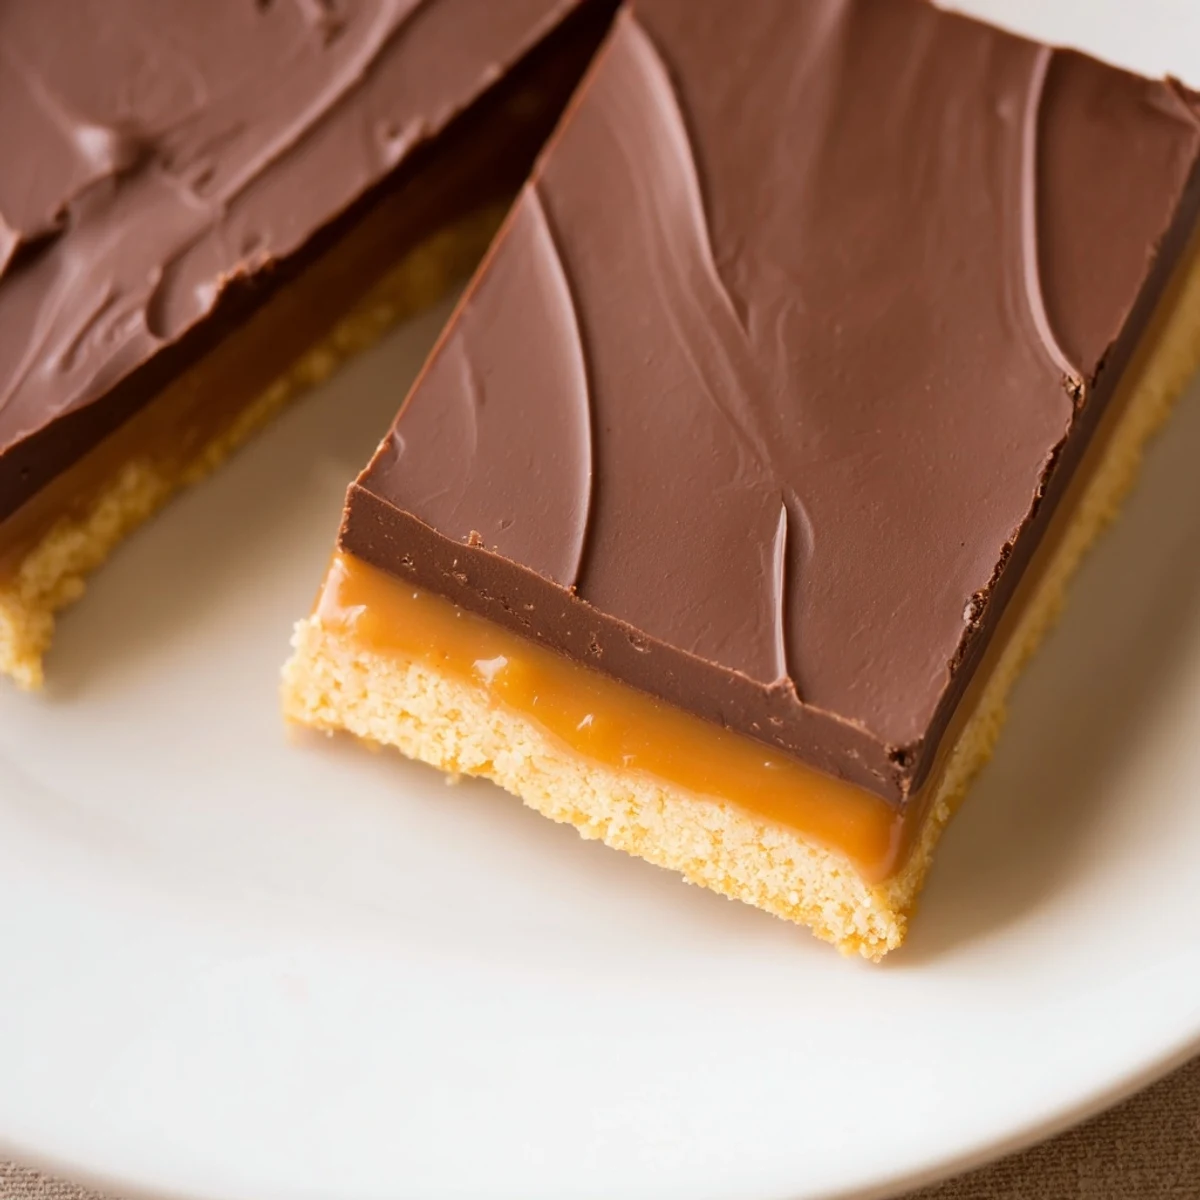
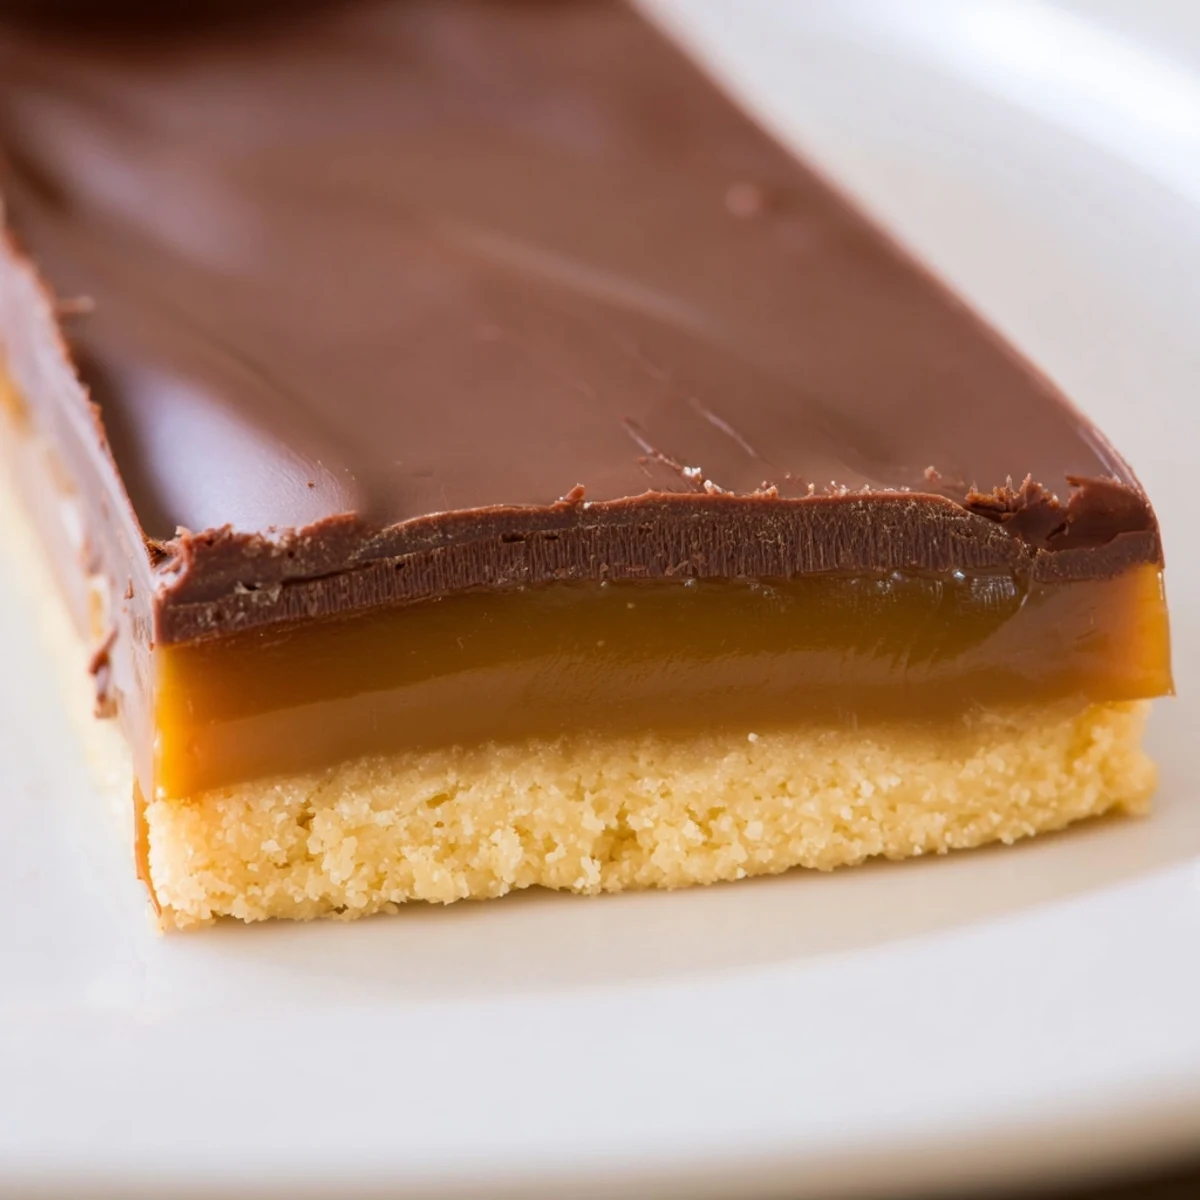
 These chocolate bars combine a buttery shortbread base with a smooth, rich caramel layer and a silky chocolate topping. The process begins by baking a crisp shortbread, then pouring on homemade caramel that cools to a luscious consistency. A final layer of melted semi-sweet chocolate completes the bars, chilled until firm. Ideal for sharing or savoring with coffee, these treats balance sweet and buttery flavors with a satisfying texture.
There's something almost magical about the moment caramel hits chocolate—that quiet sizzle when you pour the silky layer over a perfectly baked shortbread base, knowing what's coming next. I discovered these bars by accident one winter afternoon when a batch of homemade caramel threatened to crystallize, and I panicked by pouring it onto cooled shortbread I'd just made. Instead of disaster, I got something better: layers of butter-soft shortbread, smooth caramel that catches light like amber, and chocolate that snaps when you bite into it. My kitchen still smells like that day whenever I make them.
I made these for the first time to bring to a book club that was threatening to dissolve into awkward silence, and somehow chocolate bars became the conversation starter. Everyone arrived, saw the plate, and suddenly people who'd been checking their phones were debating the exact ratio of caramel to chocolate. That's when I realized these weren't just dessert—they were the small thing that reminded everyone why we liked each other.
Ingredients
- Unsalted butter (1 cup + 6 tbsp): Use the good stuff here—it's the foundation of both the shortbread and caramel, and cheap butter tastes like regret.
- Granulated sugar (1 1/2 cups total): Keep it separate in your measuring; one cup goes to the base, the other to the caramel where it transforms into liquid gold if you pay attention.
- All-purpose flour (2 cups): Don't sift unless your flour's been clumpy since 2019; just scoop and level it off.
- Heavy cream (1/2 cup): This is what makes the caramel silky instead of grainy, so don't skimp or substitute with milk.
- Semisweet chocolate (7 oz, chopped): Chopping it yourself helps it melt more evenly than chocolate chips, and you taste the quality more when there are only three layers.
- Salt (1/2 tsp + 1/4 tsp + optional flakes): Salt is the secret ingredient that makes people ask what you did differently, even though they can't quite name it.
Instructions
- Make the shortbread foundation:
- Cream butter and sugar together until it looks almost fluffy—this usually takes 2-3 minutes with a mixer or about forever with a wooden spoon. Add the flour and salt, then mix just until it comes together into crumbly dough; overworking it makes the shortbread tough instead of tender.
- Bake until golden:
- Press the dough into your parchment-lined pan so it's even across the bottom, then slide it into a 350°F oven for 18-20 minutes until it's pale golden at the edges. Let it cool completely on the counter; this gives the caramel something stable to sit on.
- Cook the caramel:
- Pour sugar into a dry saucepan and turn the heat to medium, stirring constantly as it melts into liquid amber—this takes about 5-7 minutes, and your nose will tell you when it's ready because it'll smell like toasted sugar. Add the butter carefully, then slowly drizzle in the cream while stirring; the mixture will bubble up like it's angry, but that's normal.
- Cool and set the layers:
- Let the caramel rest on the counter for a few minutes, then pour it over the shortbread in an even layer and slide the whole pan into the fridge for at least 45 minutes. The caramel will firm up but still feel slightly yielding when you press it gently.
- Melt the chocolate topping:
- Chop the chocolate into small pieces, then melt it with the butter either in a double boiler or in the microwave using 30-second bursts and stirring between each one. The microwave version is faster and honestly just as good—just don't let the chocolate seize or it'll turn grainy and sad.
- Seal everything with chocolate:
- Spread the melted chocolate over the chilled caramel in an even layer, working quickly before it starts to set. Refrigerate for at least 30 minutes until the chocolate is completely firm to the touch.
- Cut and serve:
- Use the parchment overhang to lift the whole thing from the pan, then cut into 16 bars with a sharp knife warmed under hot water and wiped dry between each slice. Clean cuts make them look like something you bought from a fancy bakery.
 Save to Pinterest
 There's a quiet satisfaction in cutting through three perfect layers with one clean knife stroke, seeing the golden caramel sandwiched between the buttery shortbread and the chocolate snap. These bars taught me that sometimes the best things are the ones that look a little fancy but taste like home.
Variations to Try
Salted caramel is the obvious route—just sprinkle flaky sea salt over the caramel layer before you add the chocolate—but there's room to play here. Try dark chocolate for a sophisticated edge or milk chocolate if you're feeling sweeter, swap the semisweet for a mix of dark and milk, or even press crushed pretzels into the caramel before it sets if you like salt and crunch. The shortbread base is forgiving enough to welcome additions too: a handful of finely chopped nuts in the dough, a tiny pinch of vanilla, or even brown butter for a deeper, nuttier flavor. I've found that the best version is always the one you make twice, because the second time you know exactly what you'd change.
Storage and Make Ahead
These bars live happily in the refrigerator for up to five days in an airtight container, though honestly they rarely last that long in my house. You can also make them ahead and freeze them for up to two weeks—just let them thaw in the fridge for an hour before serving so the layers soften back to their proper texture. On hot days they're a little messier to eat than in winter, so if your kitchen gets warm, keep them chilled right up until serving time.
Why This Recipe Works
The magic is in how three simple components complement each other without trying too hard. The shortbread is tender and buttery, the caramel is silky without being cloyingly sweet, and the chocolate adds just enough richness to make the whole thing feel like more than the sum of its parts. Every element serves a purpose: the butter base won't crumble when you bite it, the cream in the caramel keeps it smooth, and the chocolate seal keeps everything tasting fresh instead of stale. This is the kind of recipe that works the same way every time once you understand how it's supposed to feel.
- Use room temperature butter so it creams properly and the dough comes together easily.
- Don't skip the cooling steps between layers—they're what let you get clean cuts instead of a melted mess.
- Wipe your knife on a damp cloth between cuts to get the chocolate edges clean and the caramel layer smooth.
 Save to Pinterest
 These chocolate bars are the kind of thing that proves you don't need complicated recipes to make people feel taken care of. Once you've made them once, you'll find reasons to make them again.
Recipes Q&A
- → What chocolate works best for the topping?
-
Semisweet chocolate provides balance between sweetness and richness, but dark or milk chocolate can be used to adjust flavor and sweetness.
- → How should these bars be stored?
-
Store the bars in an airtight container in the refrigerator for up to 5 days to maintain freshness and texture.
- → Can I make salted caramel versions?
-
Yes, sprinkle flaky sea salt over the caramel layer before pouring on the chocolate for a sweet-salty contrast.
- → Is chilling necessary between layers?
-
Chilling helps the caramel and chocolate layers set firmly, ensuring clean slices and proper texture.
- → What baking pan size is recommended?
-
An 8-inch square baking pan lined with parchment paper works best for even baking and easy removal.
