 Save to Pinterest
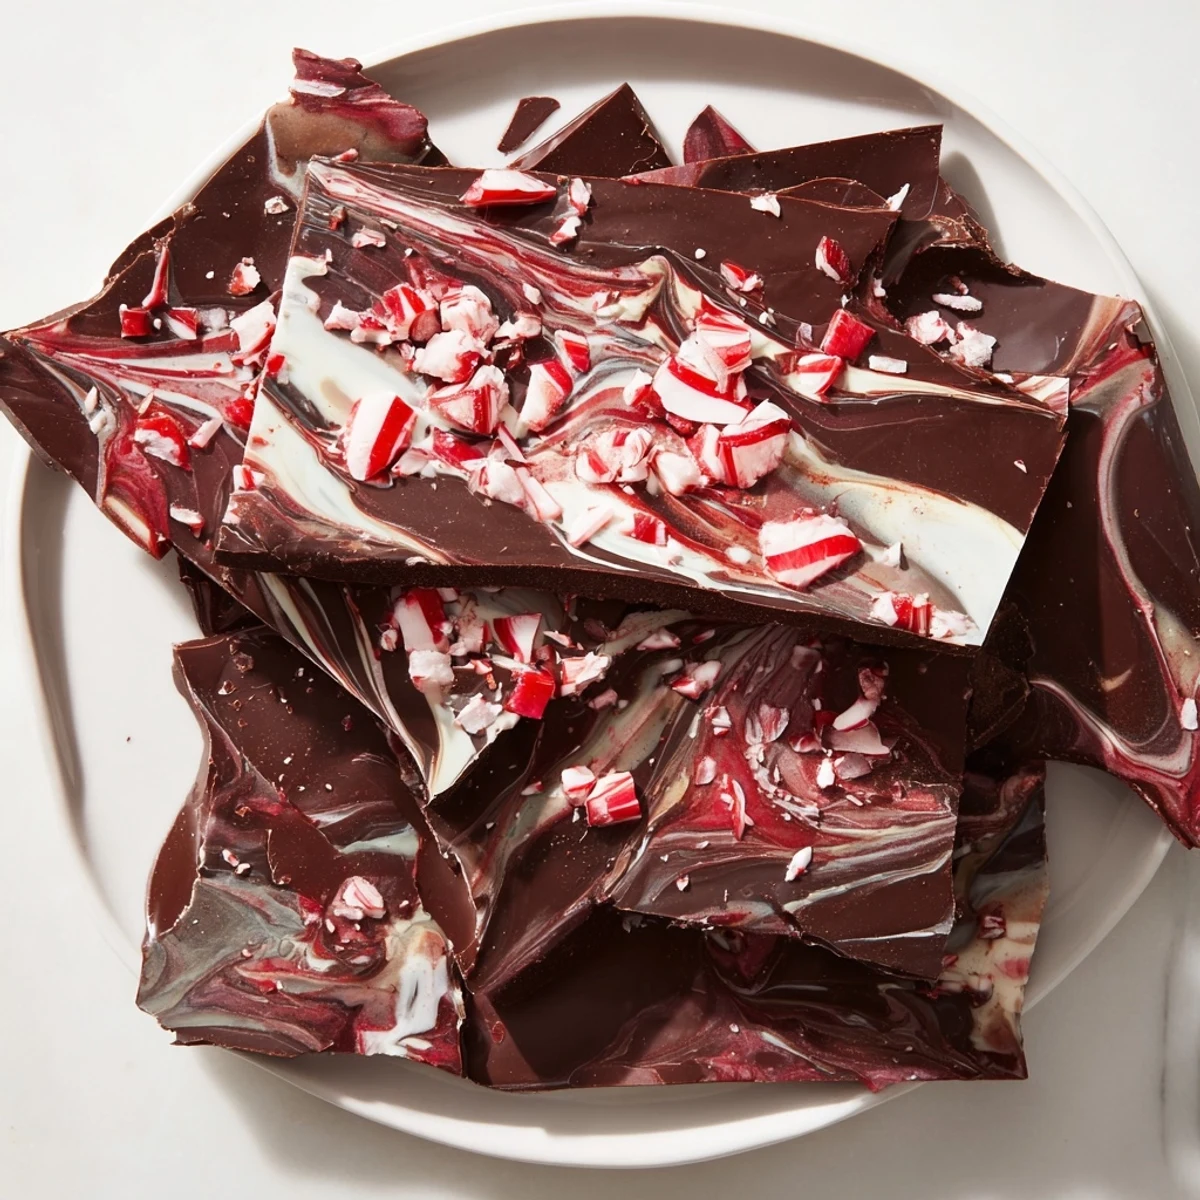
 This holiday favorite unites deep, rich dark chocolate with cooling peppermint extract and crushed candy for a crisp, refreshing finish. Melt the chocolate gently, combine with peppermint flavors, then spread, sprinkle, and chill until set. The treat offers a delightful contrast of smooth texture and crunchy toppings, ideal for sharing during festive occasions or as thoughtful homemade gifts. Storing in a cool place maintains its crisp freshness.
I still remember the December afternoon when my grandmother pulled out a tin of dark chocolate peppermint bark from her kitchen cupboard, the kind she'd been making for decades. The way it crackled between my teeth, the cool rush of peppermint against rich chocolate—it felt like the entire holiday season compressed into one perfect bite. Years later, I finally asked her for the recipe, and what struck me most wasn't the ingredients, but how simple it was. She'd been giving me this gift of elegance wrapped in the easiest possible method, and I'd never realized.
I made this for a holiday party last year, spreading the chocolate on a sheet pan while my daughter watched from the kitchen stool, her eyes following my every move. When I sprinkled those crushed candy canes across the dark chocolate and she gasped like I'd just performed magic, I understood why my grandmother loved making this so much. It's the kind of recipe that turns you into a magician in someone else's eyes.
Ingredients
- High-quality dark chocolate, chopped (340 g / 12 oz): This is where all your magic comes from—don't skimp here. I learned the hard way that a bar at the grocery store and a bar from a proper chocolatier taste completely different. Look for something between 60-70% cacao. The richer and more complex the chocolate, the more the peppermint will sing against it.
- Peppermint extract (1/2 tsp): Just a whisper of this, honestly. It deepens the peppermint flavor without overwhelming the chocolate. Real extract matters more than you'd think—the artificial stuff tastes like a medicine cabinet.
- Crushed peppermint candies or candy canes (70 g / about 1/2 cup): This is both your texture and your visual moment. I crush mine with a rolling pin in a sealed bag—there's something satisfying about it, and the pieces stay varied in size, which looks more inviting on the final bark.
Instructions
- Prepare your stage:
- Line a baking sheet with parchment paper. This simple step has saved me countless times—it's the difference between bark you can actually remove and bark that becomes one with your pan. Smooth out the parchment so it lies flat.
- Melt the chocolate gently:
- Place your chopped chocolate in a heatproof bowl set over a saucepan of simmering (not boiling) water. Stir it slowly and patiently, watching as the sharp edges soften into silky smoothness. If you'd rather use the microwave, do thirty-second bursts, stirring between each one—chocolate is delicate and burns faster than you'd expect. You're looking for that moment when it's just barely fully melted, glossy and warm.
- Whisper in the peppermint:
- Once the chocolate is completely smooth, remove it from the heat. Stir in the peppermint extract, just a small addition that transforms everything. The aroma that rises up is your reward.
- Spread into a canvas:
- Pour the chocolate onto your prepared baking sheet. Using an offset spatula or the back of a spoon, spread it into an even layer about 6 mm (1/4 inch) thick. Don't stress about perfection—the organic, slightly uneven edges are part of its charm.
- Crown it with candy:
- While the chocolate is still warm and slightly tacky, sprinkle your crushed peppermint candies evenly across the surface. Then, with a light hand and a gentle touch of your spatula, press them down just enough so they nestle into the chocolate. You want them to stick but still be visible.
- Let patience do its work:
- This is the hardest part. Let the bark cool at room temperature for thirty minutes—the chocolate will set but stay slightly flexible. Then transfer it to the refrigerator for another twenty to thirty minutes until it's completely firm. This two-stage cooling keeps the bark from being brittle.
- Break and store:
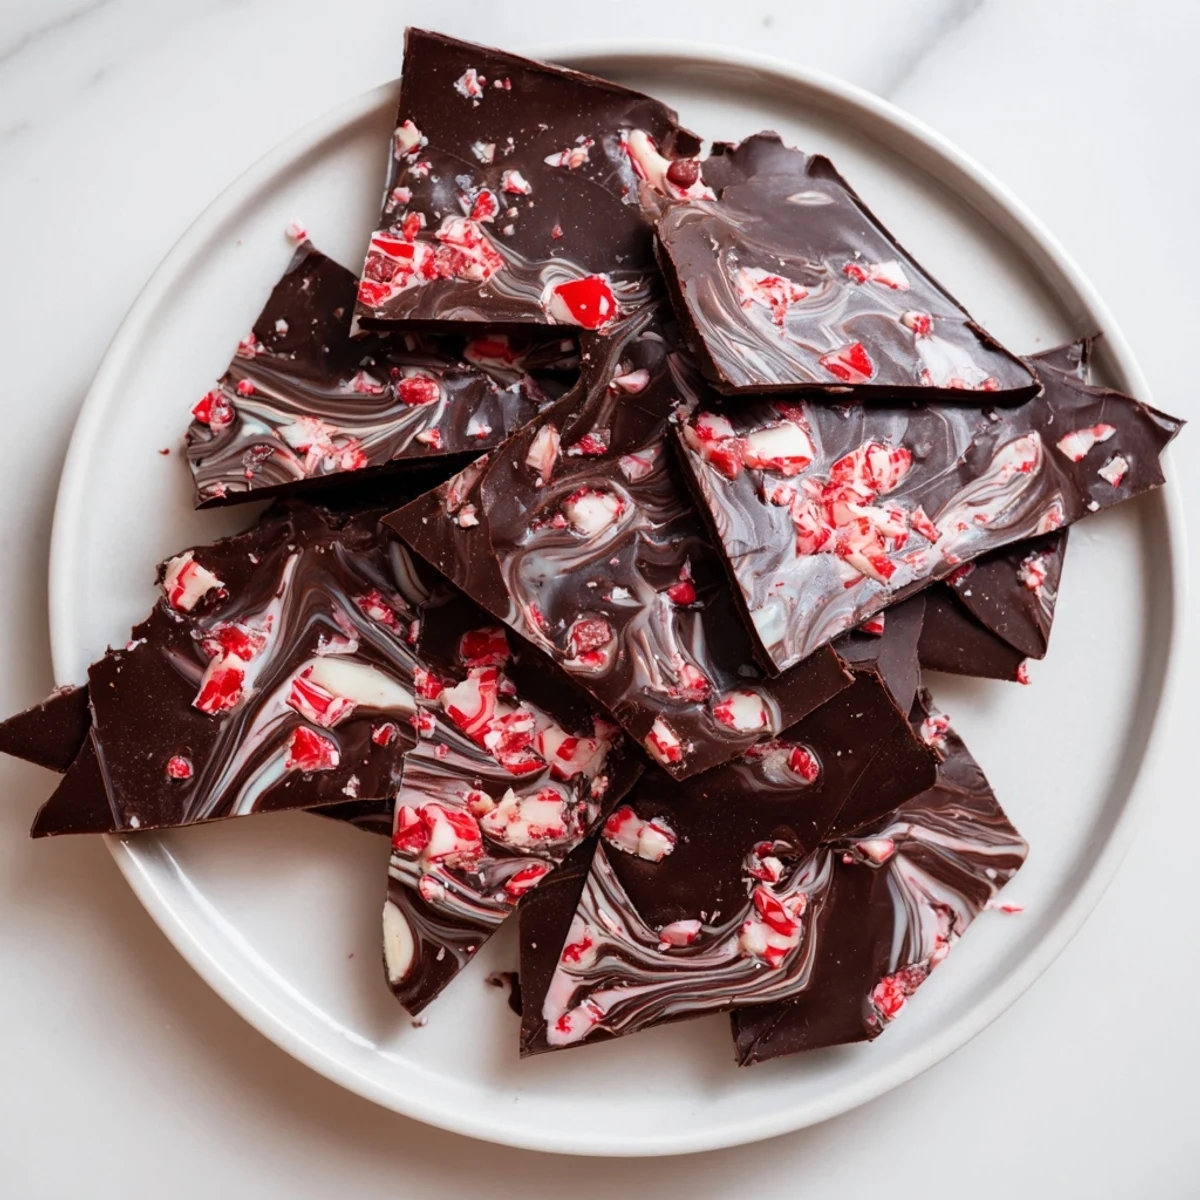
- Once fully set, break the bark into uneven, craggy pieces—irregular shapes look more appealing and feel more artisanal. Store in an airtight container in a cool place.
 Save to Pinterest
 There's a moment that happens, always the same, when someone breaks off a piece of this bark and closes their eyes as they taste it. That split second where chocolate and peppermint meet their senses and something small becomes memorable—that's what keeps me making this every season.
The Art of Chocolate Work
Melting chocolate is one of those kitchen skills that seems simple until you've scorched it once. The key is low, gentle heat and patience. Water is chocolate's enemy—even a tiny drop can seize the whole batch and turn it grainy. If you're using the double boiler method, make sure the bowl doesn't actually touch the water. If you prefer the microwave, it's genuinely just as good; the key is those short intervals and constant stirring. I've found that chocolate that melts smoothly at sixty percent power is chocolate that won't break.
Variations That Sing
Once you understand the base method, you can make this bark your own. A swirl of white chocolate melted and draped across the dark creates a marbled effect that's genuinely stunning—add it just after spreading the dark chocolate but before the peppermint candies. I've also tried adding a tiny pinch of sea salt right before the bark fully sets, which makes the chocolate taste even deeper and more sophisticated. Some years I've crushed some candy canes finer and some chunkier, giving different bites different textures. The beauty of bark is that it's forgiving and adaptable.
Gifting Your Bark
This is perhaps my favorite reason to make this recipe. Stack pieces in a pretty box lined with parchment paper, tie it with a ribbon, and you've got a gift that says you care without saying you spent a fortune or slaved for hours. I've learned that people value the thoughtfulness of homemade far more than they value the difficulty. Package it in a way that protects those beautiful pieces—broken bark is still delicious but loses some of its magic. Store-bought tins with a nice seal work perfectly, or get creative with boxes from a bakery supply. Whatever you choose, include a note about storage so your gift stays perfect.
- Keep bark in a cool place, and it'll stay fresh and snappy for up to two weeks
- Chocolate is sensitive to temperature changes, so avoid places near heating vents or direct sun
- If you notice any white bloom on the chocolate after storage, it's just cocoa butter crystals—completely safe and normal, though it means the chocolate experienced temperature fluctuations
 Save to Pinterest
 Make this bark because you deserve the kind of kitchen moment that smells like chocolate and peppermint, where something beautiful comes from just a few ingredients and your willingness to slow down. Your grandmother would be proud.
Recipes Q&A
- → How do I melt dark chocolate without burning it?
-
Melt chocolate gently over simmering water or in short microwave bursts, stirring frequently to avoid scorching.
- → Can I use white chocolate in this treat?
-
Yes, swirling melted white chocolate before adding peppermint candies creates a marbled effect and adds sweetness.
- → What is the best way to crush peppermint candies?
-
Place candies in a sealed bag and gently crush with a rolling pin or heavy object for uniform pieces.
- → How should I store this chocolate peppermint bark?
-
Keep it in an airtight container at room temperature or in the refrigerator to maintain crispness for up to two weeks.
- → Can this be made gluten-free and vegetarian?
-
Yes, using gluten-free ingredients ensures suitability, and all components here are vegetarian-friendly.
