 Save to Pinterest
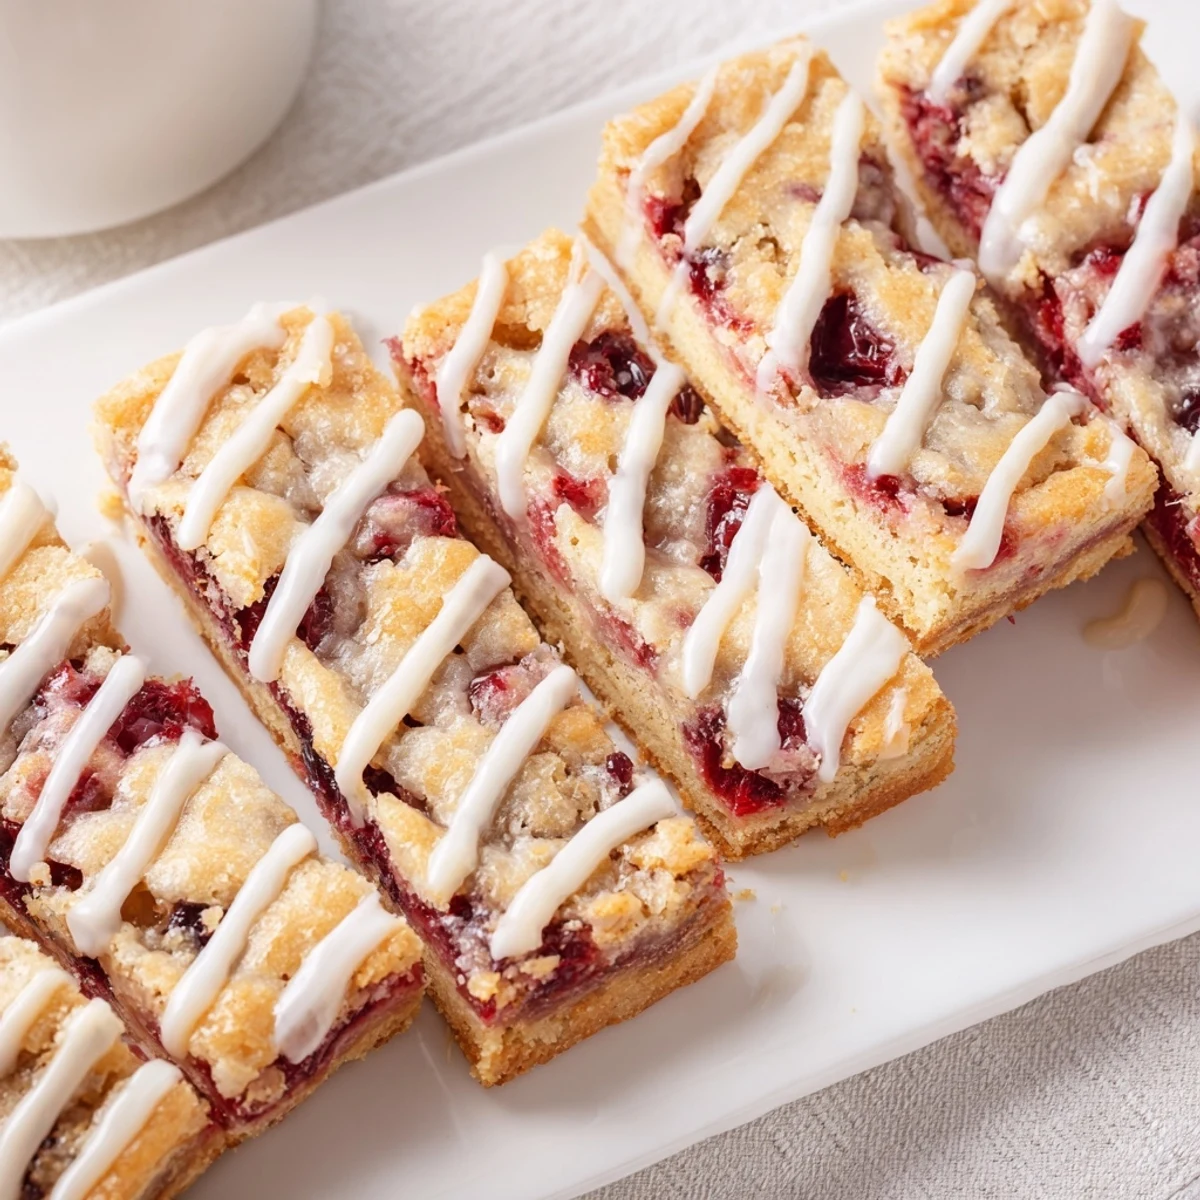
 These tender cherry bars feature a buttery shortbread-style dough split into two layers. The bottom crust provides a sturdy base, while dollops of remaining dough create a rustic, crumbled topping that lets the vibrant cherry filling peek through. A simple vanilla glaze adds the perfect finishing touch once baked.
The beauty of this dessert lies in its simplicity—canned cherry pie filling delivers consistent sweetness and texture, while the creamed butter and sugar create a dough that bakes up golden and tender. Perfect for potlucks, bake sales, or family gatherings.
The smell of almond extract always takes me back to my grandmother's kitchen, where she'd let me sneak tastes of vanilla frosting while she decorated cakes. I discovered cherry pie bars quite by accident one summer when I had extra pie filling and no energy for a full crust. Now they're my go-to when I need something impressive but actually effortless.
Last summer I brought these to a neighborhood potluck, and within ten minutes three different people had asked for the recipe. My friend Sarah admitted she ate three while hiding in the kitchen because she didnt want to share. Thats the kind of dessert that becomes legendary.
Ingredients
- Unsalted butter: Softened butter creates that tender, cookie-like base that melts in your mouth
- Granulated sugar: Sweetens the dough while helping it achieve that perfect golden edge
- Large eggs: Bind everything together and add structure to the bars
- Vanilla and almond extracts: The almond extract is optional but I highly recommend it for that bakery-style flavor
- All-purpose flour: Forms the foundation of both the bottom and topping layers
- Salt: Balances the sweetness and enhances all the flavors
- Cherry pie filling: The star of the show, bringing bright, fruity sweetness to every bite
- Powdered sugar: Creates a simple glaze that adds the finishing touch
- Milk: Thins the glaze to just the right drizzling consistency
Instructions
- Getting started:
- Preheat your oven to 350°F and grease a 9x13-inch pan or line it with parchment paper for easy removal later.
- Making the dough:
- Cream together the softened butter and sugar until fluffy, then beat in eggs one at a time followed by both extracts.
- Combining dry and wet:
- Whisk flour and salt separately, then gradually mix into the wet ingredients just until everything comes together.
- Building the layers:
- Press about two-thirds of the dough into the pan, spread cherry filling over it, then drop small spoonfuls of remaining dough on top.
- Baking to perfection:
- Bake for 30-35 minutes until lightly golden, then cool completely before adding the glaze.
- The finishing touch:
- Whisk powdered sugar with milk and vanilla until smooth, then drizzle over the cooled bars and let set before slicing.
 Save to Pinterest
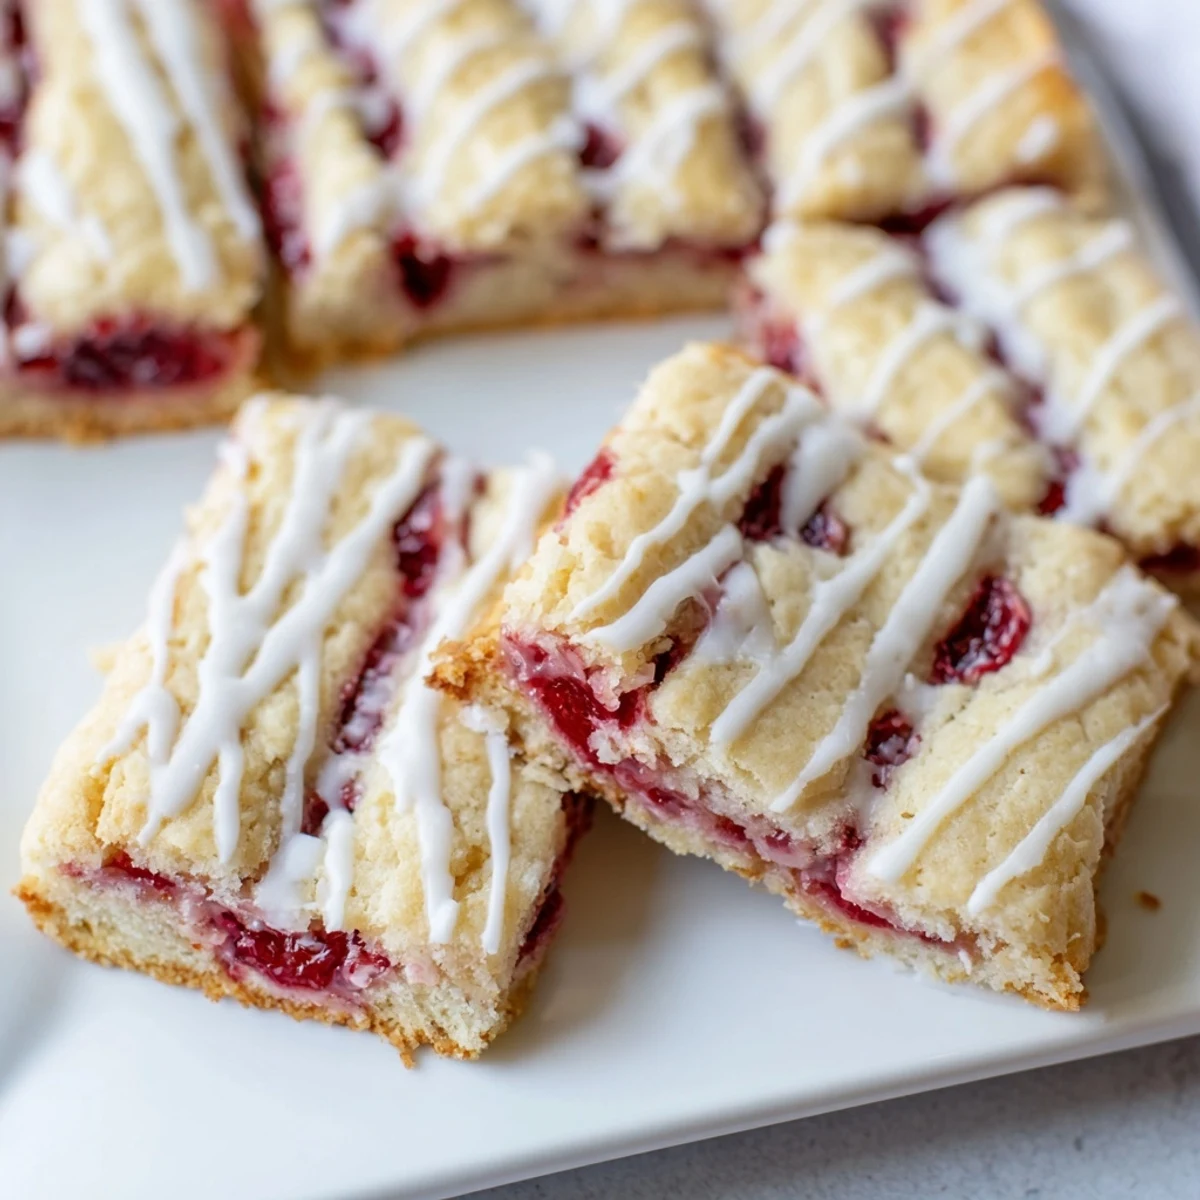
 My daughter now requests these for every birthday instead of cake. Something about that combination of buttery crust and sweet cherries just hits different, you know
Making Ahead
You can prepare the dough up to two days in advance and store it in the refrigerator. The baked bars freeze beautifully for up to three months, just glaze them after thawing.
Serving Suggestions
A warm bar with vanilla ice cream is pretty much heaven. They also pair wonderfully with a cup of coffee or cold glass of milk.
Easy Variations
Swap cherry filling for blueberry, apple, or even peach pie filling depending on the season. Add a sprinkle of sliced almonds to the topping for extra crunch.
- Try lemon extract instead of almond for a bright summer twist
- Mix a handful of white chocolate chips into the dough for extra indulgence
- Dust with cinnamon sugar over the glaze for a snickerdoodle vibe
 Save to Pinterest
 Hope these cherry pie bars become as beloved in your kitchen as they are in mine.
Recipes Q&A
- → Can I use fresh cherries instead of canned filling?
-
Yes, though you'll need to cook fresh cherries with sugar and cornstarch to create a thickened filling similar to canned pie filling. This adds extra prep time but allows you to control the sweetness level.
- → How should I store these bars?
-
Store in an airtight container at room temperature for up to 3 days. For longer storage, refrigerate for up to a week. The bars can also be frozen for up to 3 months—wrap individually and thaw at room temperature before serving.
- → Why does my dough seem too sticky to work with?
-
The dough should be soft but manageable. If it's too sticky, chill for 15-20 minutes. If too dry, add a teaspoon of milk. Temperature and humidity can affect dough consistency, so adjust slightly as needed.
- → Can I make these without the glaze?
-
Absolutely. The bars are delicious on their own. The glaze adds sweetness and visual appeal, but a dusting of powdered sugar or a simple sprinkle of coarse sugar before baking works beautifully as alternatives.
- → What other fruit fillings work well?
-
Blueberry, apple, strawberry, and peach pie fillings all work wonderfully. The buttery dough complements any fruit filling. Consider adding warming spices like cinnamon with apple or nutmeg with peach for extra flavor depth.
