 Save to Pinterest
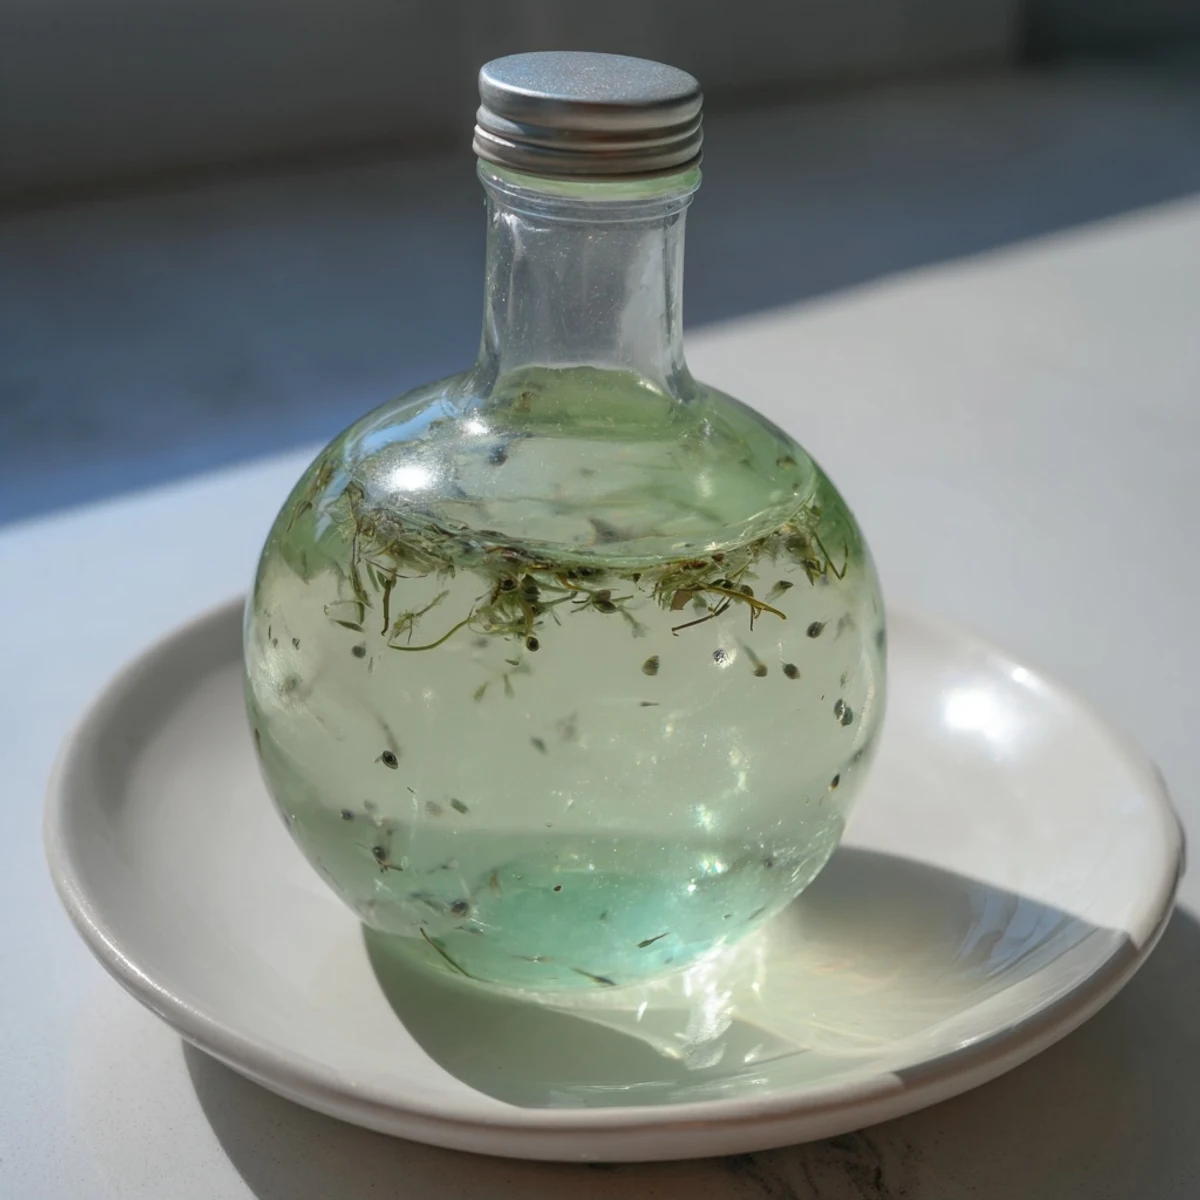
 This peppermint flavoring captures the fresh, invigorating taste of peppermint leaves infused in vodka, creating a versatile essence ideal for enhancing desserts, beverages, and baked items. The process involves bruising fresh peppermint leaves to release their oils, then steeping them in vodka for several weeks. The result is a vibrant, naturally cool flavoring that can also be prepared alcohol-free with glycerin. Stored properly, it maintains its potency and freshness, making it an easy, flavorful addition to many culinary creations.
I discovered the magic of homemade peppermint flavoring quite by accident during a winter holiday baking marathon. A friend mentioned she'd been infusing her own extracts, and something clicked—why settle for store-bought when you could create something so much more vibrant and personal? That first batch, sitting in a jar on my windowsill, transformed not just my desserts but the entire ritual of cooking with intention. Now, whenever I open a bottle of my own peppermint extract, I'm transported back to that moment of culinary awakening.
I remember decorating sugar cookies with a friend one December afternoon, and when I added just a hint of this peppermint extract to the frosting, her eyes lit up like I'd revealed a secret ingredient. That batch of cookies disappeared in hours, and she kept saying, 'What did you do differently?' It wasn't just flavor—it was the care embedded in every bottle.
Ingredients
- 1 cup (240 ml) vodka, at least 40% alcohol: The alcohol is what draws out and preserves the volatile peppermint oils, creating an extract that lasts months. I learned to use a decent vodka—nothing fancy, but nothing bottom-shelf either—because you taste what you put in
- 1 cup (25 g) fresh peppermint leaves, lightly packed and washed: Fresh is absolutely crucial here. The leaves must be vibrant green and fragrant; dried leaves will give you a muted result. I always buy or pick more than I think I need because some always seem to shrivel slightly
Instructions
- Release the peppermint's soul:
- Gently bruise the peppermint leaves with your hands or a muddler—and I mean gently. You're coaxing out the oils, not destroying them. As you rub the leaves between your palms, breathe in that incredible minty aroma. This is when you know you're on the right track.
- Create the jar sanctuary:
- Place your bruised leaves into a clean, sterilized glass jar. Make sure it's truly clean—wash it with hot soapy water and let it air dry. This is your extract's home for the next several weeks, so treat it well.
- Pour with purpose:
- Slowly pour the vodka over the leaves, making sure every single leaf is submerged beneath the surface. Any leaves exposed to air will oxidize and lose potency. Press them down gently if needed, watching as the liquid begins to take on a pale greenish hue.
- Seal and wait:
- Screw the lid on tightly and place your jar in a cool, dark spot—a cupboard, a pantry, somewhere it won't get direct sunlight. This is the hardest part: waiting. For the next 4 to 6 weeks, shake the jar gently every few days, just a gentle swirl to keep the flavors mingling.
- Harvest your creation:
- When the waiting is over and your patience has been rewarded, strain the liquid through a fine mesh sieve or cheesecloth into a clean bottle, letting gravity do the work. Discard the spent leaves—they've given everything they had.
- Preserve and protect:
- Pour your finished peppermint flavoring into sealed bottles and store at room temperature, away from direct heat and light. It will keep for months, growing even more concentrated and refined over time.
 Save to Pinterest
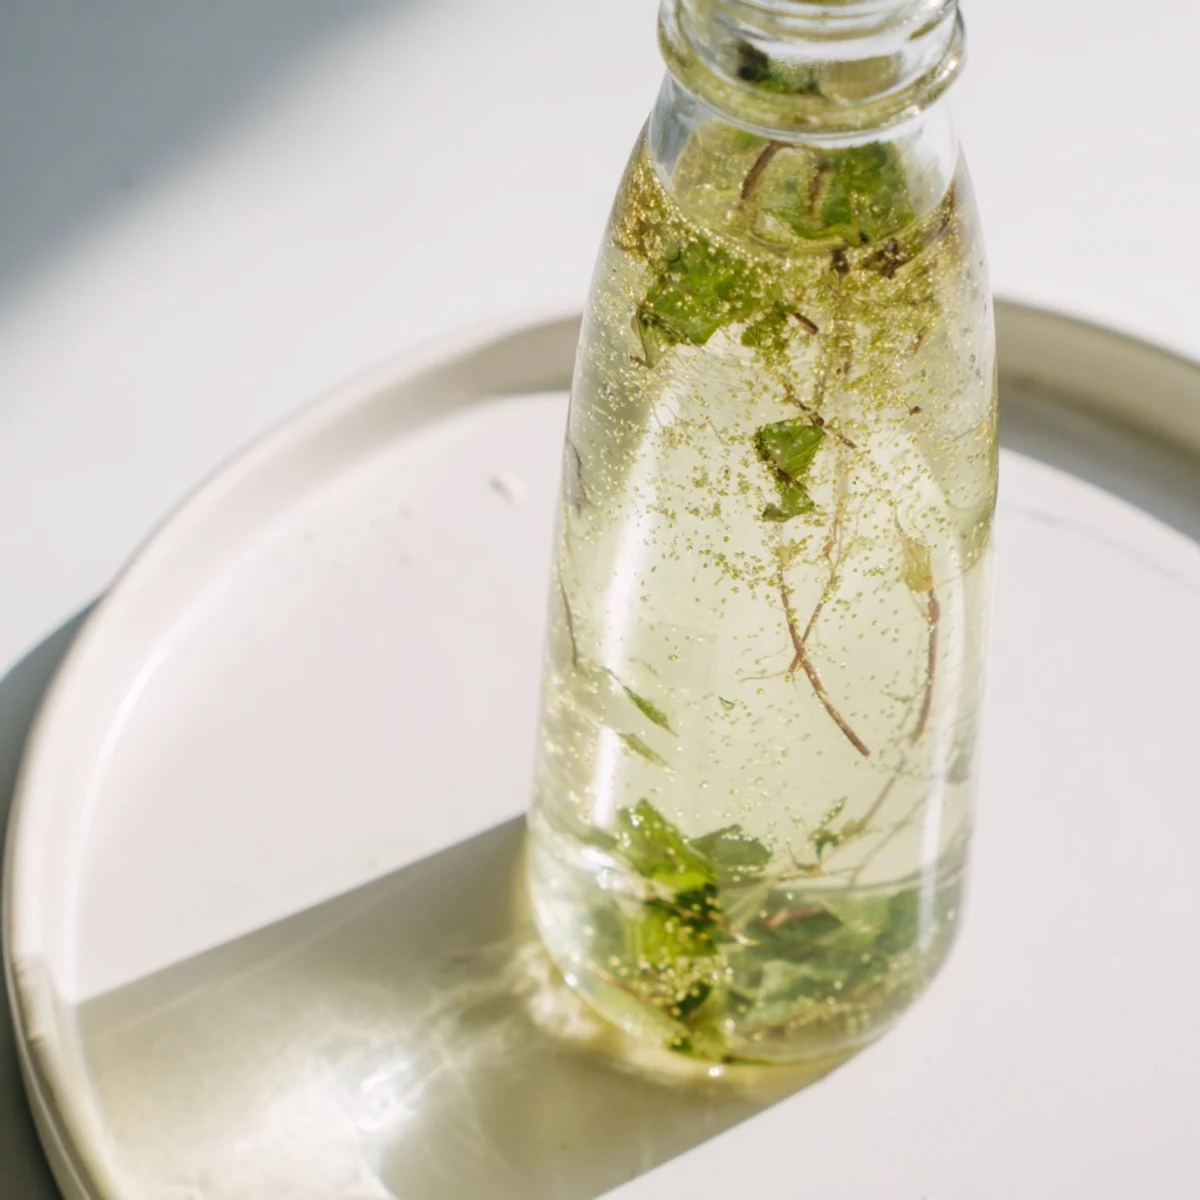
 The first time I used my homemade extract in a batch of peppermint bark, I called my mom to tell her about it like I'd discovered gold. The flavor was so clean, so bright, so unmistakably peppermint that it felt like bringing a moment of winter freshness into everyone's mouth. That's when I realized this wasn't just about flavoring—it was about caring enough to make something yourself.
Making It Your Own
The beauty of this extract is how flexible it becomes once you've made it. I've experimented with different ratios, sometimes using less vodka to make it more concentrated, and once even trying a blend of peppermint with a few basil leaves for something unexpected. The base recipe is your jumping-off point—trust your instincts and taste as you go.
Using Your Peppermint Flavoring
Start with just 1/2 to 1 teaspoon per recipe—this extract is potent, and a little goes a long way. I've folded it into chocolate ganache, swirled it into buttercream, stirred it into hot chocolate, and even added a few drops to cocktails. Each time, it brings that same homemade magic that reminds people they're tasting something made with real care.
Storage and Longevity
In a sealed bottle at room temperature, away from direct sunlight and heat, your peppermint flavoring will keep beautifully for at least a year, sometimes longer. The flavor actually becomes more refined as it ages, developing subtle complexity that store-bought extracts never quite achieve. I like to label mine with the date I made it, partly for reference and partly because there's something lovely about knowing exactly when it came into being.
- If you prefer an alcohol-free version, you can substitute food-grade glycerin for the vodka, though the infusion will take slightly longer
- For a gift, pour your finished extract into beautiful small bottles and label them by hand—it's a present that costs almost nothing but feels deeply thoughtful
- Keep a small backup bottle in your freezer; the extract won't freeze solid, but it will stay fresher longer than at room temperature
 Save to Pinterest
 Making your own peppermint extract transforms the act of flavoring into something intentional and alive. It's a small miracle that happens in a jar, one gentle shake at a time, waiting to become part of something delicious you'll make with your own hands.
Recipes Q&A
- → How is peppermint flavoring prepared?
-
Fresh peppermint leaves are bruised and steeped in vodka for 4–6 weeks to extract the minty essence.
- → Can I make a non-alcoholic version?
-
Yes, substituting vodka with food-grade glycerin provides an alcohol-free peppermint flavor.
- → How should peppermint flavoring be stored?
-
Store in a sealed bottle at room temperature away from direct sunlight to preserve freshness.
- → What culinary uses suit peppermint flavoring?
-
It enhances chocolates, frostings, cocktails, and baked goods with a cool, minty note.
- → How much peppermint flavoring is typically used?
-
Use about 1/2 to 1 teaspoon per dish, adjusting to taste for desired mint intensity.
