 Save to Pinterest
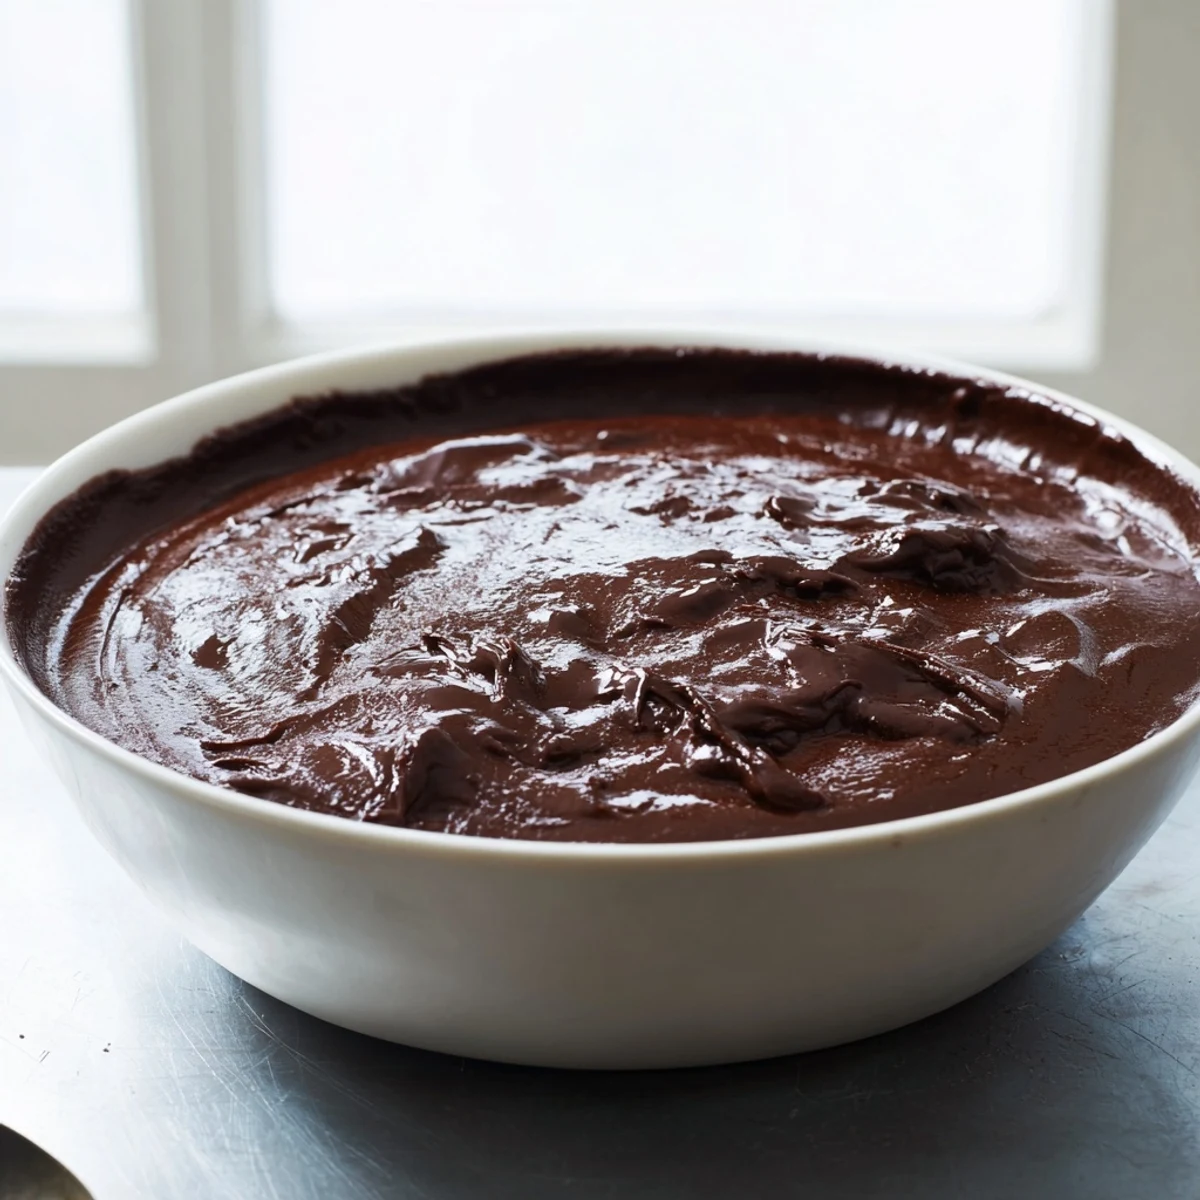
 Experience a luscious, silky chocolate dessert made by gently cooking cocoa, sugar, and cream until thickened. Melted dark chocolate and butter enrich the mixture, while vanilla adds a subtle aroma. Chilling develops its smooth texture, perfect for a comforting, indulgent treat.
This preparation requires simple pantry ingredients and minimal time, delivering a rich flavor and creamy mouthfeel with each bite. Ideal for those seeking a quick yet decadent finish to any meal.
There's something about the smell of cocoa powder hitting hot milk that stops me mid-thought every time. Years ago, a friend casually made chocolate pudding on a random weeknight while we were catching up in her kitchen, and I watched in disbelief as she transformed five basic ingredients into something so silky it felt like cheating. I've made it countless times since, and it never gets old—just richer, smoother, more mine with each attempt.
I once made this for someone who swore they didn't like chocolate pudding because they'd only ever had the instant kind from packets. Watching their face the moment they tasted homemade—the actual surprise and then quiet contentment—reminded me why I keep making this dish. It became our thing after that, and now I can't make it without thinking of that evening.
Ingredients
- Whole milk (2 cups): This is your base, and it matters. Whole milk gives the pudding body and a natural sweetness that skim milk can't match.
- Heavy cream (1/2 cup): Don't skip this—it's what makes it actually creamy instead of just smooth.
- Unsalted butter (2 tbsp): Adds richness and helps the chocolate meld perfectly into the custard.
- Semisweet or dark chocolate, finely chopped (4 oz): The star ingredient, and quality matters here. Chopping it yourself means it melts faster and more evenly than chips ever will.
- Unsweetened cocoa powder (1/4 cup): This deepens the flavor without adding graininess if you whisk it in carefully from the start.
- Granulated sugar (1/2 cup): Sweetens everything evenly, and whisking it together with the dry ingredients prevents lumps later.
- Cornstarch (3 tbsp): Your thickener—it's more reliable than flour and creates a silkier texture.
- Salt (1/4 tsp): Just enough to wake up the chocolate flavor without tasting salty.
- Pure vanilla extract (1 tsp): Adds depth and prevents the pudding from tasting one-dimensional.
Instructions
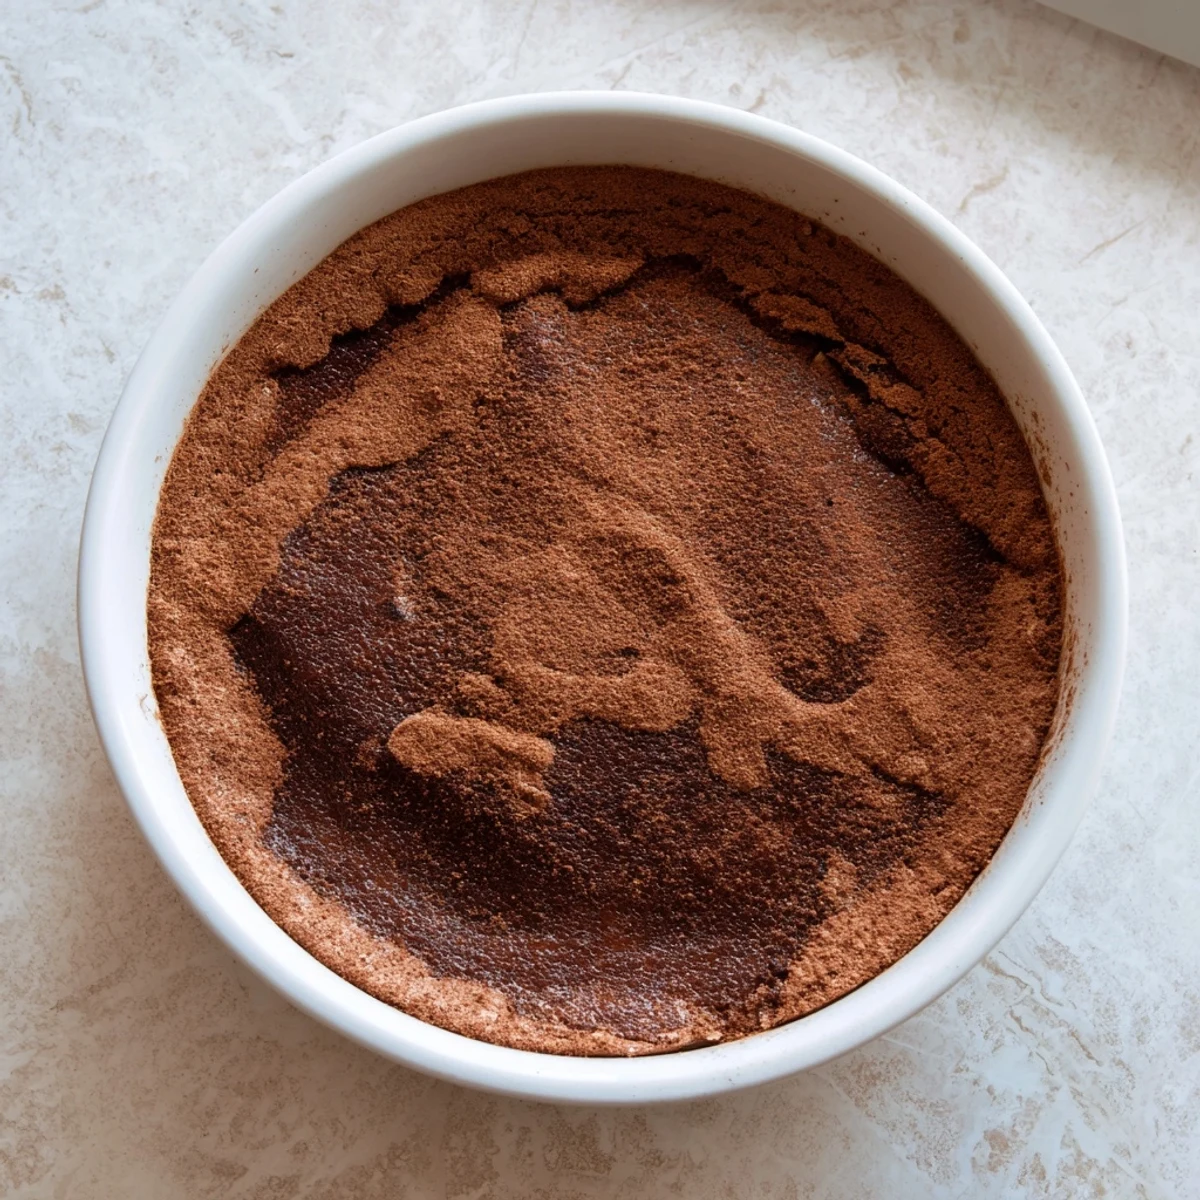
- Whisk the dry mix:
- Combine sugar, cocoa powder, cornstarch, and salt in your saucepan. Whisking them together first prevents lumps from forming later when you add the wet ingredients.
- Smooth out the milk:
- Gradually pour in the milk and cream, whisking constantly until there are no cocoa streaks left. Take your time here—it's easier to prevent lumps than to fix them later.
- Heat gently until it thickens:
- Place the saucepan over medium heat and stir constantly. Around five to seven minutes in, you'll notice it starting to bubble and thicken slightly—this is exactly what you want.
- Cook a little longer:
- Reduce heat to low and keep stirring for two more minutes. This ensures the cornstarch fully hydrates and you lose any raw starch taste.
- Melt in the chocolate:
- Remove from heat, add your chopped chocolate and butter, and stir gently until completely melted and smooth. The residual heat does the work if you let it.
- Add the vanilla:
- Stir in the vanilla extract, which rounds out all those cocoa notes and adds warmth.
- Pour into serving dishes:
- Divide the pudding while it's still warm, then tackle the most important step.
- Press plastic wrap on the surface:
- This prevents a skin from forming on top—something I learned the hard way. It's the difference between silky pudding and one that feels unfinished.
- Chill for at least forty minutes:
- The pudding continues to set as it cools and also tastes better cold. Most of the time I make this the night before so it's completely ready.
 Save to Pinterest
 I remember standing at my kitchen counter at midnight, spoon in hand, eating cold pudding straight from the dish because I couldn't wait until morning. My partner found me and laughed, and then they wanted some too. That's when I knew I'd nailed this recipe—when it stops being about following instructions and starts being about the quiet joy of something genuinely good.
Flavor Depth and Why Each Ingredient Earns Its Place
The secret to this pudding tasting nothing like the instant stuff is the combination of both cocoa powder and chopped chocolate. The cocoa powder gives earthiness and depth, while the melted chocolate adds body and luxury. Together they're louder than either one alone. I've tried cutting corners here, and it never pays off—the pudding tastes thin and one-note instead of rich.
Temperature and Texture
Some people serve this warm, which brings out the chocolate's warmth, while others prefer it cold, where the texture becomes almost mousse-like. I'm a cold pudding person most of the time, but there's something about serving it warm with a drizzle of cream that feels fancier somehow. The pudding stays silky either way because of the cornstarch and cream working together to create that specific texture that coats your spoon perfectly.
Making It Your Own
Once you understand how this pudding works, you can play with it. I've added a pinch of espresso powder to deepen the chocolate, and a friend made a dairy-free version by swapping in oat milk and coconut cream, which was honestly just as good. The framework stays the same, but the pudding becomes yours when you start experimenting.
- For extra richness, whip some heavy cream and dollop it on top just before serving.
- A few chocolate shavings or a sprinkle of fleur de sel add visual interest and a flavor boost.
- If you're making this ahead, keep it covered in the fridge for up to three days.
 Save to Pinterest
 This pudding proves that the best desserts don't need to be complicated. Sometimes the best things are just done well, with attention to small details and ingredients you actually care about.
Recipes Q&A
- → What type of chocolate works best?
-
Semisweet or dark chocolate finely chopped creates a rich cocoa flavor and smooth consistency.
- → Can I use non-dairy milk alternatives?
-
Yes, almond or oat milk paired with plant-based cream can substitute dairy, maintaining creaminess.
- → How long should I chill the dessert?
-
Refrigerate for at least 40 minutes to develop the perfect silky and firm texture.
- → Why press plastic wrap onto the surface?
-
This prevents a skin from forming, keeping the surface smooth and creamy.
- → Can this dessert be served warm?
-
Yes, serving warm yields a soft, comforting texture, while chilling offers a firmer, creamier feel.
