 Save to Pinterest
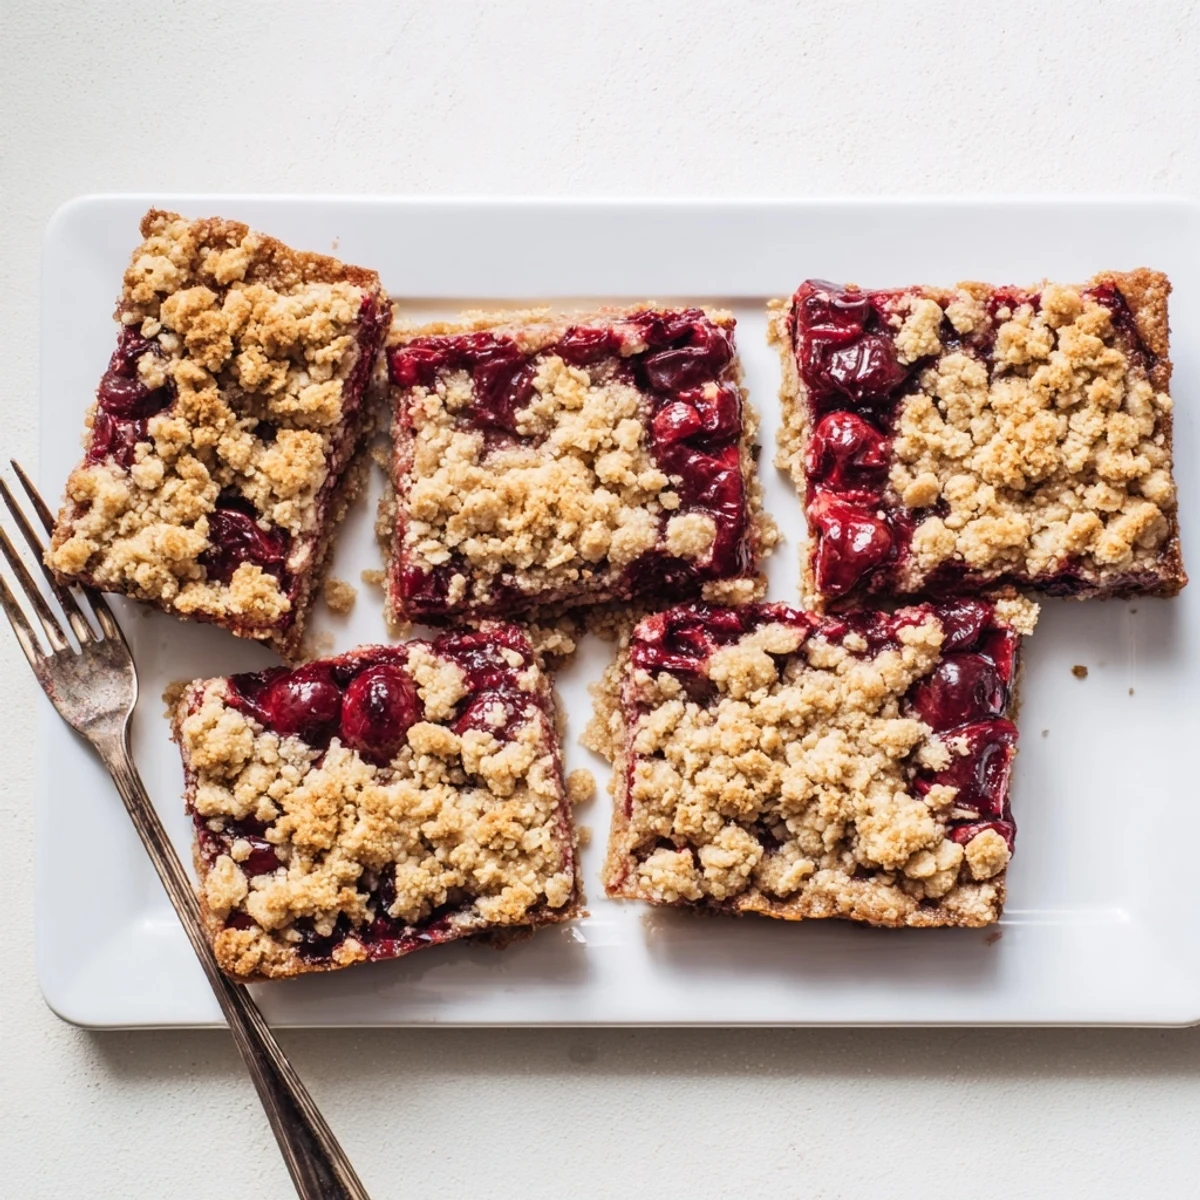
 These cherry crumble bars feature a buttery oat crust pressed into a pan, topped with sweetened cherries, and finished with a generous layer of crumbly oat streusel. The bars bake until golden and bubbly, creating a handheld dessert that captures all the comfort of a classic cherry crumble. Fresh or frozen cherries work equally well, making these bars a year-round treat that comes together with just 20 minutes of prep time.
Last summer, my neighbor brought over a basket of cherries from her tree, and I stood there staring at them, knowing I needed something that wouldn't heat up the kitchen too much. These bars became my answer—simple enough to throw together between weekend errands, but impressive enough that everyone thought I'd spent all afternoon baking them. Now they're my go-to whenever I need a dessert that feels special without the fuss.
I brought these to a potluck last fall, and before I could even set the pan down, my friend Sarah was already asking for the recipe. Something about that buttery oat crumble with the tart cherry filling just pulls people in. They disappeared faster than anything else on the table.
Ingredients
- 1 ½ cups all purpose flour: Provides the structure for both crust and crumble, giving these bars their satisfying bite
- 1 ½ cups old fashioned rolled oats: Use these instead of quick oats for better texture and that homey crumble look
- ¾ cup granulated sugar and ½ cup light brown sugar: The combination gives you sweetness plus that deep caramel flavor only brown sugar delivers
- 1 tsp baking powder and ½ tsp salt: Just enough to lift the crust slightly and balance all the sweetness
- 1 cup unsalted butter, melted: Melted butter mixes more thoroughly into the crumble than softened, ensuring every bite is rich and tender
- 1 tsp vanilla extract: Don't skip this—it bridges the gap between the buttery crust and bright cherry filling
- 3 cups fresh or frozen pitted cherries, halved: Halving them means more cherry flavor in every bite and helps the filling hold together
- ⅓ cup granulated sugar: Adjust this depending on how sweet your cherries are—taste one first if you can
- 2 tbsp cornstarch: This thickens the cherry juices as they bake, preventing soggy bottoms
- 1 tbsp lemon juice: Brightens the cherry flavor and helps the cornstarch work its magic
- ½ tsp almond extract: Completely optional, but cherry and almond are best friends and this takes these bars to the next level
Instructions
- Get your oven and pan ready:
- Preheat your oven to 350°F and line a 9x13 inch pan with parchment paper, letting some hang over the sides like little handles for easy lifting later.
- Make the crumble mixture:
- In a large bowl, combine the flour, oats, both sugars, baking powder, and salt until everything looks evenly distributed.
- Add the butter:
- Pour in the melted butter and vanilla, then stir until the mixture looks like damp crumbs and holds together when you squeeze a handful.
- Form the crust:
- Measure out about 1½ cups of the crumb mixture and set it aside for the topping, then press the remaining mixture firmly and evenly into the bottom of your prepared pan.
- Prepare the cherry filling:
- In a separate bowl, toss the cherries with sugar, cornstarch, lemon juice, and almond extract until every piece is coated.
- Assemble:
- Spread the cherry mixture over the crust, then sprinkle the reserved crumble evenly across the top, pressing lightly so it adheres.
- Bake to golden perfection:
- Bake for 35 to 40 minutes until the top is golden brown and you can see the cherry filling bubbling up through the crumble in spots.
- Cool completely:
- Let the bars cool completely in the pan—this is crucial, as warm filling will fall apart—then use the parchment to lift them out and cut into squares.
 Save to Pinterest
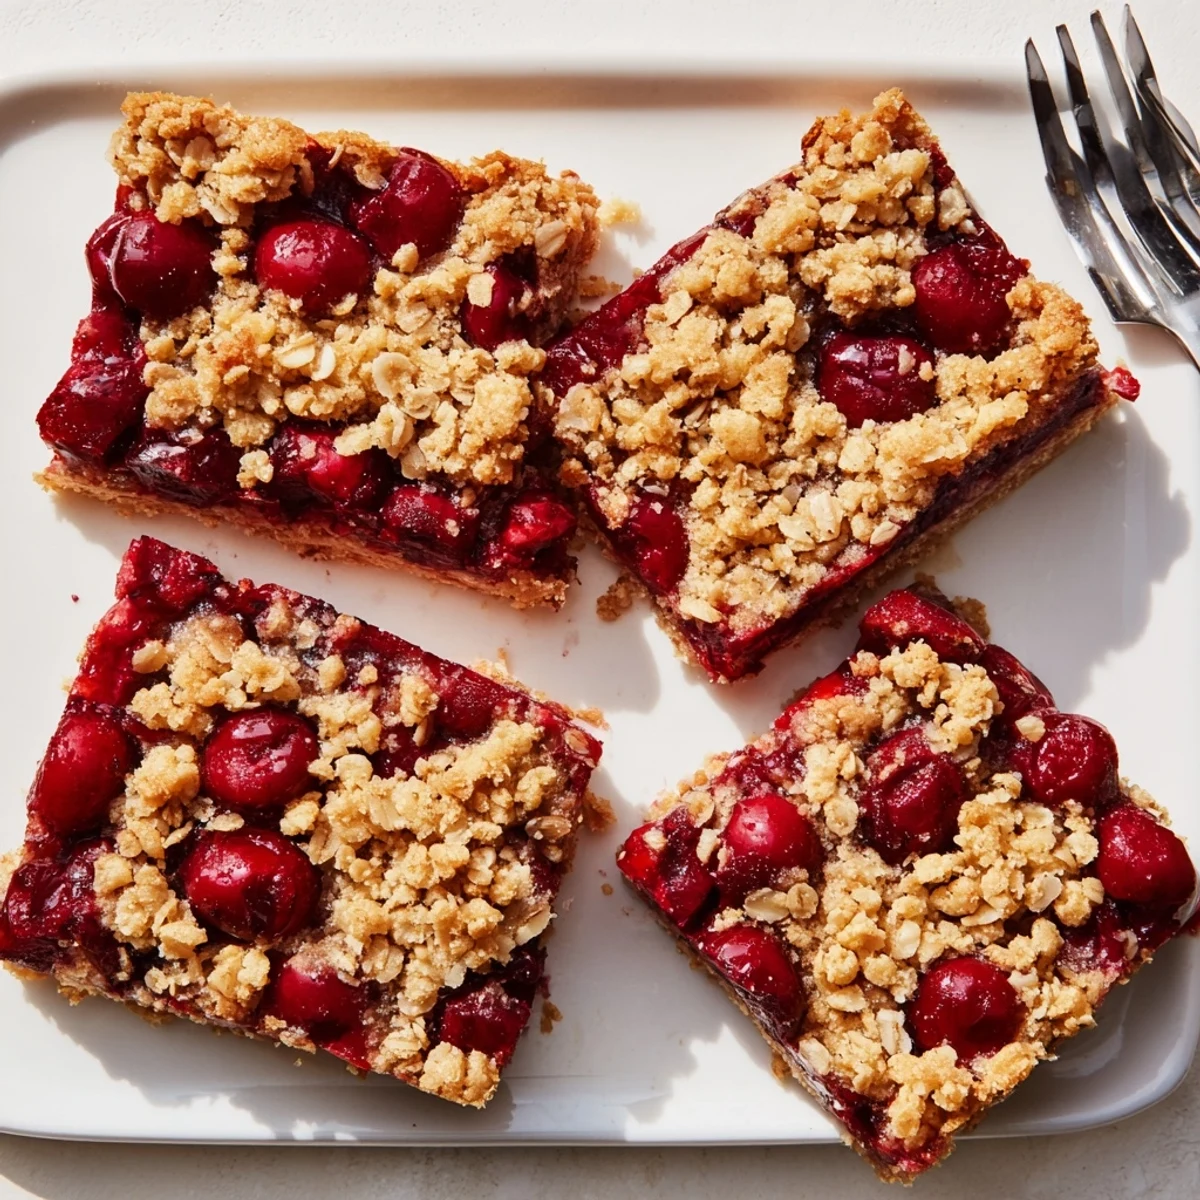
 My grandmother used to say that desserts made with fruit were somehow acceptable for breakfast, and I've carried that philosophy forward. These bars have become a weekend tradition in our house, perfect with coffee when the house is still quiet and the morning light is just starting to stream through the windows.
Making These Year Round
I've learned that frozen cherries work beautifully here, actually holding their shape better than fresh ones sometimes. No need to thaw them first—just toss them with the sugar and cornstarch while they're still frozen. If you're using frozen, add about 5 minutes to the baking time.
Getting That Perfect Crumble Texture
The trick is stopping when your mixture looks like wet sand rather than dough. Overmixing will make the crust tough instead of tender. When you squeeze a handful, it should hold together loosely but still break apart easily when touched.
Serving Suggestions
These bars shine on their own, but a scoop of vanilla ice cream while they're still slightly warm is pretty hard to beat. They also pair beautifully with a dollop of whipped cream or even a drizzle of warm custard if you're feeling fancy.
- Store them in an airtight container at room temperature for up to 3 days
- They freeze exceptionally well—wrap individual bars in plastic and freeze for up to 3 months
- Reheat frozen bars at 300°F for about 10 minutes to refresh that just baked texture
 Save to Pinterest
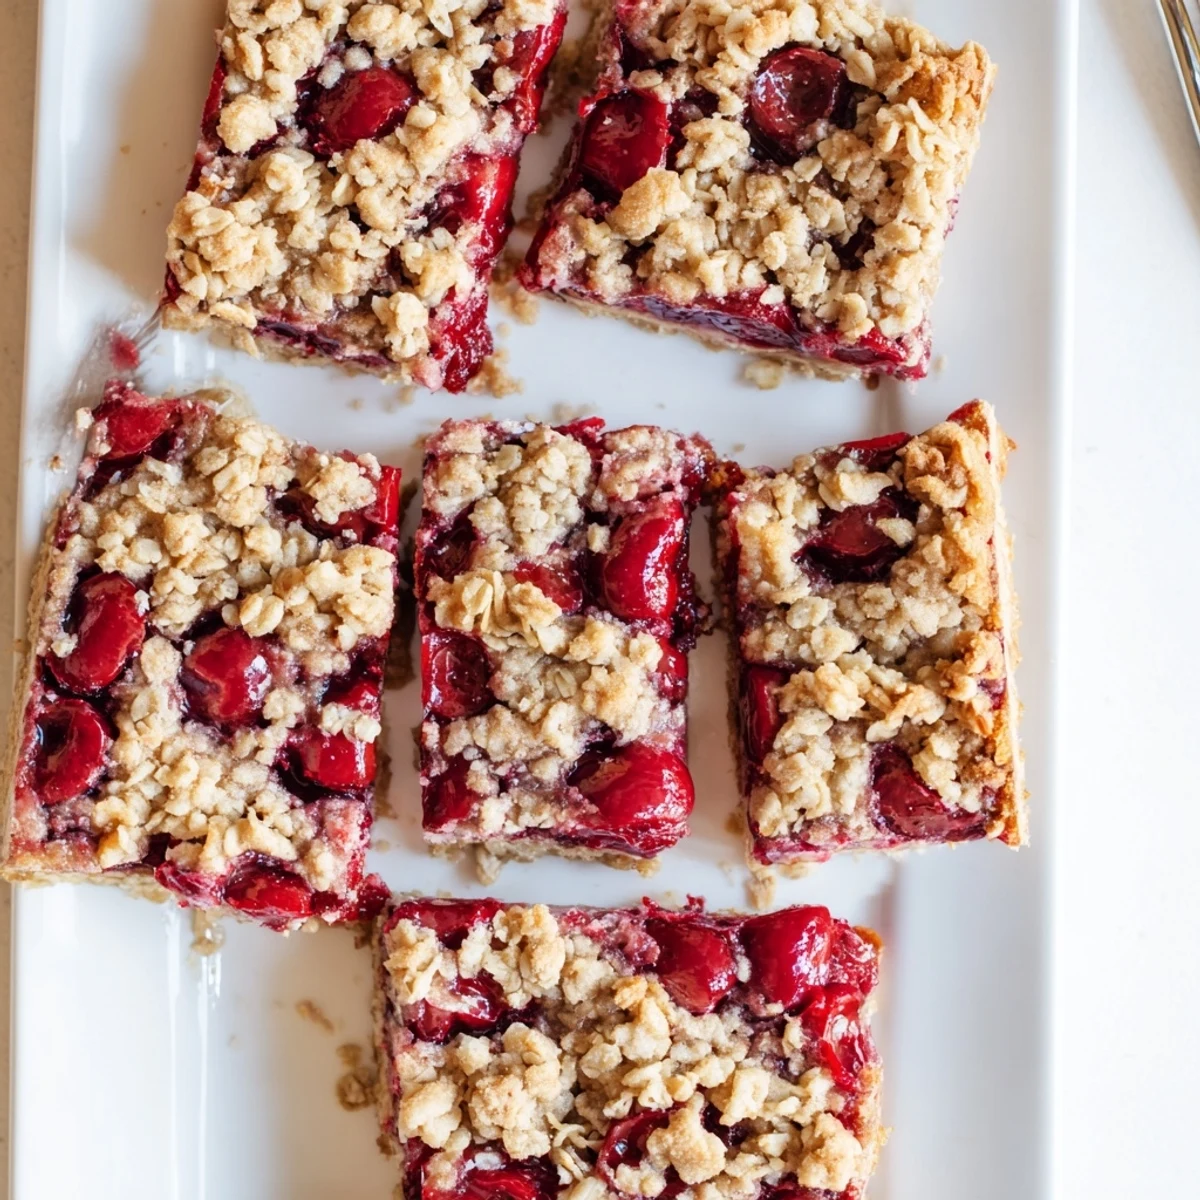
 There's something deeply satisfying about a dessert that comes together so simply but tastes like it took hours to perfect. Hope these find their way into your regular rotation.
Recipes Q&A
- → Can I use frozen cherries instead of fresh?
-
Absolutely. Frozen cherries work beautifully in these bars—no need to thaw them first. Simply toss them with the sugar and cornstarch mixture, then layer over the crust. You may need to add about 5 extra minutes to the baking time to ensure the filling bubbles properly.
- → How should I store these cherry bars?
-
Store the cooled bars in an airtight container at room temperature for up to 3 days. For longer storage, keep them refrigerated for up to a week. The bars also freeze well—wrap individual portions in plastic wrap and freeze for up to 3 months.
- → Can I make these with other fruits?
-
Yes, this versatile oat crumble base works wonderfully with berries, sliced peaches, or apples. Adjust the sugar based on the fruit's natural sweetness. For very juicy fruits like strawberries, you may want to increase the cornstarch slightly to 3 tablespoons.
- → Why do I need to reserve some crumble for the topping?
-
Reserving 1½ cups of the oat mixture ensures you have enough crumble to create a thick, textured topping that bakes golden and crisp. Without this step, the crust would be too thin and the bars would lack that signature buttery crunch on top.
- → What's the best way to get clean cuts?
-
Let the bars cool completely in the pan before cutting. The cherry filling needs time to set, otherwise it will ooze out when sliced. Use a sharp knife and wipe it clean between cuts for the neatest squares. Lifting the entire slab out using the parchment overhang makes cutting much easier.
- → Can I make these bars gluten-free?
-
Yes, substitute the all-purpose flour with a 1:1 gluten-free flour blend. Ensure your oats are certified gluten-free as well, as regular oats are often processed in facilities with wheat. The texture will remain just as buttery and crumbly.
