 Save to Pinterest
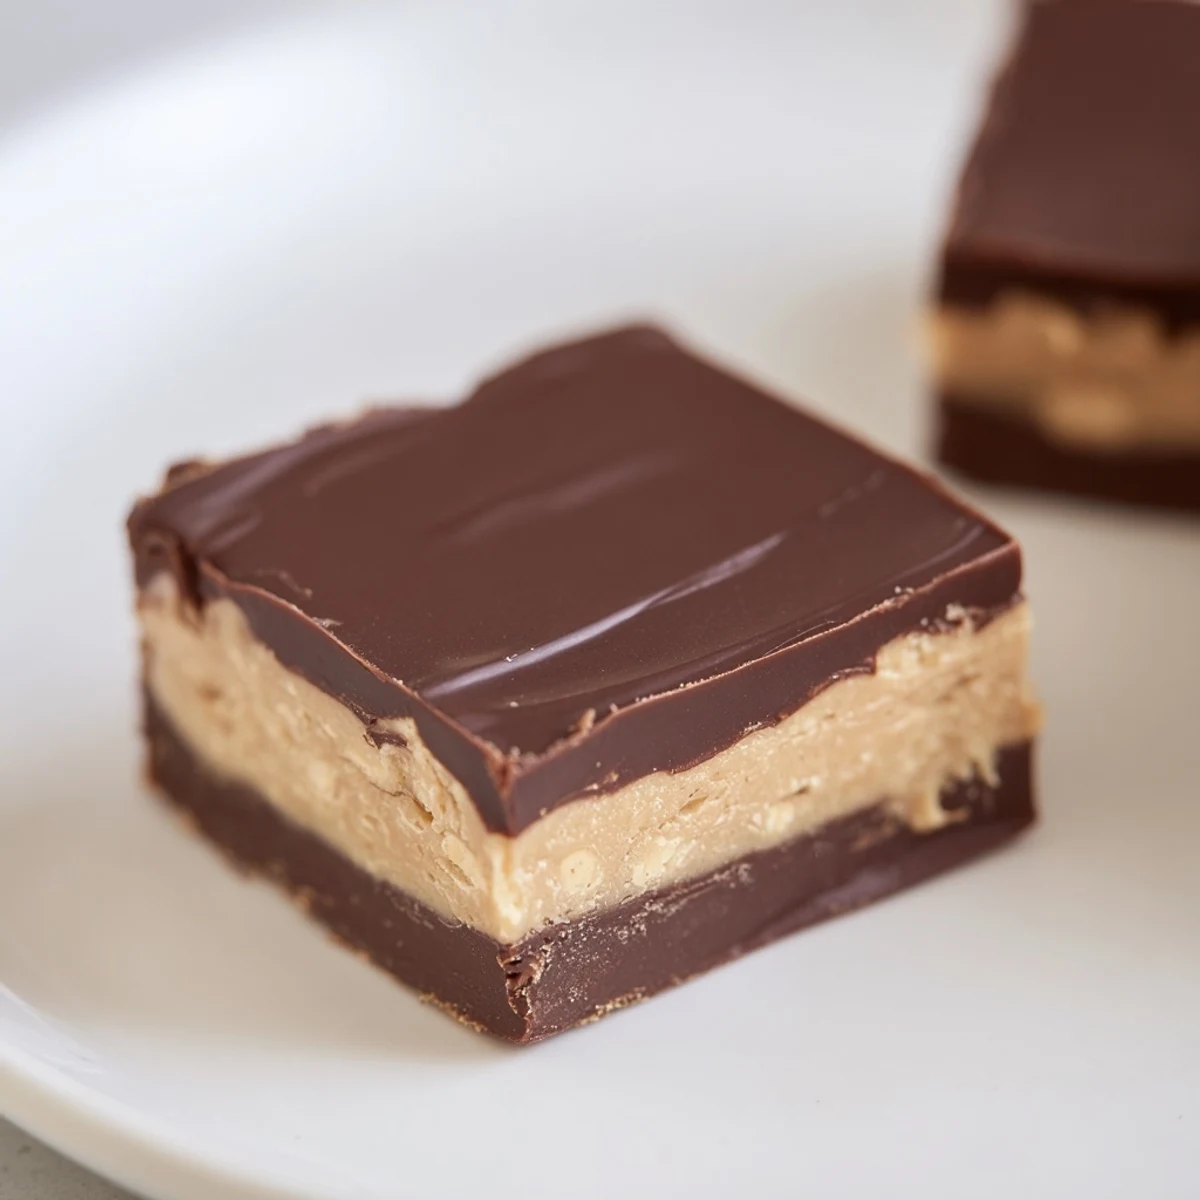
 Chocolate Peanut Butter Fudge Squares deliver the perfect balance of decadent cocoa and creamy legume butter in every bite. This no-bake creation features a smooth, buttery base topped with silky chocolate ganache, chilling for two hours to achieve that signature melt-in-your-mouth texture. With just 15 minutes of hands-on preparation and minimal ingredients, you'll create 24 indulgent squares that taste bakery-quality at home.
The first time I made these chocolate peanut butter fudge squares was during a power outage in the middle of winter. With nothing but a gas stove and dwindling daylight, I wanted something that would lift our spirits without requiring the oven. The rich aroma of melting chocolate filled our dim kitchen as my kids huddled around with spoons ready to claim any drips from the bowl.
Last summer, my neighbor came over unannounced just as I was cutting these into squares. The look on her face when I offered her one was priceless - eyes closed, slow nod, and then immediately asking for the recipe. Now they've become our block party signature, with neighbors requesting them by name and comparing them to fancy chocolatier creations.
Ingredients
- Semisweet chocolate chips: The quality of your chocolate really matters here - I once used bargain chips and regretted it immediately.
- Creamy peanut butter: I prefer the commercial smooth kind for this recipe as the natural varieties can separate and affect the texture.
- Sweetened condensed milk: This magical ingredient gives the chocolate layer its fudgy consistency without any grainy sugar texture.
- Powdered sugar: Sifting is non-negotiable unless you enjoy little lumps in your peanut butter layer.
- Unsalted butter: Using unsalted lets you control exactly how much salt goes into the recipe.
Instructions
- Prep your canvas:
- Line your 8x8-inch pan with parchment paper, leaving those extra flaps hanging over the edges. This seemingly small step will save you from potential heartbreak when it's time to remove your creation.
- Create the peanut butter foundation:
- Mix your peanut butter, powdered sugar, melted butter, vanilla, and salt until everything comes together into a smooth mixture. Press it into your lined pan, smoothing the top with the back of a spoon.
- Craft the chocolate blanket:
- In your microwave-safe bowl, combine those chocolate chips, condensed milk, and butter. Microwave in 30-second bursts, stirring between each until you have a glossy, velvety mixture.
- Layer and chill:
- Pour that gorgeous chocolate mixture over your peanut butter layer, using your spatula to spread it into every corner. Pop it in the refrigerator and exercise patience for at least two hours.
- The grand finale:
- Grip those parchment overhangs and lift the entire slab out of the pan like youre unveiling a masterpiece. Cut into squares with a sharp knife, wiping the blade between cuts for picture-perfect edges.
 Save to Pinterest
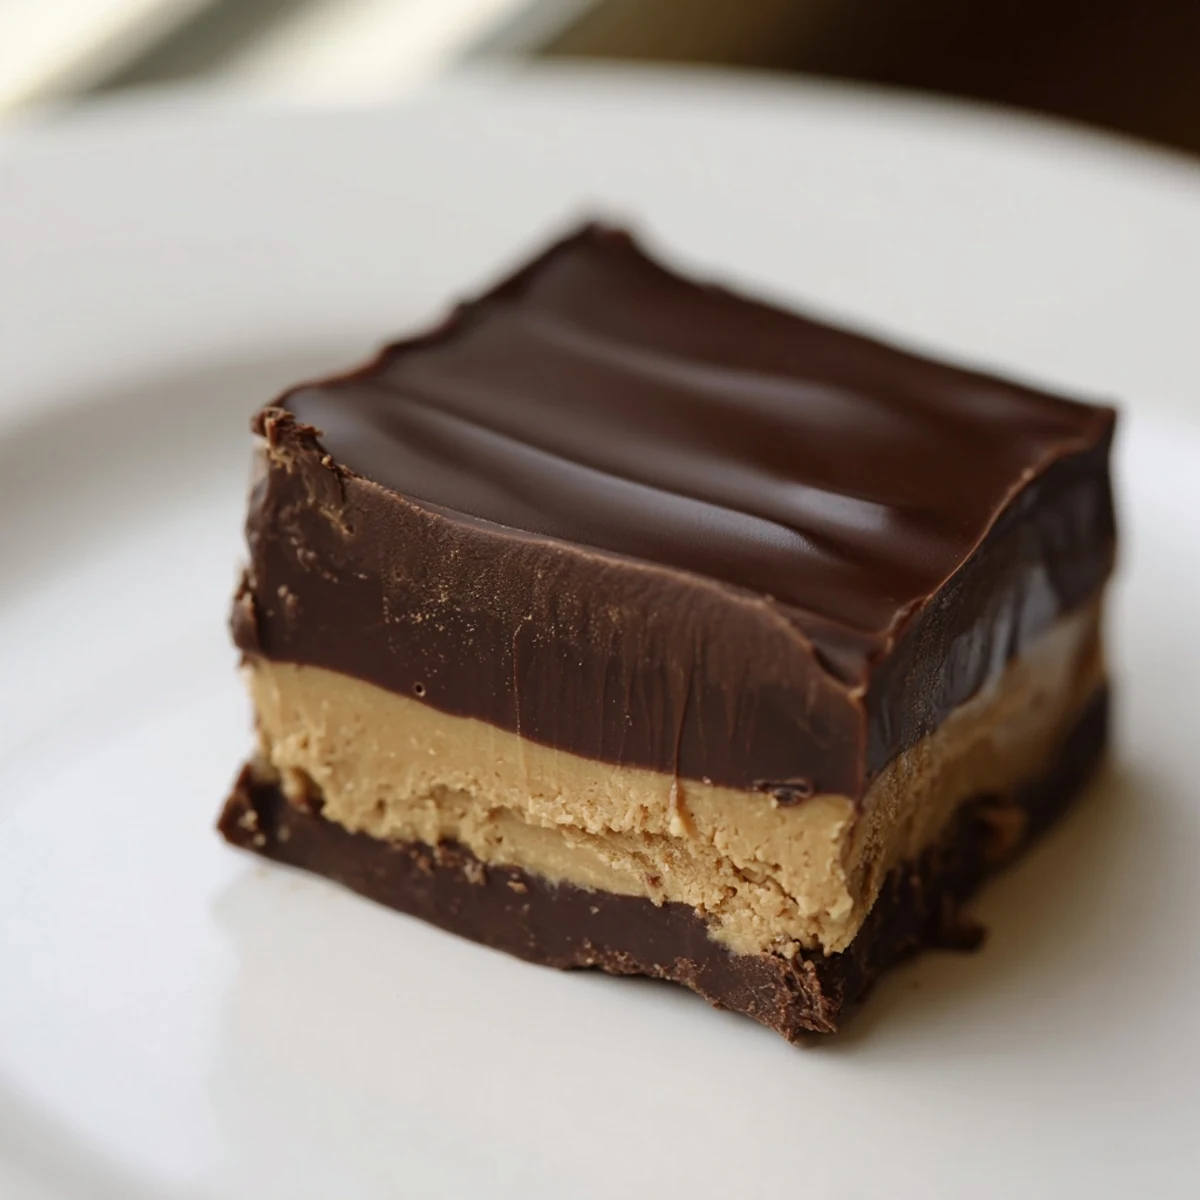
 When my daughter left for college, I packaged up a box of these squares and tucked them into her dorm supplies. Weeks later during a tearful homesick call, she mentioned pulling them out of her mini-fridge and sharing them with her roommate. That simple dessert became her first friendship offering in a strange new place, and now they make them together on study breaks.
Storage Secrets
The hardest part about these squares isnt making them - its stopping yourself from eating the entire batch in one sitting. Ive found that storing them between layers of parchment paper in an airtight container prevents them from sticking together and keeps them fresh for up to a week in the refrigerator. Though truthfully, they never last that long in my household.
Variations Worth Trying
One rainy afternoon when Id run out of semisweet chocolate, I substituted white chocolate chips and added a bit of espresso powder to the peanut butter layer. The contrast was stunning both visually and flavor-wise. Another successful experiment involved swirling in raspberry jam before chilling - the tartness cut through the richness beautifully and added a pop of color.
Troubleshooting Tips
After making these squares dozens of times, Ive encountered nearly every possible issue. If your peanut butter layer seems too dry and crumbly, add an extra tablespoon of melted butter. If its too soft to hold its shape, a bit more powdered sugar will firm things up.
- Always let your chocolate cool slightly before pouring over the peanut butter layer or the layers might blend together.
- For cleaner cuts, dip your knife in hot water and wipe dry between slices.
- If your squares seem too soft even after chilling, they likely need more time in the refrigerator - patience pays off.
 Save to Pinterest
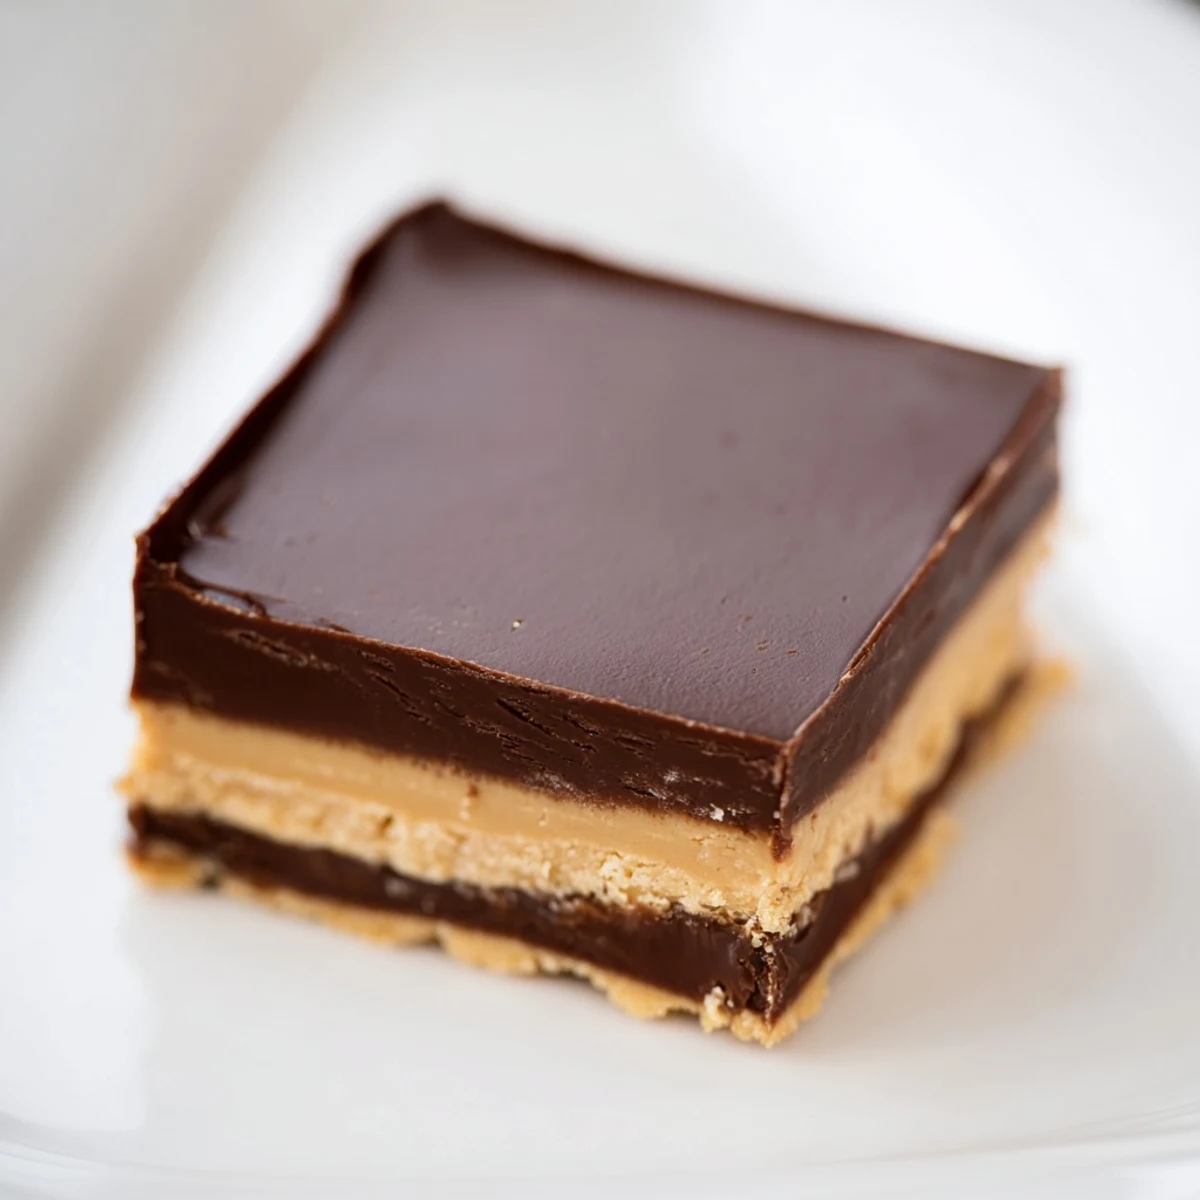
 These chocolate peanut butter fudge squares have become more than just a dessert in our house - theyve become a love language. Whether celebrating good news or comforting during tough times, they never fail to bring smiles.
Recipes Q&A
- → Can I make these without a microwave?
-
Yes, use a double boiler method instead. Place the chocolate, condensed milk, and butter in a heatproof bowl over simmering water, stirring occasionally until melted and smooth.
- → How long do these keep in storage?
-
Store in an airtight container in the refrigerator for up to one week. They can also be frozen for up to three months for extended enjoyment.
- → What substitutions work for peanut butter?
-
Almond butter, sunflower seed butter, or tahini work beautifully as alternatives. Use equal amounts and adjust sweetness if needed based on your chosen substitute.
- → Can I add texture to the top layer?
-
Absolutely. Sprinkle chopped roasted peanuts, crushed pretzels, or sea salt flakes over the chocolate before chilling for added crunch and flavor contrast.
- → How do I prevent cracking when cutting?
-
Use a sharp, warm knife dipped in hot water and wiped clean between cuts. This helps the chocolate slice cleanly without splintering or sticking.
