 Save to Pinterest
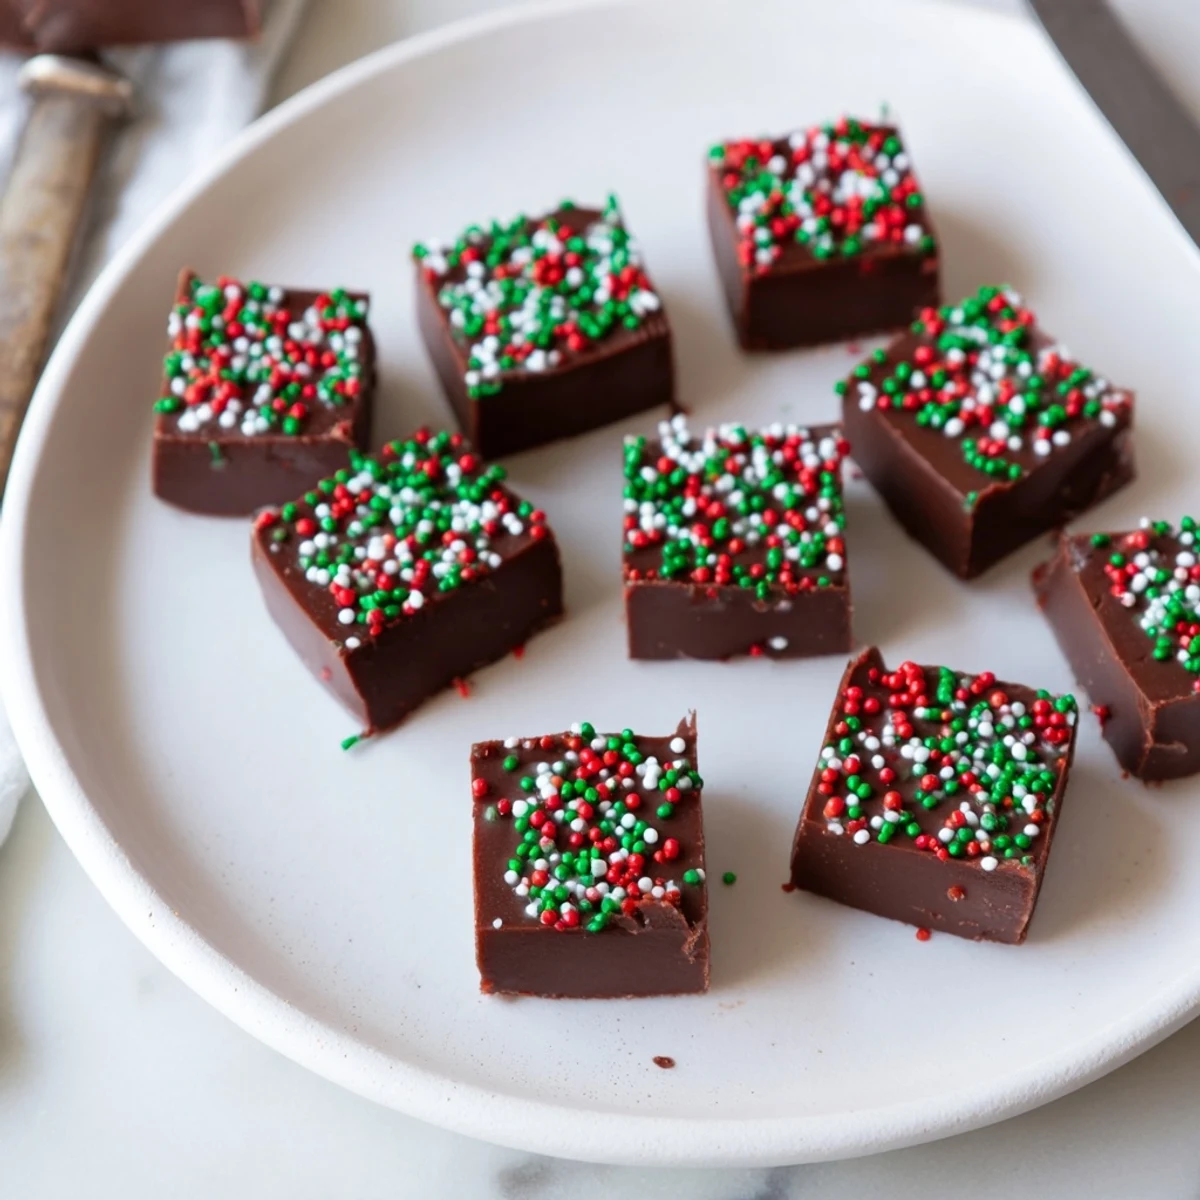
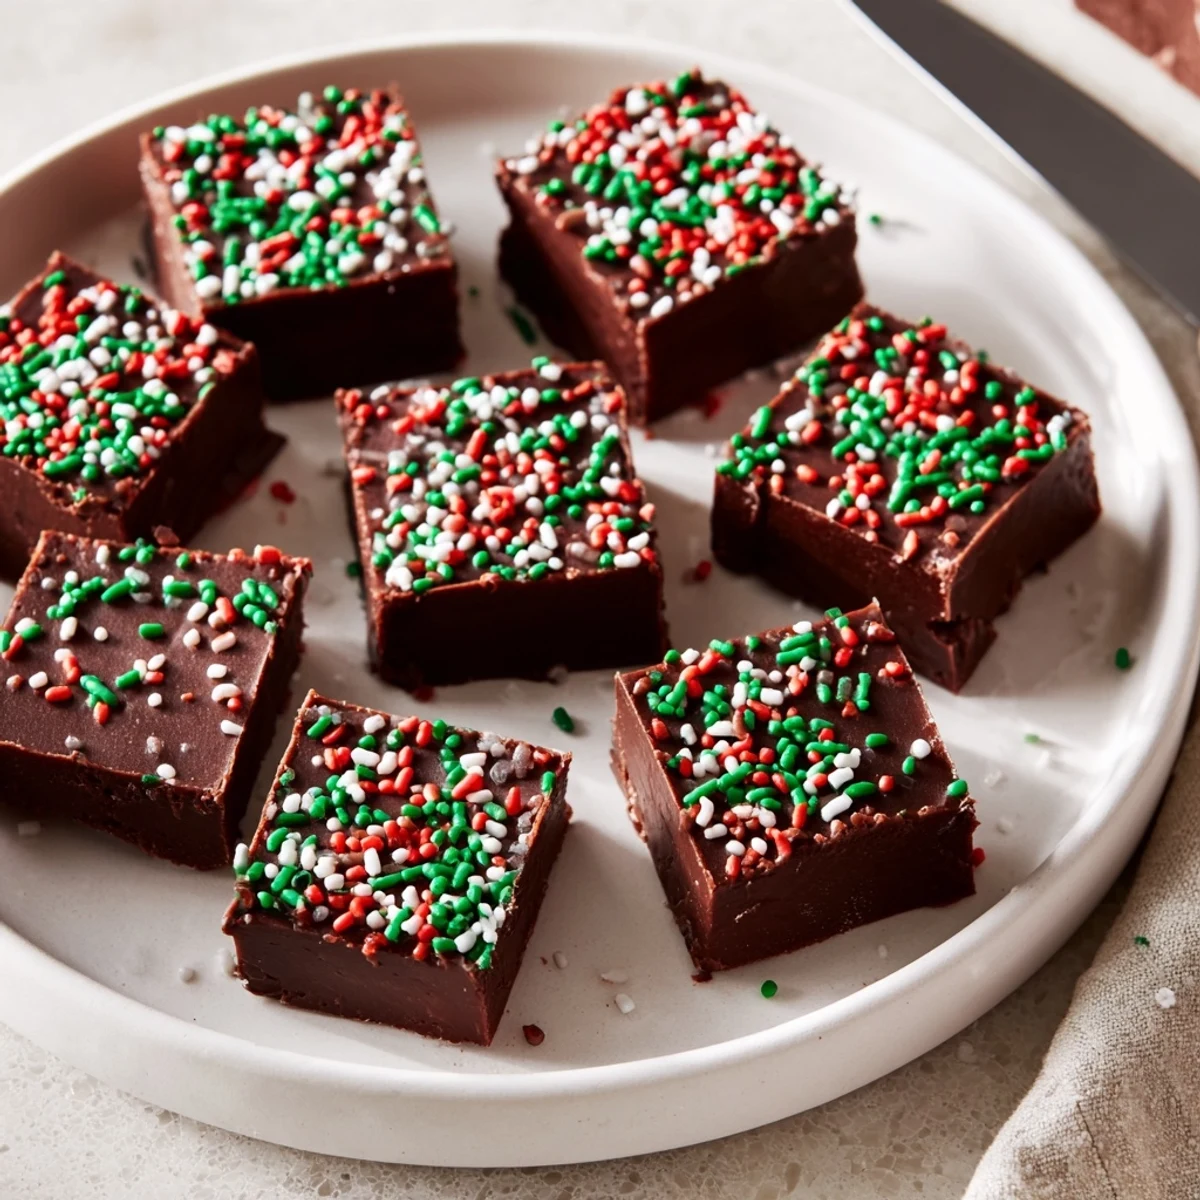
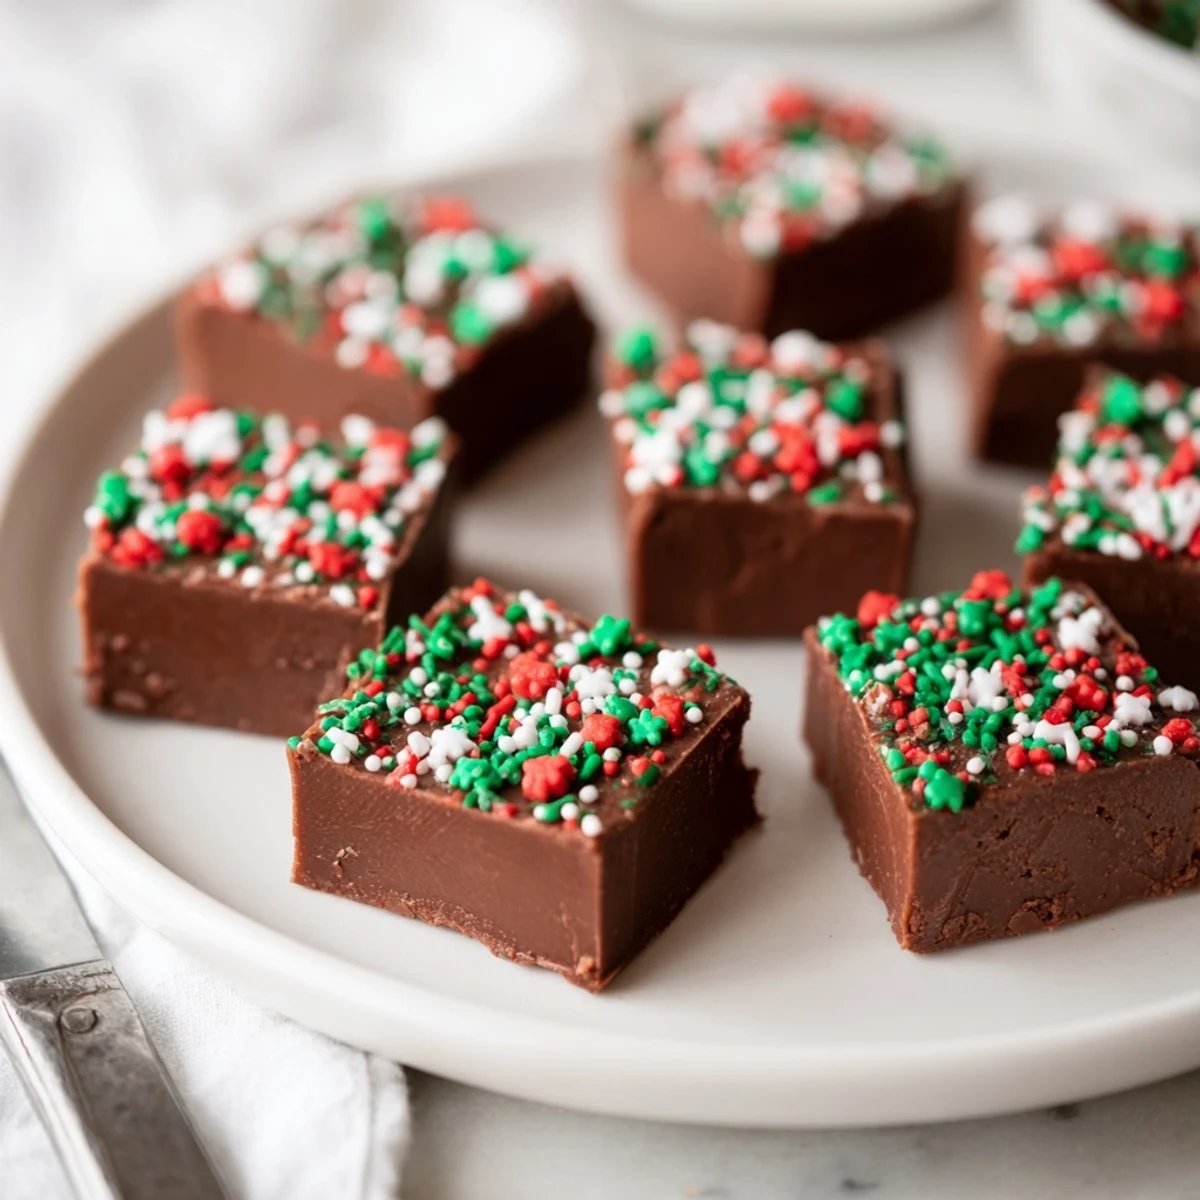
 This Christmas fudge with sprinkles is a rich, creamy chocolate confection that comes together in just 15 minutes of active prep time. Made with semi-sweet chocolate chips, sweetened condensed milk, and butter, it melts into a velvety base that sets beautifully in the refrigerator.
Topped with colorful holiday sprinkles, each bite-sized square is festive enough for cookie exchanges, holiday parties, or homemade gift boxes. The method is straightforward—melt, stir, pour, and chill—making it an ideal project for beginner cooks or for baking with kids.
The house smelled like melted chocolate for three days straight last December, and honestly nobody complained. I had volunteered to bring dessert to the neighbors holiday party and panicked at the last minute when my cookie dough spread into one giant blob. That is when I grabbed chocolate chips, a can of sweetened condensed milk, and crossed my fingers.
My niece stood on a step stool next to me and dumped an entire container of sprinkles onto the fudge before I could stop her. We laughed until we cried, and it ended up being the most beautiful batch I ever made.
Ingredients
- Semi-sweet chocolate chips (3 cups / 510 g): These form the rich, velvety base, and I have found that name brand chips melt more consistently than store brands.
- Sweetened condensed milk (1 can / 14 oz / 397 g): This is the magic ingredient that gives fudge its silky texture without needing a candy thermometer.
- Unsalted butter (4 tbsp / 56 g), cut into pieces: A little butter keeps the fudge from seizing and adds a subtle richness you will notice.
- Vanilla extract (1 tsp): Always use pure extract here because the flavor really comes through in such a simple recipe.
- Holiday sprinkles (1/3 cup / 45 g): Pick whatever shape or color makes you happy, but jimmy style sprinkles hold up best without bleeding color.
Instructions
- Prep your pan:
- Line an 8 inch square baking pan with parchment paper, leaving enough overhang on the sides to lift the fudge out later. Press the paper into the corners so it sits as flat as possible.
- Melt everything together:
- Combine the chocolate chips, sweetened condensed milk, and butter in a medium saucepan over low heat. Stir constantly with a spatula, scraping the bottom and sides, until the mixture is completely melted and glossy, about five minutes.
- Add the vanilla:
- Take the pan off the heat and stir in the vanilla extract. The aroma at this point is absolutely unreal, like walking into a bakery at midnight.
- Spread and top:
- Pour the fudge into your prepared pan and smooth the top with your spatula. Scatter the sprinkles evenly across the surface and gently press them in so they stick once chilled.
- Chill until set:
- Refrigerate the fudge for at least two hours, though overnight is even better if you can wait that long. The fudge should be firm to the touch and pull away cleanly from the parchment.
- Cut and serve:
- Lift the fudge out using the parchment overhang and set it on a cutting board. Use a sharp knife to cut it into twenty five even squares, wiping the blade between cuts for clean edges.
 Save to Pinterest
 I wrapped each square in a little cellophane bag with a ribbon and handed them out like currency at the party. People acted like I had spent all day in the kitchen, and I never corrected them.
Ways to Customize It
Swap the semi-sweet chips for dark chocolate if you prefer something less sweet, or use milk chocolate for a sweeter, kid friendly version. A pinch of flaky sea salt on top right before chilling balances the sweetness beautifully. You can also stir in half a cup of chopped walnuts or pecans for a nutty crunch.
Storing Your Fudge
Keep the fudge in an airtight container in the refrigerator and it stays fresh for up to two weeks. I have frozen squares between layers of wax paper for up to three months, and they thaw perfectly on the counter in about an hour. Just be sure the container is truly airtight or the fudge absorbs fridge odors fast.
Tools You Will Need
A good heavy bottomed saucepan makes all the difference for even melting without hot spots. Beyond that, the list is short and sweet.
- A square eight inch baking pan is the ideal size for the right thickness.
- A silicone spatula gets every last bit of fudge out of the pot.
- Always check your chocolate chip label for allergens if you are sharing with a crowd.
 Save to Pinterest
 Every December now, my niece asks if we are making the sprinkle fudge again. Some traditions start with a happy accident.
Recipes Q&A
- → Can I use milk or dark chocolate instead of semi-sweet chips?
-
Yes, you can swap semi-sweet chocolate chips for milk chocolate for a sweeter, milder fudge, or dark chocolate for a richer, more intense flavor. Adjust based on your preference—the melting method remains exactly the same.
- → How long does the fudge need to chill before cutting?
-
The fudge needs at least 2 hours in the refrigerator to fully set. For the cleanest cuts, you can chill it overnight. Use the parchment paper overhang to lift the entire block out before slicing into squares.
- → Can I add nuts or other mix-ins to this fudge?
-
Absolutely. Stir in up to 1/2 cup of chopped walnuts, pecans, or peanuts right after adding the vanilla extract and before pouring into the pan. You can also add crushed candy canes, toffee bits, or dried fruit for extra texture and flavor.
- → How should I store leftover fudge?
-
Store the fudge in an airtight container in the refrigerator for up to 2 weeks. Layer squares between sheets of parchment paper to prevent sticking. You can also freeze it for up to 3 months—just thaw in the fridge before serving.
- → Why is my fudge grainy or not smooth?
-
Grainy fudge usually results from cooking over heat that's too high or insufficient stirring. Always use low heat and stir constantly until fully melted and glossy. Removing from heat as soon as everything is blended helps maintain that silky, creamy consistency.
- → Can I double this batch for a larger crowd?
-
Yes, simply double all the ingredients and use a 9x13-inch baking pan instead of the 8-inch square. The chilling time may increase slightly—allow 3 to 4 hours for the thicker quantity to set completely before cutting.
