 Save to Pinterest
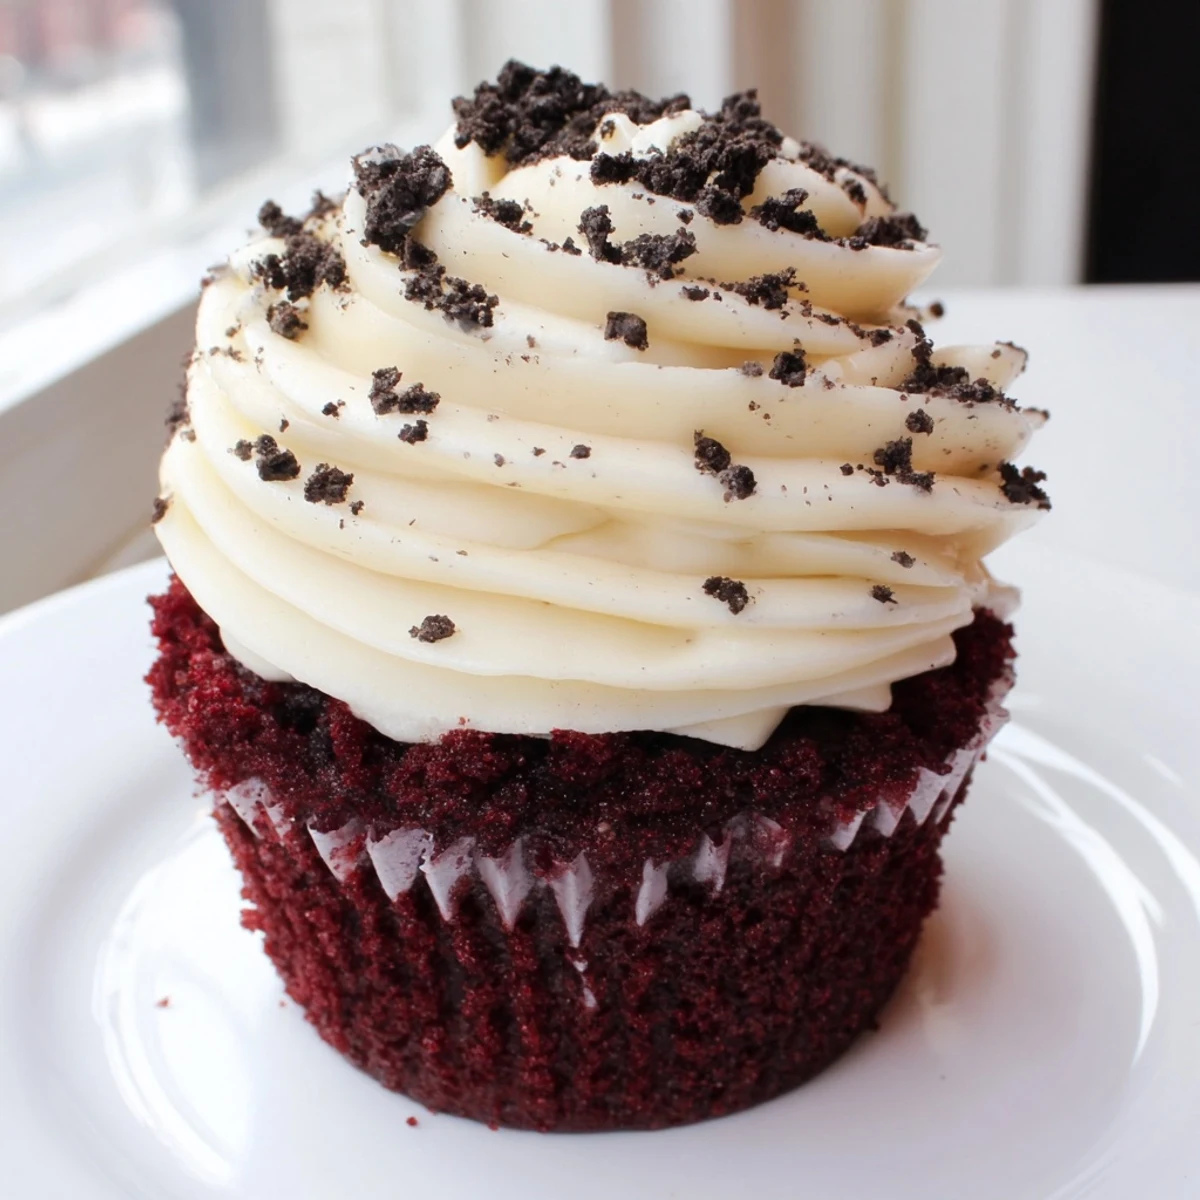
 These red velvet Oreo cupcakes combine a tender, cocoa-kissed red velvet batter with chunks of real Oreo cookies baked right in. Topped with a luscious cream cheese frosting infused with finely crushed Oreos, they deliver the perfect balance of tangy, sweet, and chocolaty in every bite.
Ready in just 40 minutes with simple pantry staples, this dessert yields 12 generously frosted cupcakes ideal for birthdays, potlucks, or weekend indulgence. The buttermilk and vinegar keep the crumb exceptionally soft, while the gel food coloring gives that signature deep red hue.
My kitchen looked like a crime scene the first time I made red velvet anything, red smears across the counter, the faucet, even the cat who walked through a puddle of batter. But those cupcakes disappeared so fast at my friends potluck that nobody cared about my stained countertops. The Oreo addition came later, born from a late night when I had half a pack of cookies and zero self control. Now these are the only cupcakes people ask me to bring.
I brought a batch of these to my coworkers birthday lunch and watched three grown adults argue over who got the last one. Someone actually tried to hide one in their desk drawer for later, which I consider the highest compliment a baker can receive.
Ingredients
- All-purpose flour (1 1/4 cups): The foundation of a tender crumb, so measure carefully and never pack it down.
- Unsweetened cocoa powder (3 tbsp): Just enough to give red velvet its signature subtle chocolate flavor without turning them into chocolate cupcakes.
- Baking soda (1/2 tsp): Works with the vinegar to give these a gentle lift and that soft texture.
- Salt (1/4 tsp): A small amount that sharpens every flavor in the batter.
- Vegetable oil (1/2 cup): Oil keeps these cupcakes moist for days, far better than butter would.
- Granulated sugar (3/4 cup): Sweetness balanced by the tang of buttermilk and cream cheese.
- Large egg (1, room temperature): Binds everything together, so let it sit out for twenty minutes before starting.
- Buttermilk (1/2 cup, room temperature): The secret to that velvety texture, and please do not skip this or substitute regular milk.
- Red food coloring gel (1 tbsp): Gel gives you intense color without thinning the batter like liquid would.
- Pure vanilla extract (1 tsp): Rounds out the cocoa and tang beautifully.
- Distilled white vinegar (1/2 tsp): Reacts with baking soda for extra fluffiness.
- Oreo cookies (10, roughly chopped): Folded into the batter for little cookie surprises throughout.
- Unsalted butter (1/2 cup, softened): The base of the frosting, so make sure it is truly soft but not melted.
- Cream cheese (8 oz, softened): The soul of this frosting, and full fat makes a difference here.
- Powdered sugar (2 cups, sifted): Sifting prevents those awful lumps in your beautiful frosting.
- Pure vanilla extract for frosting (1 tsp): Double the vanilla love in the topping.
- Oreo cookies (6, finely crushed): Blended into the frosting for cookies and cream magic.
Instructions
- Get your oven ready:
- Preheat to 350 degrees F and line a twelve cup muffin tin with paper liners. This is also the moment to clear counter space because things are about to get colorful.
- Whisk the dry team:
- In a medium bowl, combine the flour, cocoa powder, baking soda, and salt with a whisk until evenly blended. Set this aside so it is ready when you need it.
- Build the wet batter:
- Beat the oil and sugar in a large bowl until they look like wet sand, then add the egg, buttermilk, food coloring, vanilla, and vinegar. Mix until the batter turns a stunning deep red and everything is smooth.
- Bring it all together:
- Pour the dry ingredients into the wet mixture gradually, stirring just until you no longer see streaks of flour. Overmixing is the enemy of tender cupcakes, so stop while you are ahead.
- Add the cookie pieces:
- Gently fold the chopped Oreos into the batter with a spatula, distributing them evenly. Try not to crush them into dust because those chunky bites are the whole point.
- Fill the liners:
- Divide the batter among your cupcake liners, filling each about two thirds full. An ice cream scoop makes this neater and more consistent than guessing.
- Bake and cool:
- Bake for eighteen to twenty minutes until a toothpick comes out clean from the center. Let them rest in the pan for five minutes, then move to a wire rack to cool completely before frosting.
- Make the frosting:
- Beat the softened butter and cream cheese together until creamy and light, then add the sifted powdered sugar and vanilla. Whip until fluffy and spreadable, then gently fold in the finely crushed Oreos by hand.
- Frost and finish:
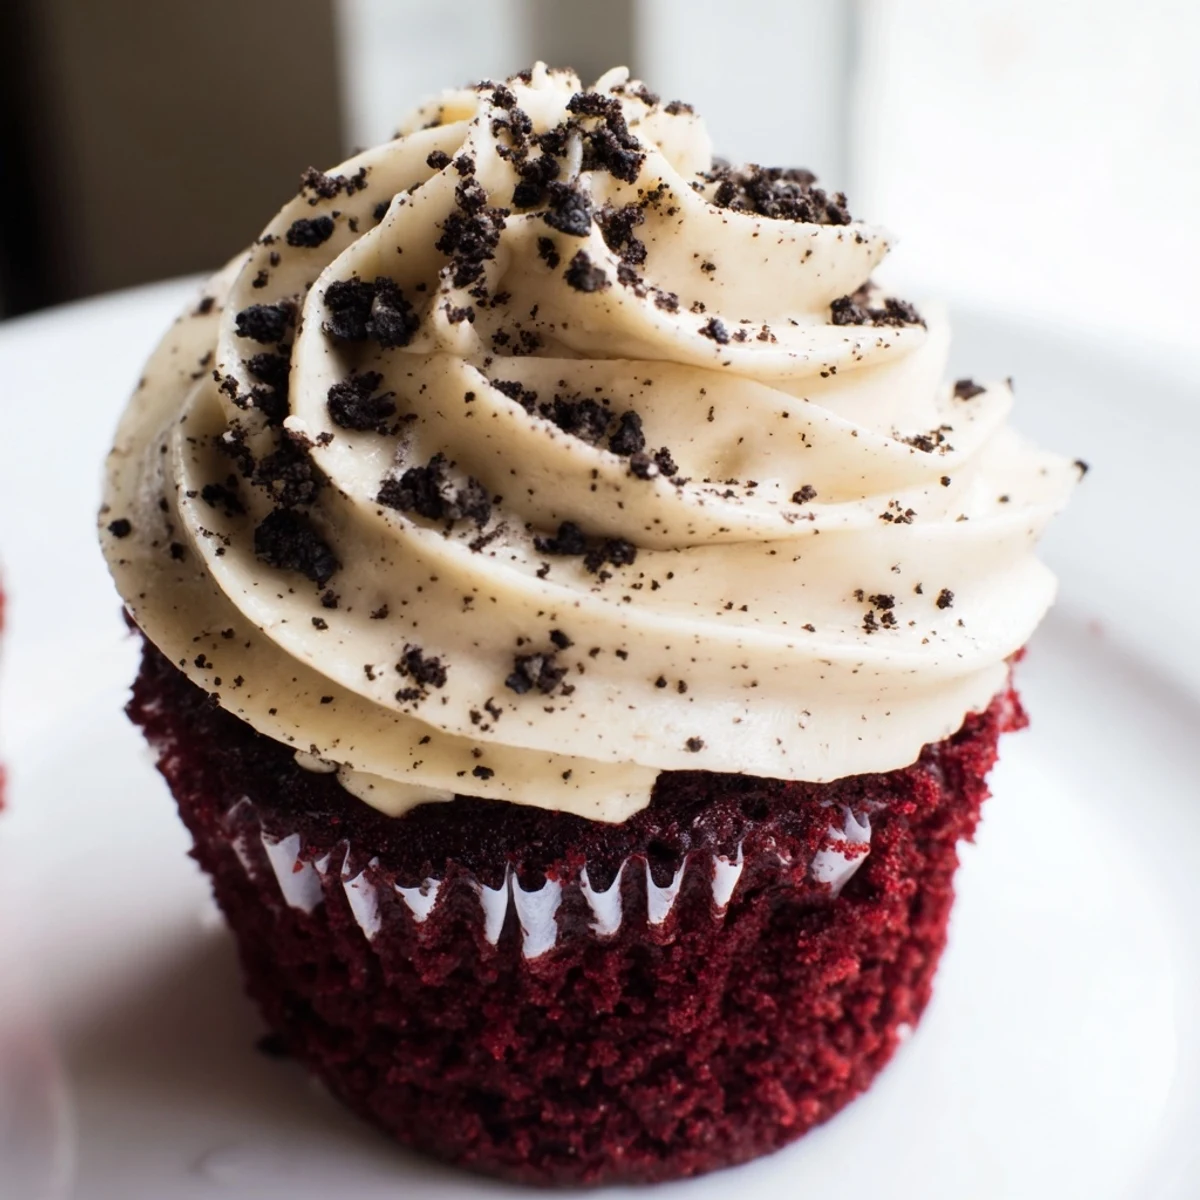
- Pipe or spread the frosting generously onto each cooled cupcake. Scatter extra Oreo crumbs on top if you want that bakery look.
 Save to Pinterest
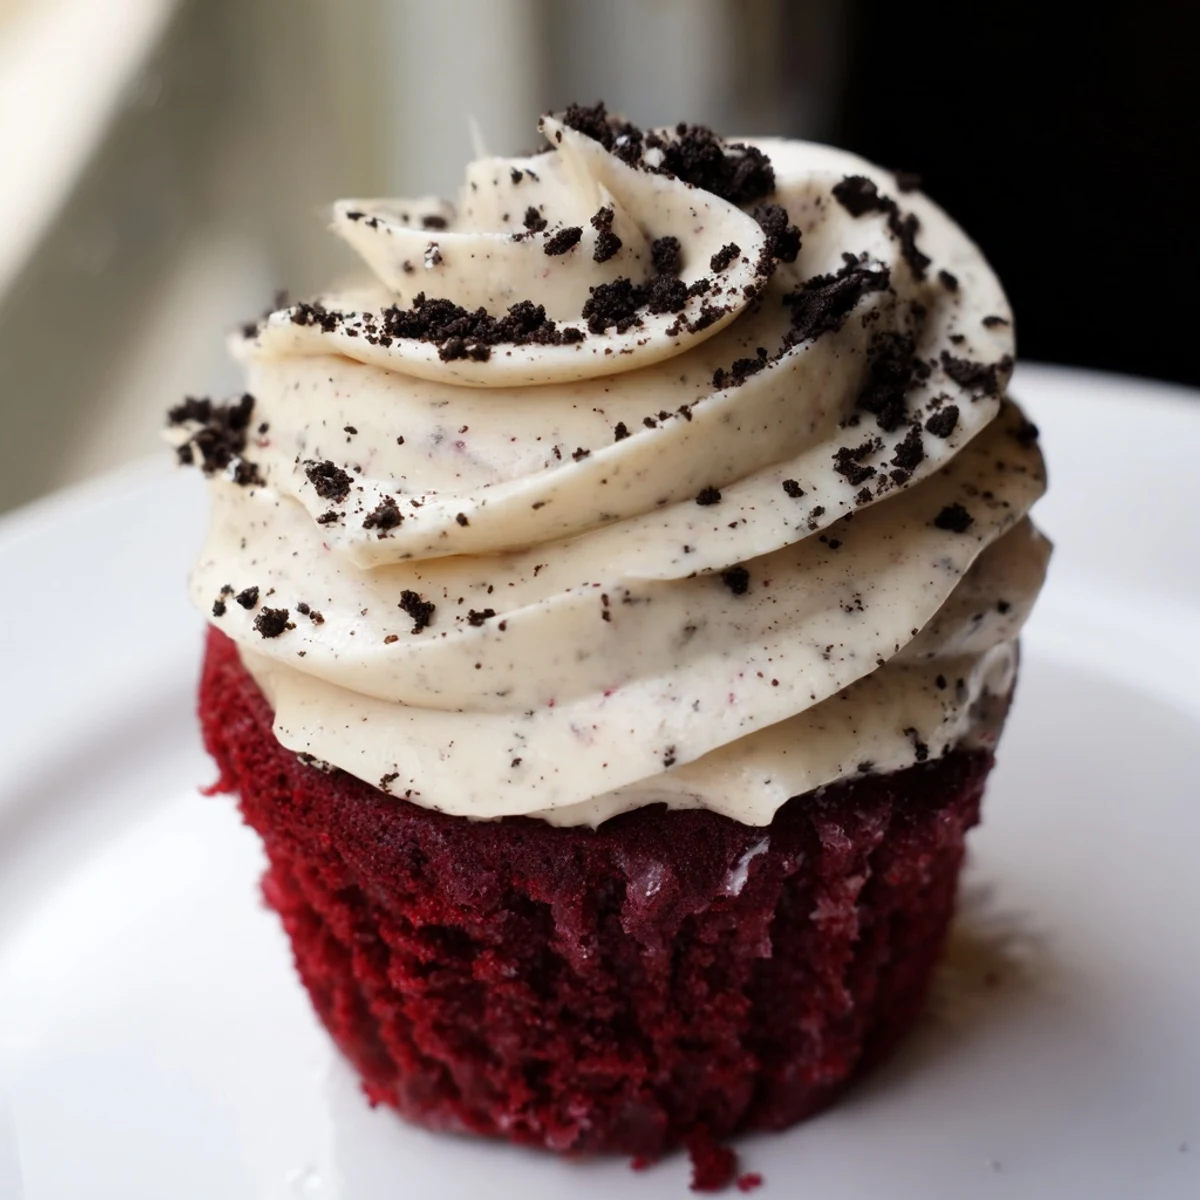
 There is something deeply satisfying about watching someone bite into one of these and find an Oreo chunk hiding inside. It is a small surprise that makes people smile, and honestly that little moment of delight is why I keep baking.
What If You Want Extra Chocolate
Toss a handful of mini chocolate chips into the batter right alongside the chopped Oreos. The chocolate melts into little puddles during baking and takes these from delicious to completely over the top in the best way.
Making Them Gluten Free
Swap the all-purpose flour for a one to one gluten free blend and use gluten free sandwich cookies instead of Oreos. The texture stays remarkably close to the original, and most people will never notice the difference unless you tell them.
Storing And Serving
These keep well in the refrigerator for up to four days when stored in an airtight container, and the flavors actually deepen overnight.
- Always let chilled cupcakes sit at room temperature for fifteen minutes before serving so the frosting softens.
- Unfrosted cupcakes freeze beautifully for up to three months if you want to bake ahead.
- Frozen frosted cupcakes tend to get sticky when thawed, so frost them fresh if possible.
 Save to Pinterest
 Every time I make these, someone asks for the recipe, and I always say the same thing: just wear an apron and embrace the mess. The red stains wash out eventually, but the memory of watching people fight over the last cupcake lasts forever.
Recipes Q&A
- → Can I make these cupcakes without food coloring?
-
Yes, you can omit the red food coloring entirely. The cupcakes will have a light brown cocoa color but will taste identical. For a natural alternative, try beetroot powder, though the shade will be more muted than traditional red velvet.
- → How should I store leftover cupcakes?
-
Store frosted cupcakes in an airtight container in the refrigerator for up to 4 days. Let them sit at room temperature for about 20 minutes before serving so the frosting softens and the crumb becomes tender again.
- → Can I freeze these red velvet Oreo cupcakes?
-
Absolutely. Freeze the unfrosted cupcakes wrapped tightly in plastic wrap for up to 3 months. Thaw overnight in the refrigerator, then frost when fully defrosted. You can also freeze fully frosted cupcakes in a sturdy container, though the frosting texture may soften slightly.
- → What can I substitute for buttermilk?
-
Mix 1/2 cup of regular milk with 1/2 tablespoon of lemon juice or white vinegar. Let it sit for 5 minutes until slightly curdled, then use it as directed. Plain unsweetened yogurt thinned with a splash of milk also works well.
- → How do I get the best red color in the batter?
-
Use gel food coloring rather than liquid for a more vibrant, concentrated hue without altering the batter consistency. One tablespoon of gel gives a deep, rich red. Add the coloring to the wet ingredients before combining with the dry mixture for even distribution.
- → Can I make these gluten-free?
-
Yes, swap the all-purpose flour for a 1-to-1 gluten-free baking blend and use gluten-free chocolate sandwich cookies instead of traditional Oreos. Check all labels carefully, especially the food coloring and cocoa powder, to confirm they are gluten-free.
