 Save to Pinterest
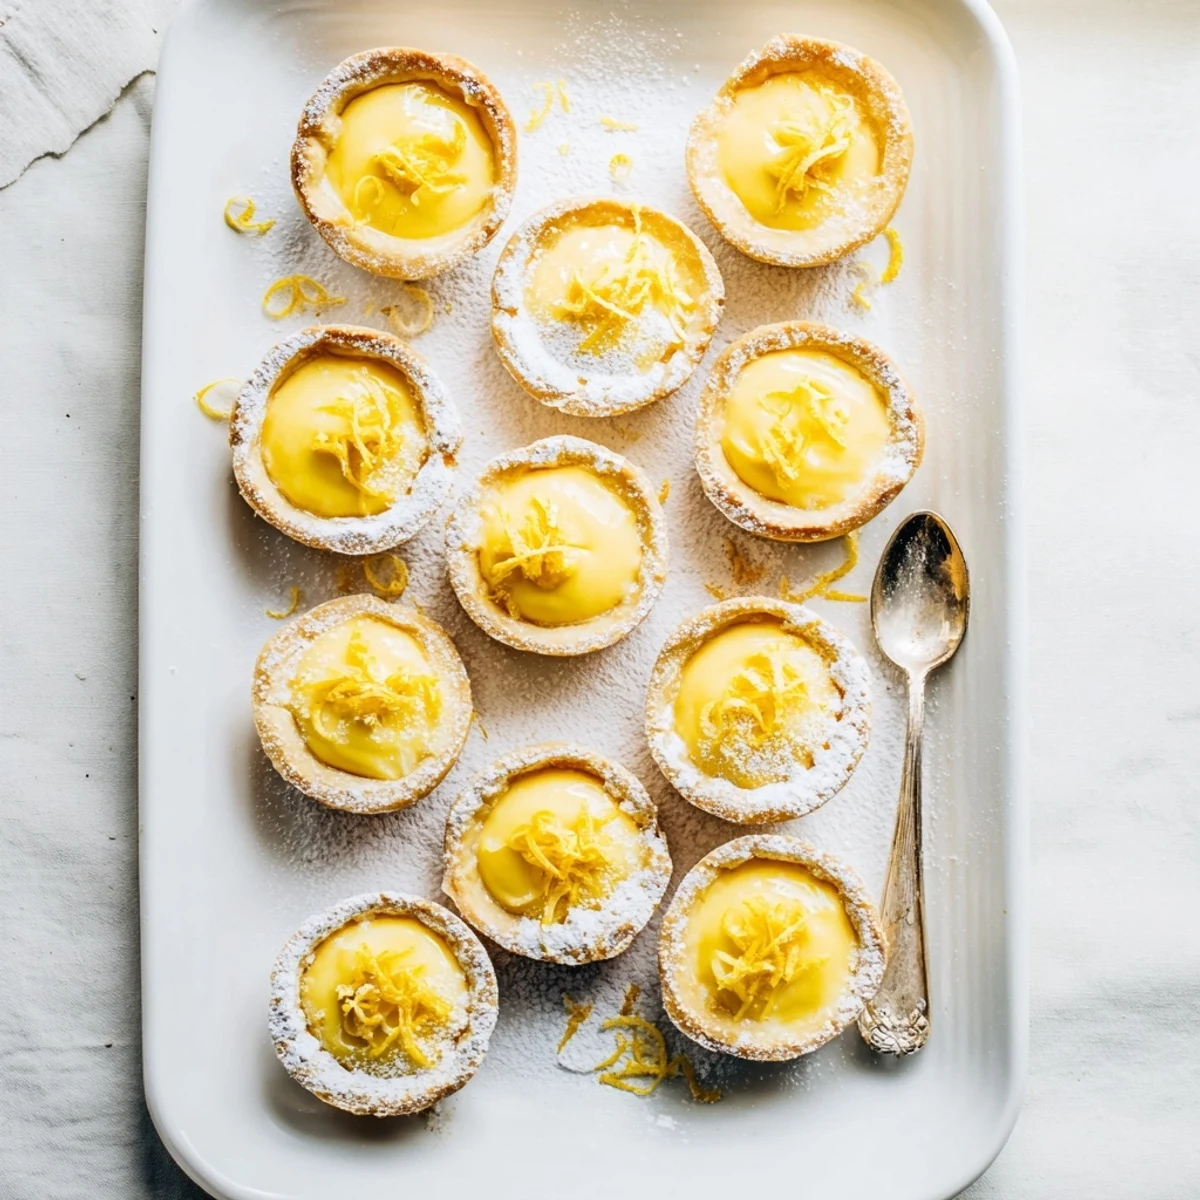
 These delightful mini tarts feature a buttery crust made with coconut oil and a silky-smooth lemon custard filling thickened with cornstarch. The coconut milk creates an incredibly creamy texture while letting the bright lemon flavor shine through. Fresh lemon zest adds aromatic depth, and a touch of turmeric gives the filling that classic sunny yellow hue. Perfect for parties, tea time, or whenever you crave something sweet yet refreshing.
The first time I brought these to a dinner party, my friend kept asking what kind of egg trick I'd pulled to get the filling so impossibly silky. Watching people's faces light up when they realize these are entirely plant-based never gets old.
I made these for a summer potluck last year, set them on a sunny table, and within ten minutes someone was already asking for the recipe. There's something about bite-sized desserts that makes people feel like they can indulge without overcommitting.
Ingredients
- 1 1/4 cups all-purpose flour: Forms the foundation of your crust and creates that satisfying tender crunch
- 1/4 cup solid coconut oil: Keeps everything vegan while creating flaky layers that melt in your mouth
- 2 tbsp granulated sugar: A touch of sweetness in the crust balances the bright filling
- 1/4 tsp salt: Essential for bringing out all the flavors and preventing that flat taste
- 3-4 tbsp cold water: Brings your dough together, add slowly until you get the right consistency
- 1/2 cup lemon juice: Fresh squeezed gives you that authentic tang that bottled juice just cannot match
- 1 tbsp lemon zest: This is where all the aromatic lemon oils live, do not skip it
- 1 cup full-fat coconut milk: Creates that lush creamy texture that makes people forget there is no dairy
- 1/2 cup granulated sugar: Balances the acidity without masking the fresh lemon flavor
- 2 tbsp cornstarch: The magic thickener that transforms liquid into silky pudding
- 1/4 tsp turmeric: Gives your filling that gorgeous yellow hue without any artificial coloring
- 1/8 tsp salt: A tiny pinch that makes all the other flavors pop
- 1/2 tsp vanilla extract: Rounds out the sharpness and adds warmth
Instructions
- Get your oven ready:
- Preheat to 350F and give your mini muffin tin a light coat of oil so nothing sticks later
- Build the crust:
- Mix flour, sugar, and salt in a bowl, then cut in the coconut oil until you see coarse crumbs throughout
- Bring the dough together:
- Add cold water one tablespoon at a time, mixing until the dough holds together when pinched
- Shape your shells:
- Divide dough into 12 pieces and press each into the muffin cups, working dough up the sides
- Bake until golden:
- Prick bottoms with a fork and bake for 10-12 minutes until lightly golden, then cool completely
- Whisk the filling:
- Combine all filling ingredients in your saucepan, whisking until the cornstarch fully dissolves
- Cook to perfection:
- Heat over medium, whisking constantly until the mixture thickens and just begins to bubble
- Fill and set:
- Pour warm filling evenly into cooled shells and chill for at least an hour until firm
 Save to Pinterest
 My niece asked if she could help make them for her birthday, and seeing her tiny hands carefully pressing dough into the muffin tin reminded me why cooking with kids is so special. She was so proud serving something she made herself.
Making These Ahead
The crust can be baked and stored in an airtight container for up to two days before you need them. Keep the filling separate and fill them shortly before serving for the best texture.
Getting The Perfect Set
Rushing the chill time is the most common mistake I see. The filling needs that full hour to firm up properly, or you will end up with a runny mess when someone tries to pick one up.
Serving Suggestions
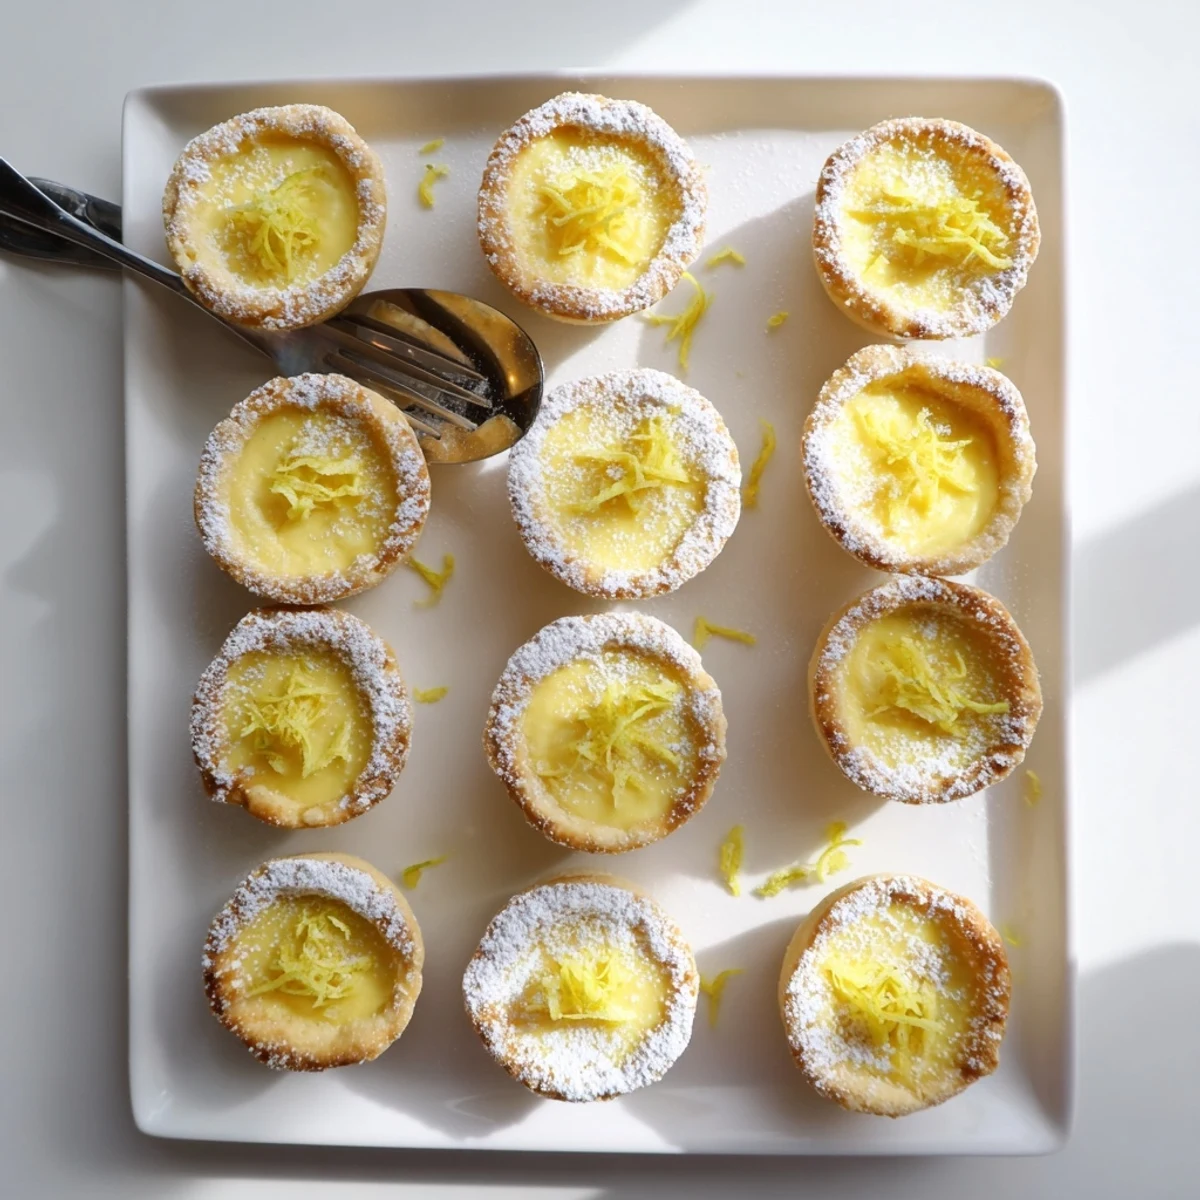
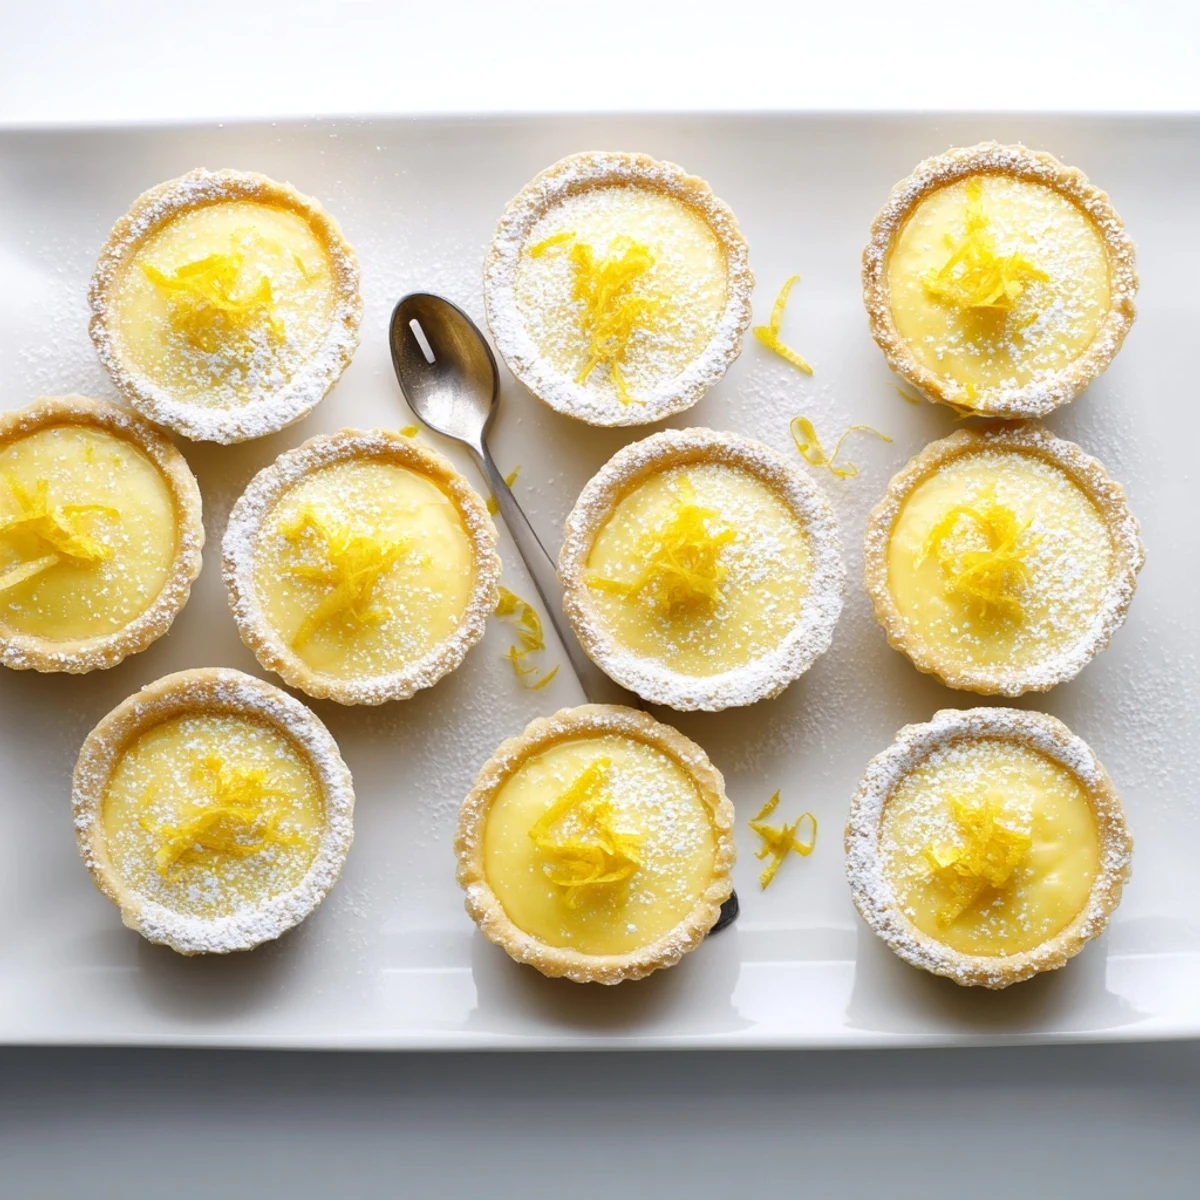
A sprinkle of fresh berries or some vegan whipped cream takes these from lovely to absolutely stunning. I have found that a light dusting of powdered sugar right before serving makes them look bakery professional.
- Top with a curl of lemon zest for extra brightness
- Pair with a cup of herbal tea for an elegant afternoon treat
- Arrange on a pretty platter for maximum visual impact
 Save to Pinterest
 These little tarts have become my go-to whenever I need to bring something that feels special but does not require hours of fuss. There is something so satisfying about watching people reach for seconds.
Recipes Q&A
- → Can I make these gluten-free?
-
Yes, simply substitute the all-purpose flour with a 1:1 gluten-free flour blend in the crust. The texture remains wonderfully crisp and holds the filling perfectly.
- → How long do these tarts keep?
-
Store in an airtight container in the refrigerator for up to 3 days. The crust may soften slightly over time but the flavor remains excellent.
- → Can I use a different plant milk?
-
Coconut milk provides the best creamy texture, but you can substitute with cashew or almond milk. The filling may be slightly less rich but still delicious.
- → Do I need to bake the filling?
-
The filling is cooked on the stovetop until thickened, then poured into the pre-baked crusts. No additional baking is required—just chilling time to set.
- → Can I make these ahead of time?
-
Absolutely! Prepare both crusts and filling up to 2 days in advance. Assemble just before serving for the best texture, or assemble earlier and keep chilled.
- → What can I use instead of coconut oil in the crust?
-
Cold vegan butter or solid vegetable shortening works well. The key is keeping it cold to achieve that flaky, tender pastry texture.
