 Save to Pinterest
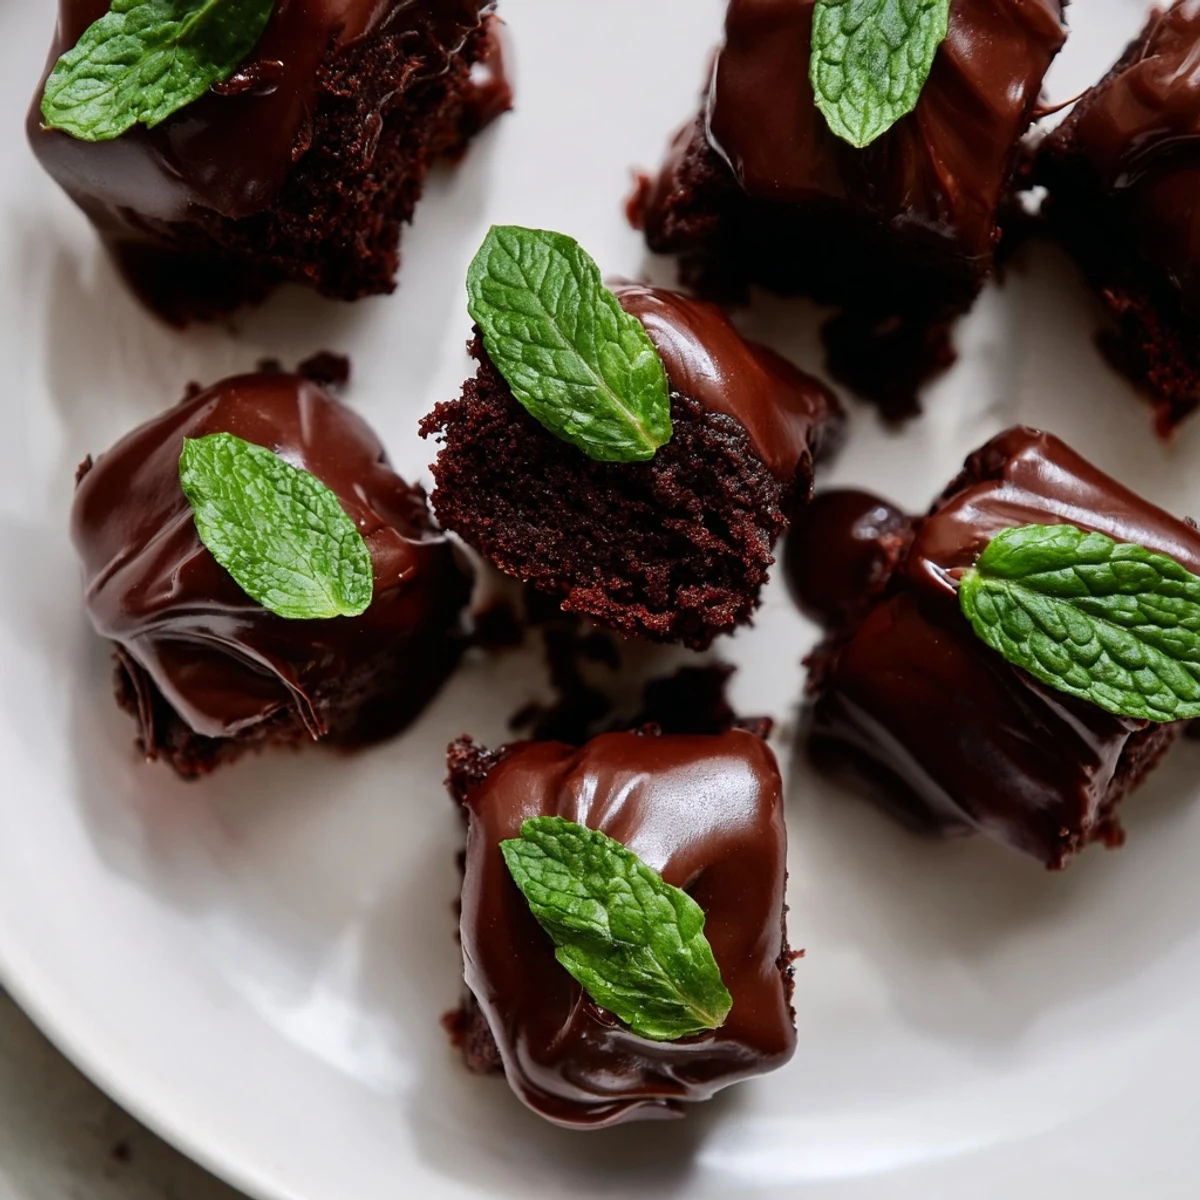
 These bite-sized brownies combine rich, fudgy texture with a refreshing hint of mint. Made with semisweet chocolate and a touch of peppermint extract, each piece is topped with glossy chocolate ganache infused with mint flavor. Easy to prepare and bake in mini muffin tins, they offer a perfect balance of sweetness and coolness. Garnished with fresh mint leaves or chocolate shavings, these treats are ideal for gatherings or personal indulgence.
The first time I made these mint brownie bites was for a last-minute office potluck. Someone had brought store-bought cookies that disappeared in seconds, and I felt that familiar panic of needing to contribute something memorable. I grabbed whatever chocolate I had in the pantry, spotted a forgotten bottle of peppermint extract behind the spices, and decided to wing it.
My sister-in-law actually took me aside at that office gathering and whispered that she ate four before anyone else arrived. She said the cooling mint on top of warm fudge felt like dessert from a fancy restaurant, but somehow more approachable. Now whenever I visit, she checks if I brought those little brownie bites with the white swirls on top.
Ingredients
- Unsalted butter: Room temperature butter melts more evenly with the chocolate, preventing any grainy texture in the finished brownies
- Semisweet chocolate: Choose baking bars over chips because chips have stabilizers that prevent proper melting into ganache
- Granulated sugar: The sugar creates that crackly top we all love on brownies, so do not reduce the amount
- Large eggs: Bring these to room temperature too, or they will seize the warm chocolate mixture into weird little lumps
- Vanilla and peppermint extracts: The vanilla keeps the peppermint from tasting like toothpaste
- All-purpose flour: Measure by spooning into the measuring cup and leveling off, not scooping directly
- Unsweetened cocoa powder: Dutch-processed cocoa gives a deeper fudge flavor, but natural cocoa works fine too
- Salt: Just a quarter teaspoon, but it makes the chocolate taste more chocolatey somehow
- Heavy cream: Do not use milk or half-and-half, or the ganache will never set properly
Instructions
- Preheat your oven and pan:
- Set the oven to 350 degrees Fahrenheit and grease every single cup of your mini muffin tin, even if you are using paper liners
- Melt the chocolate base:
- Set a heatproof bowl over simmering water, melt the butter and chocolate together while stirring constantly until smooth as glass
- Whisk in the sugar and eggs:
- Let the chocolate cool for just a couple minutes, then whisk in the sugar until dissolved before adding the eggs one at a time
- Add the minty flavor:
- Stir in both extracts now, and take a moment to smell the mixture because it is honestly lovely
- Fold in the dry ingredients:
- Sift the flour, cocoa, and salt directly into the bowl, then fold with a spatula until you no longer see dry flour streaks
- Fill the muffin cups:
- Scoop batter into each mini cup about three-quarters full, and resist the urge to overfill or they will bake into weird mushroom shapes
- Bake until just set:
- Slide the tin into the oven for 12 to 15 minutes, rotating halfway through, until the tops look matte and set
- Cool completely before ganache:
- Let them rest in the tin for 5 minutes, then carefully move to a wire rack because ganache slides right off warm brownies
- Make the ganache:
- Heat the cream until you see tiny bubbles around the edges, pour over chopped chocolate, let it sit for exactly 1 minute, then stir until glossy
- Top each brownie bite:
- Spoon or pipe the ganache onto each cooled brownie, and add a mint leaf or chocolate curl if you are feeling fancy
 Save to Pinterest
 My daughter now requests these for every school bake sale because she says teachers always remember the mint brownies from the year before. I have caught her sneaking them from the cooling rack, leaving little chocolate fingerprints on the counter.
Getting the Texture Right
The difference between fudgy and cakey brownies comes down to mixing time. As soon as the flour disappears, stop folding. Overmixing develops gluten and turns these dense little bites into something fluffy and wrong. I set a timer for exactly 15 seconds of folding now.
Ganache Troubleshooting
If your ganache looks grainy or separated, do not panic. Warm a tablespoon of cream and whisk it in slowly. Usually that brings it back together. I learned this after wasting an entire batch early on, and now I keep extra cream nearby just in case.
Make-Ahead Strategy
You can bake the brownie bites up to two days ahead and store them in an airtight container. Make the ganache fresh though, or it will lose that silky gloss that makes people think you spent hours on these. The ganache also freezes beautifully if you want to make a double batch.
- Pop the brownie bites in the freezer for 10 minutes before topping with ganache for cleaner work
- Use a zip-top bag with the corner snipped off instead of a piping bag for easy ganache application
- These transport best if the ganache has had at least 2 hours to set completely
 Save to Pinterest
 These mint brownie bites have become my go-to for everything from birthdays to Tuesdays when chocolate feels necessary. Hope they become a favorite in your kitchen too.
Recipes Q&A
- → What ingredients give the brownie bites their mint flavor?
-
Peppermint extract is used in both the batter and the ganache to infuse a refreshing minty taste throughout the bites.
- → How is the chocolate ganache prepared?
-
The ganache is made by heating heavy cream until steaming, then pouring it over chopped semisweet chocolate and stirring until smooth and glossy with added peppermint extract.
- → Can I use a different type of chocolate?
-
Yes, dark chocolate can replace semisweet chocolate for a richer, deeper flavor in both the brownie base and ganache.
- → What baking equipment is needed?
-
A mini muffin tin with 24 cups is used to bake the brownie bites, along with standard mixing bowls and a double boiler or microwave-safe bowl for melting chocolate.
- → How should the brownie bites be stored?
-
Store the brownie bites in an airtight container at room temperature or refrigerated for up to 3 days to maintain freshness and texture.
