 Save to Pinterest
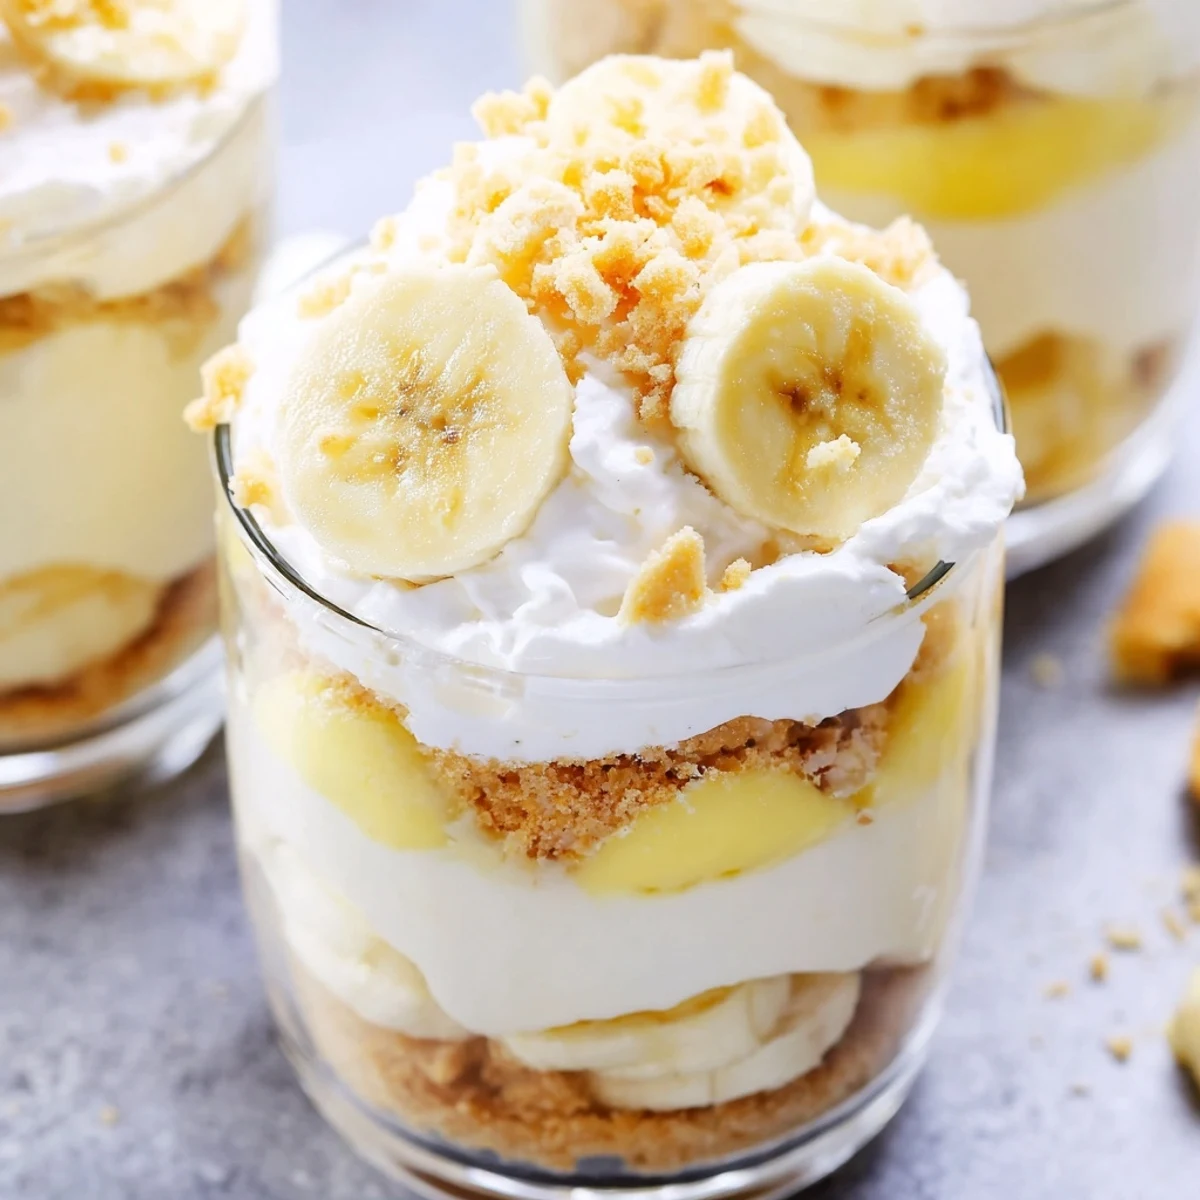
 These individual cups feature buttery vanilla wafer crust topped with velvety cheesecake filling, sweet banana pudding, and fresh banana slices. The no-bake preparation makes them incredibly convenient for entertaining or weeknight treats. Each spoonful delivers creamy textures, crunchy crumbs, and bright banana flavor in perfect harmony.
The summer our air conditioner broke, I discovered the beauty of no-bake desserts. Standing in a sweltering kitchen with the oven off felt like a small victory, and these banana pudding cheesecake cups became my go-to rescue. Something about layering creamy fillings in clear glasses makes everything feel fancier, even when you're sweating through your apron.
I brought these to a book club meeting once and watched three different people ask for the recipe before we'd even discussed the book. There's something universally appealing about that classic banana flavor profile, elevated just enough to feel special without losing the nostalgic charm. The layers look so pretty against glass that people almost hesitate to disturb them—almost.
Ingredients
- Vanilla wafer cookies (1 cup, crushed): These nostalgic wafers provide the classic banana pudding flavor foundation and create that essential crunch throughout each layer
- Unsalted butter (2 tbsp, melted): Binding the crumbs with butter creates a stable crust that holds up beautifully against the creamy fillings
- Cream cheese (8 oz, softened): Room temperature cream cheese blends smoothly without lumps, creating that luxurious cheesecake texture we all crave
- Granulated sugar (1/3 cup): Just enough sweetness to balance the tanginess of the cream cheese without overpowering the banana flavor
- Pure vanilla extract (1 tsp): Real vanilla makes all the difference here, amplifying both the cheesecake and banana pudding layers
- Heavy whipping cream (1 cup, cold): Cold cream whips up beautifully and lightens the dense cream cheese into something airy and delightful
- Instant banana pudding mix (3.4 oz): The shortcut that delivers consistent banana flavor every time, no custard-making required
- Cold whole milk (1 1/4 cups): Whole milk creates the richest pudding layer that holds its structure when layered
- Ripe bananas (2, sliced): Perfectly ripe bananas with some brown spots offer the sweetest flavor and creamiest texture
Instructions
- Build the foundation:
- Crush those vanilla wafers until they're fine crumbs, then mix with melted butter until everything clumps together when squeezed. Spoon about two tablespoons into each cup and press down gently with the back of your spoon to create a solid crust layer that won't crumble when you dig in later.
- Create the cloud:
- Beat your softened cream cheese with sugar and vanilla until it's completely smooth and no lumps remain. In a separate bowl, whip that cold heavy cream until stiff peaks form—you know it's ready when you can turn the bowl upside down and nothing moves. Gently fold the whipped cream into the cream cheese mixture, being careful not to deflate all that air you just worked to create.
- Whisk up the pudding magic:
- In another bowl, whisk the banana pudding mix with cold milk for exactly two minutes. You want it thick enough to hold its shape but still pourable, creating that perfect pudding consistency that'll sit beautifully between your other layers.
- Layer like an artist:
- Spoon half your cheesecake mixture over the crust in each cup, spreading it gently to create an even layer. Arrange a single layer of banana slices over the cream, then divide the pudding among all six cups. Top with remaining cheesecake filling, spreading it to the edges so each layer shows through the glass.
- Finish with flair:
- Sprinkle extra vanilla wafer crumbs over each cup, add a few fresh banana slices, and crown with a dollop of whipped cream if you're feeling fancy. Cover each cup and refrigerate for at least two hours—this chilling time is non-negotiable for the flavors to meld and the layers to set properly.
 Save to Pinterest
 My daughter requested these for her birthday instead of a traditional cake, something about having her own individual portion felt special to her. Now they've become our celebration standard—birthdays, good report cards, surviving Monday mornings, you name it. There's something joyful about having your own perfect little dessert world in a glass.
Make-Ahead Magic
You can assemble these cups up to 24 hours in advance, which makes them practically perfect for entertaining. Just hold off on the final fresh banana slices and whipped cream topping until right before serving, or those bananas will start looking sad and brown. The flavors actually develop and intensify overnight, making an even more delicious dessert the next day.
Serving Suggestions
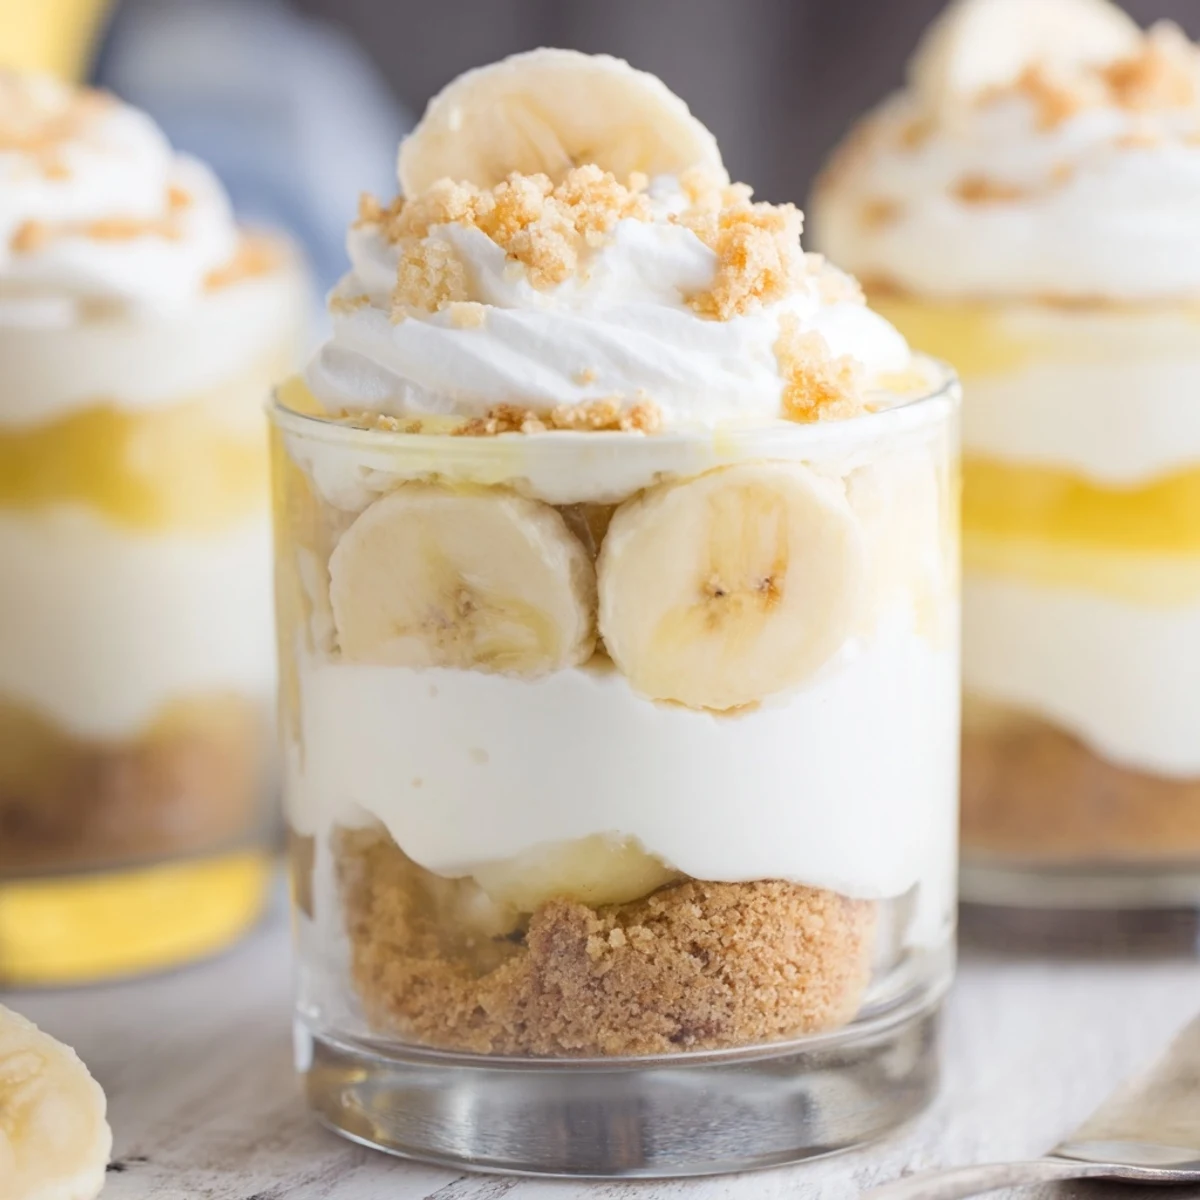
Clear glass cups or jars show off those beautiful layers to their best advantage—shot glasses work for tiny portions, while mason jars create a more rustic presentation. I've served these at everything from elegant dinner parties to casual backyard barbecues, and they're always the first thing to disappear. Sometimes simplicity is the most impressive choice you can make.
Flavor Variations
Once you've mastered the classic version, try swirling a tablespoon of caramel sauce into the cheesecake layer before adding your bananas. A sprinkle of cinnamon in the crust adds warmth that pairs unexpectedly well with the banana flavor. For chocolate lovers, a tablespoon of cocoa powder mixed into the cheesecake filling creates a banana-chocolate combination that's absolutely divine.
- Add a splash of banana liqueur to the pudding mixture for an adult version that still keeps the dessert family-friendly
- Try crumbling graham crackers instead of vanilla wafers for a slightly different crust profile
- A pinch of sea salt on top right before serving creates a salted caramel effect that elevates every single bite
 Save to Pinterest
 There's something deeply satisfying about a dessert that looks impressive but requires zero oven time, especially during those months when turning on the oven feels like a personal punishment. These little cups have saved me more times than I can count, always delivering that perfect combination of creamy, crunchy, and nostalgic in every single spoonful.
Recipes Q&A
- → Can I make these cups ahead of time?
-
Yes, assemble these cups up to 24 hours in advance. Cover tightly and refrigerate, adding fresh banana slices and whipped cream just before serving to prevent browning.
- → How do I prevent bananas from turning brown?
-
Toss sliced bananas lightly in lemon juice before layering, or add them immediately before serving. The acidity slows oxidation and keeps slices looking fresh.
- → Can I use homemade pudding instead of instant?
-
Absolutely. Cook homemade vanilla or banana pudding from scratch, allow it to cool completely, then layer as directed. The texture will be even creamier.
- → What type of cups work best for serving?
-
Clear glass cups, mason jars, or dessert dishes showcase the beautiful layers. Choose vessels that hold 6-8 ounces for perfect portion sizes.
- → Can I freeze these cheesecake cups?
-
Freezing isn't recommended as the texture of the pudding and fresh bananas changes when thawed. Best enjoyed fresh from the refrigerator within 2 days.
- → How long do these need to chill before serving?
-
Refrigerate for at least 2 hours to allow flavors to meld and layers to set. For the best texture and flavor, let them chill overnight if possible.
