 Save to Pinterest
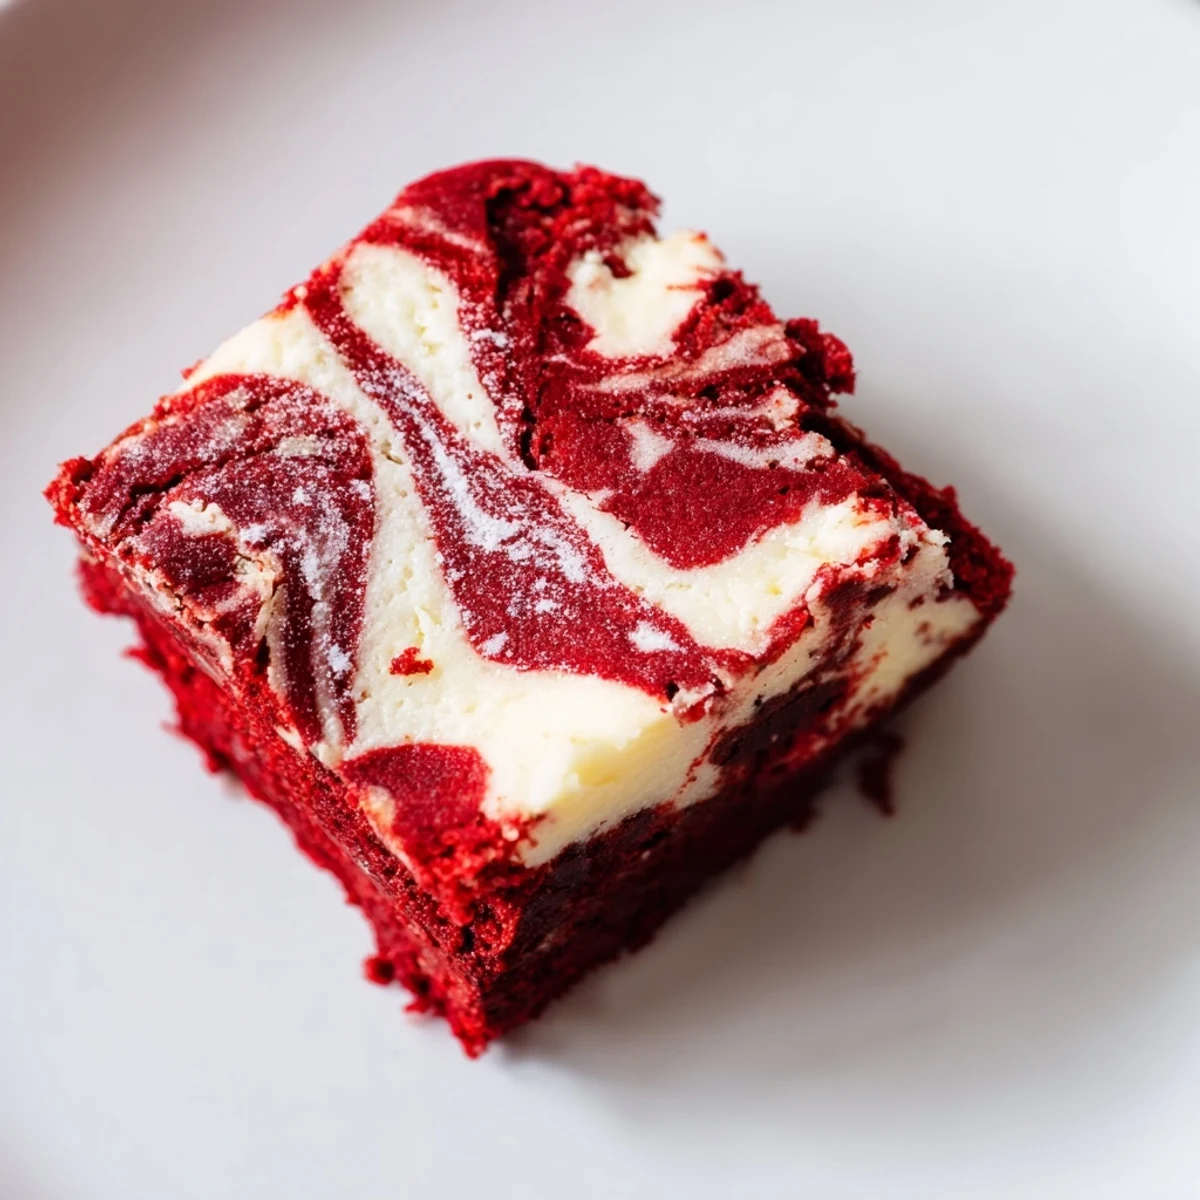
 These red velvet cheesecake brownie bites feature fudgy red velvet batter combined with a smooth, creamy cheesecake swirl. Baked in mini muffin tins, each bite offers a rich chocolate flavor accented by the tangy cheesecake topping. Ideal for gatherings or indulgent moments, these treats balance moist texture with a delicate marbled finish. Preparation involves blending butter, cocoa, and red food coloring with a soft cream cheese mixture before swirling and baking to perfection.
The first time I made these, my kitchen looked like a crime scene with red food coloring splattered everywhere, but one bite of that marbled cheesecake swirl made the cleanup completely worth it.
I brought these to a friend's birthday party last winter, and honestly, I think people were more excited about these tiny treats than the actual cake.
Ingredients
- Unsalted butter: Melted butter creates that dense fudgy texture we all love in brownies
- Granulated sugar: Sweetens both layers and helps create that crackly top
- Egg: Binds everything together into that perfect chewy bite
- Vanilla extract: Dont skip this, it rounds out the chocolate flavor beautifully
- Red food coloring: Gel coloring gives you that vibrant red without adding extra liquid
- All-purpose flour: Just enough to hold these together while staying tender
- Unsweetened cocoa powder: Dutch-process gives a deeper chocolate flavor
- Salt: Balances the sweetness and makes chocolate taste more chocolatey
- Cream cheese: Use full-fat and bring it to room temperature for the smoothest swirl
- Egg yolk: Adds richness and helps the cheesecake layer set properly
Instructions
- Get your oven ready:
- Preheat to 175°C (350°F) and prep your mini muffin tin with liners or a light greasing
- Make the red velvet magic:
- Whisk melted butter and sugar until smooth, then beat in egg, vanilla, and red food coloring until that gorgeous red appears
- Add the dry ingredients:
- Sift in flour, cocoa powder, and salt, then fold gently until just combined
- Whip up the cheesecake swirl:
- Beat cream cheese until smooth, then mix in sugar, egg yolk, and vanilla until creamy and lump-free
- Layer and swirl:
- Spoon about 1 tablespoon of red velvet batter into each cup, top with 1 teaspoon cheesecake mixture, and swirl with a toothpick for that marble effect
- Bake to perfection:
- Bake for 22-25 minutes until centers are just set and edges pull slightly away from the sides
- Let them cool:
- Cool in the pan for 10 minutes before transferring to a wire rack to cool completely
 Save to Pinterest
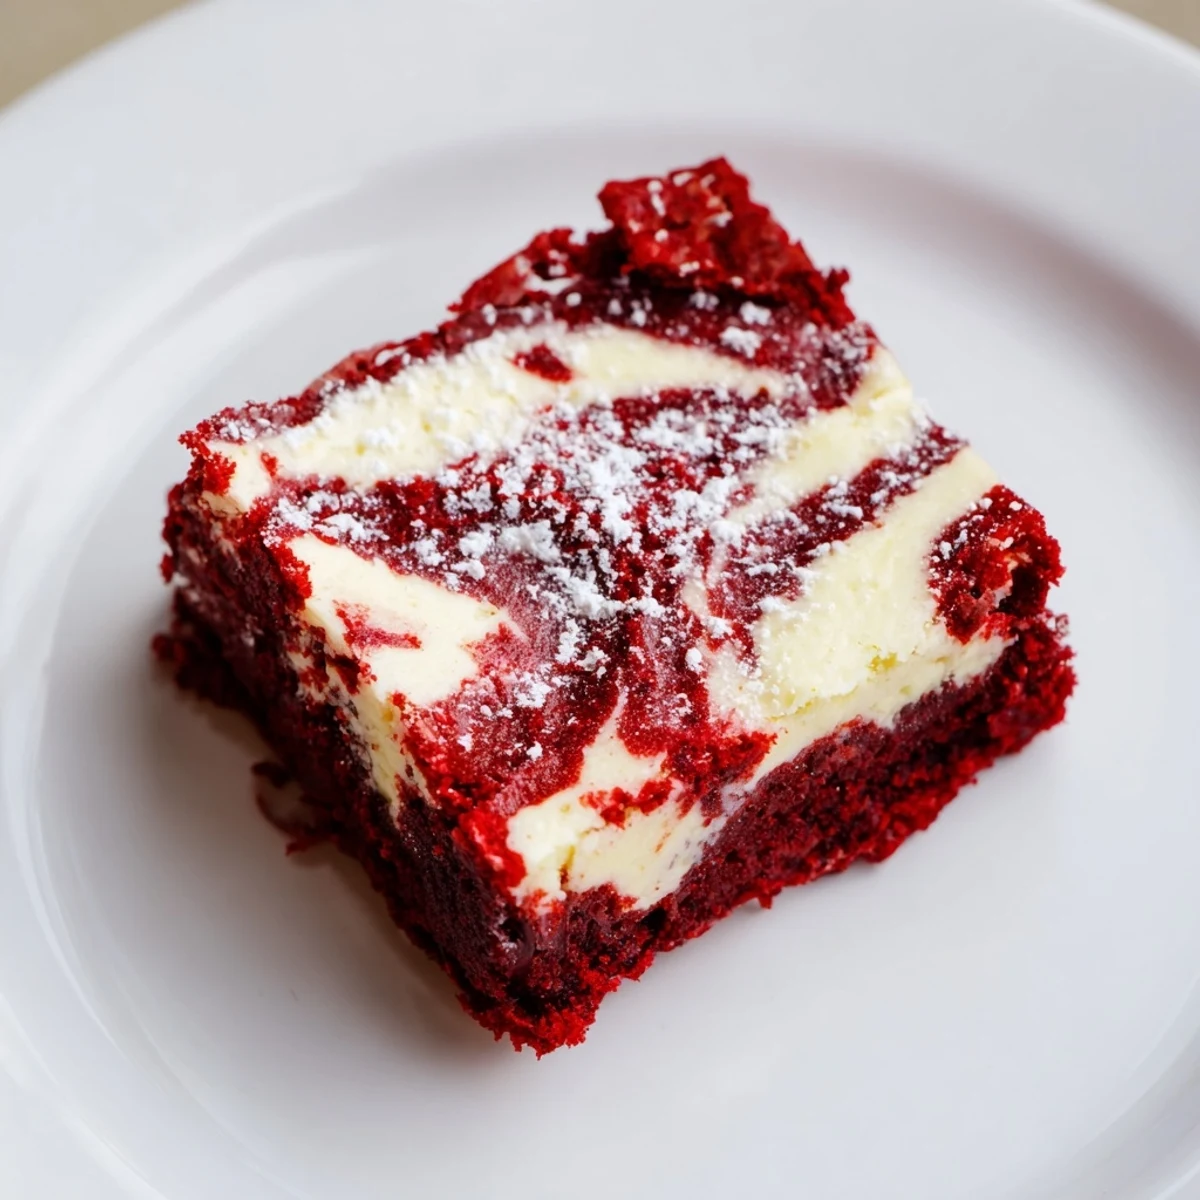
 My sister called me the next day demanding the recipe, and now they're her go-to for every office potluck.
Getting The Perfect Swirl
I learned the hard way that swirling too aggressively blends the two layers into a muddy pink mess, so just one gentle figure-eight motion with your toothpick is perfect.
Storage Secrets
These actually taste better after chilling in the fridge for a few hours, which makes them ideal for making the day before a party.
Serving Ideas
Sometimes I top them with white chocolate chips before baking for extra decadence.
- Chocolate shavings make them look fancy with zero extra effort
- A dusting of powdered sugar right before serving adds such a pretty touch
- Try them slightly warmed if you want that extra gooey factor
 Save to Pinterest
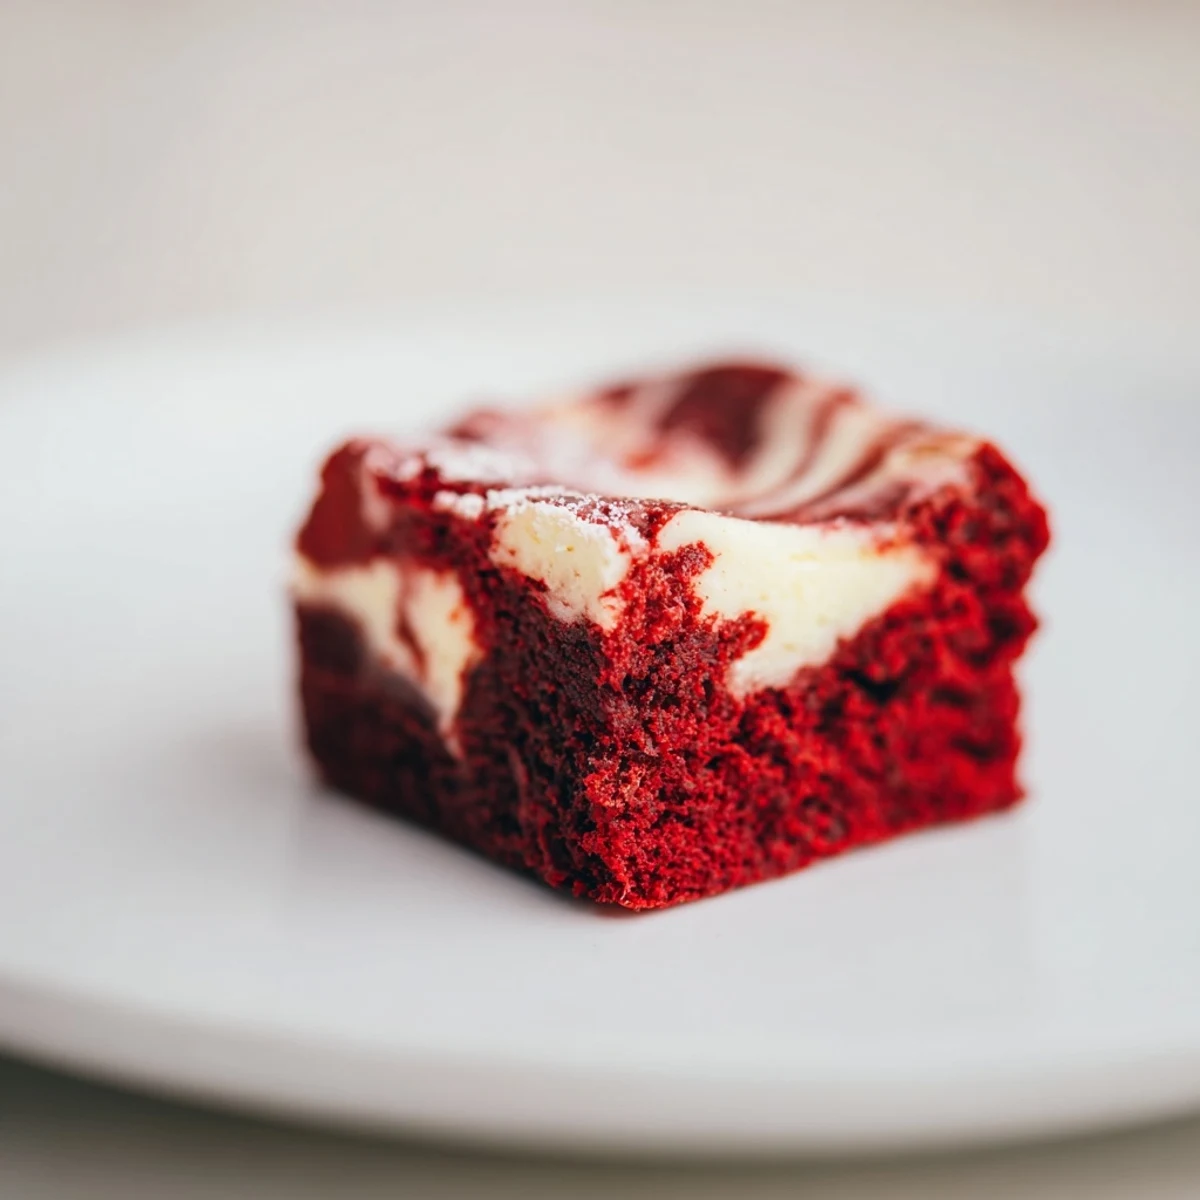
 These little bites have become my secret weapon for any occasion that calls for something impressive but actually pretty simple.
Recipes Q&A
- → What ingredients create the red velvet flavor?
-
The rich red hue and flavor come from unsweetened cocoa powder combined with red food coloring, vanilla extract, and melted butter, contributing to its classic taste.
- → How is the cheesecake swirl prepared?
-
The cheesecake swirl mixes softened cream cheese, sugar, egg yolk, and vanilla extract until smooth, which is then dolloped and swirled into the brownie batter.
- → What baking tools are needed?
-
A mini muffin tin lined with paper or greased, mixing bowls, an electric mixer or whisk, measuring spoons, and a toothpick or skewer for swirling are essential.
- → How can I achieve a vibrant red color?
-
Using gel-based red food coloring instead of liquid enhances color vibrancy without altering batter consistency.
- → How should the bites be stored after baking?
-
Store in an airtight container in the refrigerator to maintain freshness and texture for up to 5 days.
