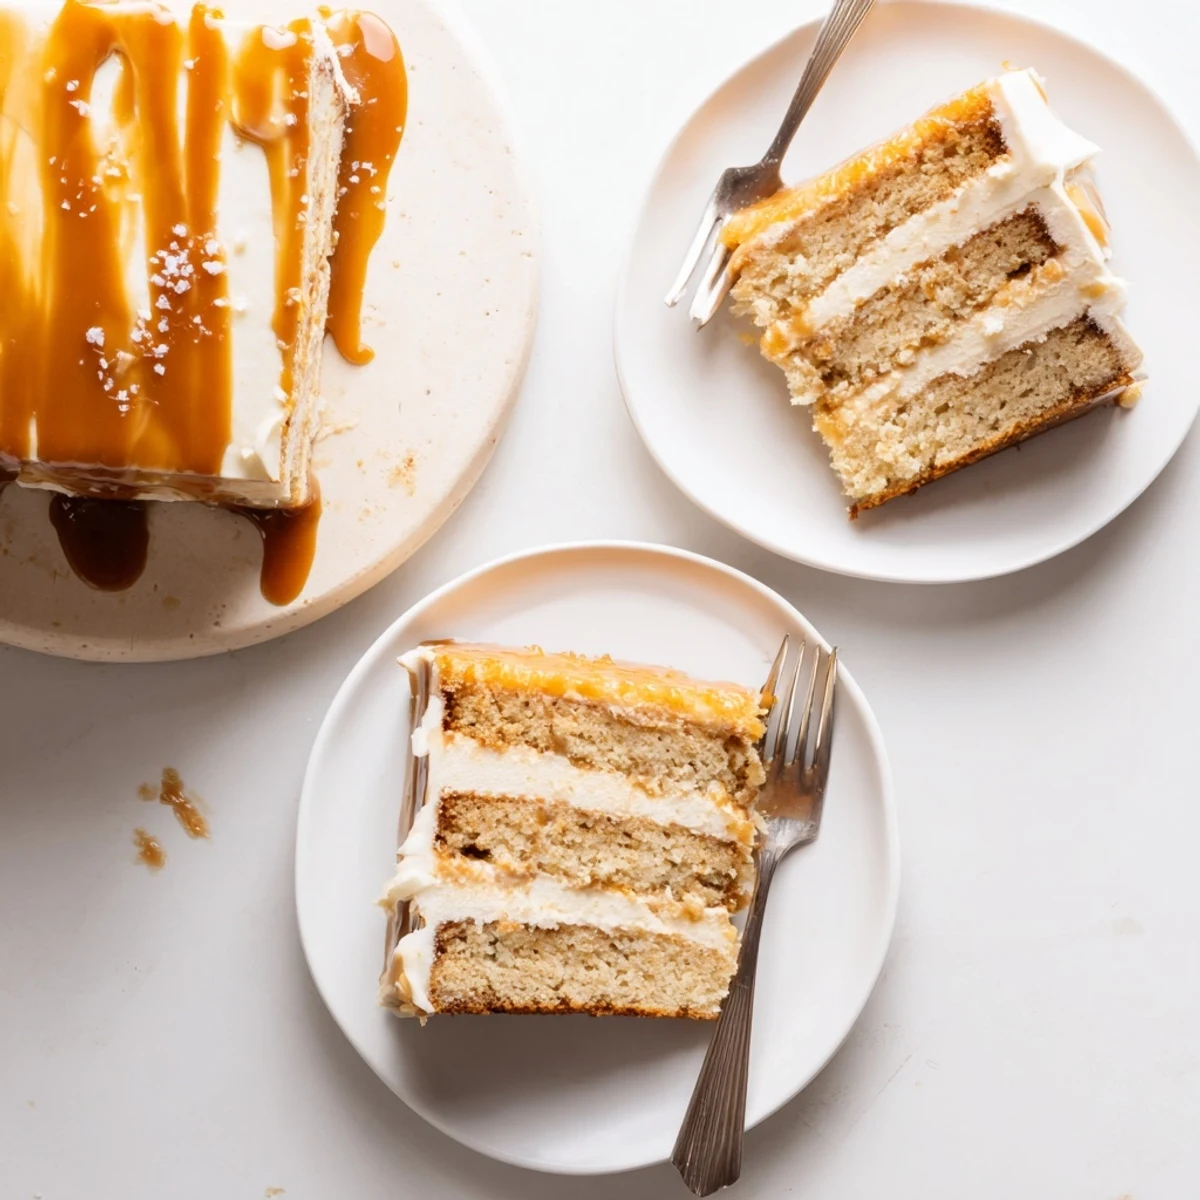
 Save to Pinterest
 This indulgent dessert combines the comfort of classic banana cake with sophisticated flavors. The brown butter adds a nutty depth that perfectly complements the sweet mashed bananas. What truly sets this creation apart is the homemade salted caramel sauce—made from scratch with sugar, butter, heavy cream, and flaked sea salt—which gets swirled into the layers and incorporated into the frosting.
The process involves browning the butter first to develop those toasted notes, then combining it with ripe bananas for maximum moisture and flavor. While the cakes bake, you'll prepare the caramel sauce, letting it transform into a rich amber syrup. The final touch is a silky caramel frosting that brings everything together.
Expect about 75 minutes from start to finish, with most hands-on time spent on the caramel. The result is a stunning layer cake that serves 10-12 people, ideal for birthdays, holidays, or whenever you want to impress. The salted element cuts through the sweetness, creating a perfectly balanced dessert that keeps beautifully in the refrigerator for up to four days.
The smell of browning butter alone is enough to make you stop whatever you are doing and lean over the stove like it holds a secret. I discovered this cake during a rain soaked autumn weekend when I had three blackened bananas and no desire to leave the house. What started as a desperate pantry cleanout turned into the most requested dessert in my entire repertoire. The salted caramel drizzle on top was technically an accident, but some accidents are worth repeating forever.
I brought this cake to a friends birthday dinner and watched three adults go completely silent after the first bite, which is the highest compliment any cook can receive. My friend Maria asked if I had secretly ordered it from a shop downtown. That moment of disbelief on her face is why I keep making it.
Ingredients
- Unsalted butter (170 g for cake, 115 g for caramel, 115 g for frosting): Browning the cake butter is the move that changes everything, so do not skip it or rush it.
- All purpose flour (300 g): Spoon and level it gently because packed flour leads to a dense, heavy crumb nobody wants.
- Baking soda (1 tsp) and salt (1/2 tsp): These two work together to give the cake lift and balance against all that sweetness.
- Ripe bananas, 3 to 4 (about 1 1/2 cups mashed): The uglier and more spotted the banana, the sweeter and more intense the flavor will be.
- Granulated sugar (200 g for cake, 200 g for caramel): Split between the cake and the caramel sauce, it provides structure and that deep amber color.
- Brown sugar, packed (100 g): This adds moisture and a molasses warmth that pairs beautifully with the banana.
- Large eggs (2): Room temperature eggs blend more smoothly into the batter and help with a tender texture.
- Buttermilk (120 ml): The tang cuts through the richness and keeps the crumb soft and delicate.
- Vanilla extract (2 tsp): Use the real stuff here because fake vanilla gets lost in all these bold flavors.
- Water (60 ml, for caramel): Just enough to help the sugar melt evenly before it starts caramelizing.
- Heavy cream (120 ml, room temperature, for caramel): Warm cream prevents the caramel from seizing when you pour it in.
- Flaked sea salt (1 tsp): This is the finishing touch that makes every bite interesting and keeps the sweetness in check.
- Powdered sugar, sifted (240 g): Sifting is nonnegotiable unless you enjoy lumpy frosting.
- Milk or cream (1 to 2 tbsp, for frosting): Add gradually until the frosting reaches a spreadable, silky consistency.
Instructions
- Prepare your oven and pans:
- Preheat the oven to 175 degrees C (350 degrees F) and grease two 20 cm (8 inch) cake pans with butter and a dusting of flour. Line the bottoms with parchment paper for extra insurance against sticking.
- Brown the butter:
- Melt the 170 g of butter in a light colored saucepan over medium heat, swirling the pan frequently so you can watch the color change. Once it turns golden brown and smells deeply nutty, pour it immediately into a bowl to stop the cooking and let it cool slightly.
- Whisk your dry ingredients:
- In a medium bowl, combine the flour, baking soda, and salt with a whisk until evenly distributed. This prevents any pockets of baking soda in your finished cake.
- Bring the wet ingredients together:
- In a large bowl, mix the mashed bananas, both sugars, eggs, buttermilk, vanilla, and the browned butter until everything is well combined and fragrant.
- Fold wet and dry together:
- Gradually add the dry ingredients to the wet mixture and fold gently with a spatula until just combined. Stop as soon as you no longer see dry flour because overmixing makes the cake tough.
- Bake the layers:
- Divide the batter evenly between your two prepared pans and smooth the tops. Bake for 35 to 40 minutes until a toothpick inserted in the center comes out clean, then cool in the pans for 10 minutes before turning out onto racks.
- Make the salted caramel sauce:
- Combine sugar and water in a saucepan over medium heat and resist the urge to stir, just swirl the pan gently. When it turns a deep amber color, add the cubed butter and stir until melted, then carefully whisk in the room temperature cream and sea salt. Let it cool completely to room temperature.
- Prepare the caramel frosting:
- Beat the softened butter until creamy and pale, then gradually add the sifted powdered sugar and a pinch of salt. Beat in 4 to 5 tablespoons of your cooled caramel sauce and milk as needed until the frosting is smooth and spreadable.
- Assemble the cake:
- Place one cake layer on a serving plate and spread a generous layer of frosting over the top, then drizzle with caramel sauce. Add the second layer, frost the top and sides, and finish with more caramel drizzle and a sprinkle of flaked salt if you like.
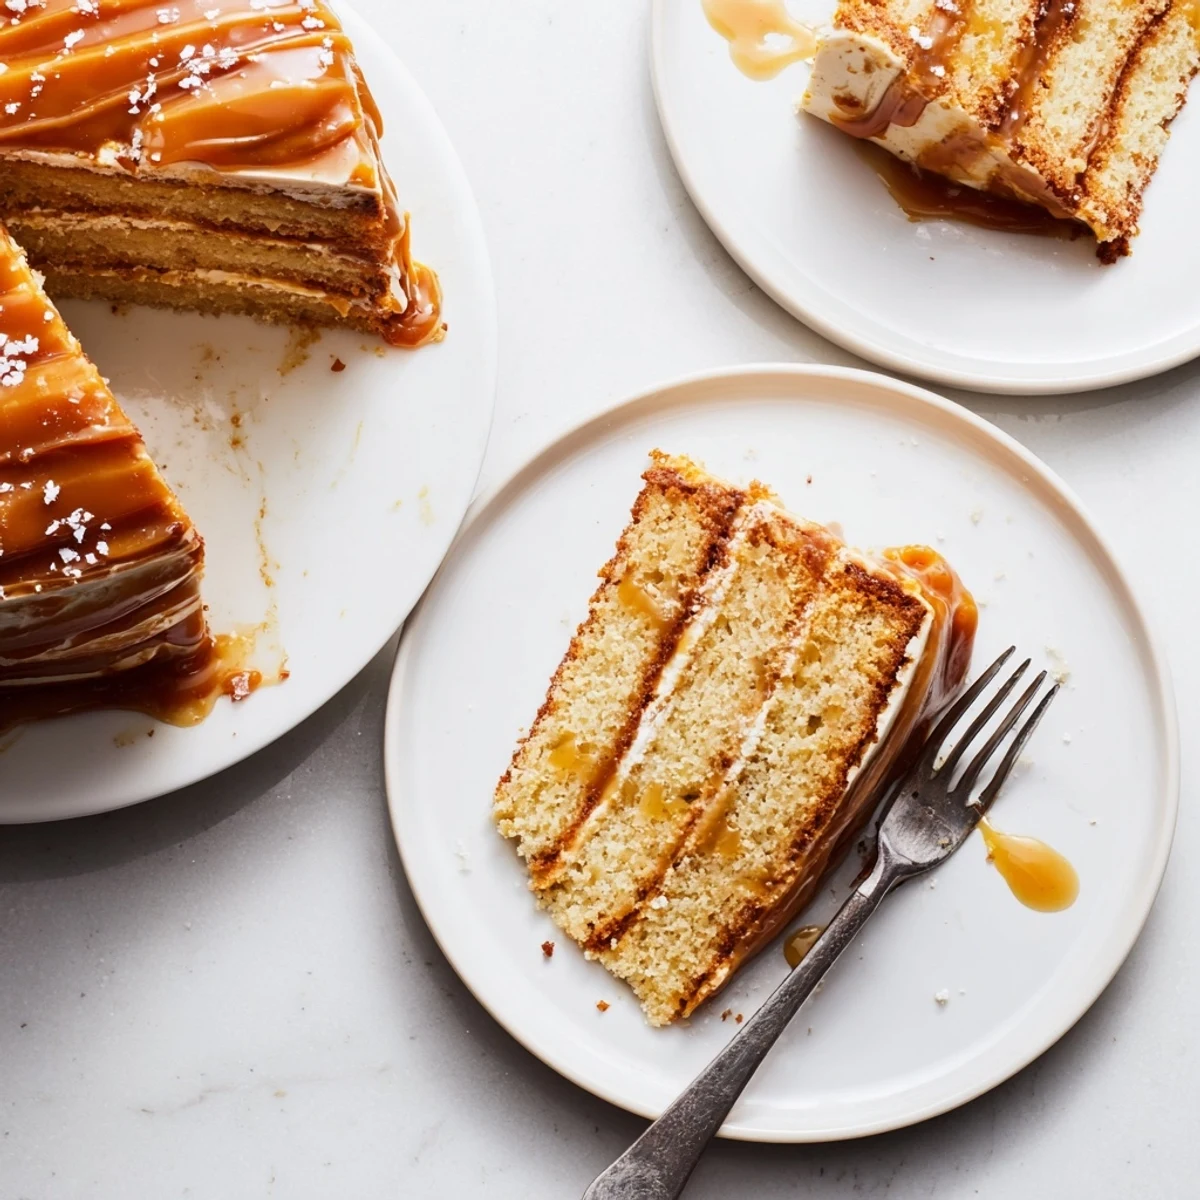 Save to Pinterest
 The first time I served this at a holiday gathering, my uncle who never comments on food asked for the recipe before he even finished his first slice. That cake disappeared in under twenty minutes and I sat there grinning with caramel under my fingernails, already planning to make it again.
Getting the Brown Butter Right
Browning butter is a small act of patience that pays off enormously, but it took me several attempts to recognize the exact moment to pull it off the heat. Use a light colored pan so you can actually see the color change happen, and do not walk away even for a moment. The butter will foam up and obscure your view, but keep swirling and sniffing because your nose knows before your eyes do.
Caramel Without the Panic
Making caramel from scratch intimidated me for years because every tutorial made it sound like a chemistry experiment. The trick is honestly just patience during the melting phase and confidence during the cream pouring phase. Have everything measured and ready before you start because caramel waits for nobody and you cannot pause halfway through.
Serving, Storing, and Sharing
This cake tastes best on the second day when the flavors have had time to mingle and settle into each other. Keep it in an airtight container in the refrigerator and bring it to room temperature for about thirty minutes before serving.
- Toast some pecans or walnuts and tuck them between the layers for a welcome crunch.
- A scoop of vanilla bean ice cream on the side turns a generous slice into an unforgettable dessert.
- Always sprinkle a little extra flaked salt on top right before serving because it melts into the caramel and you lose that satisfying contrast.
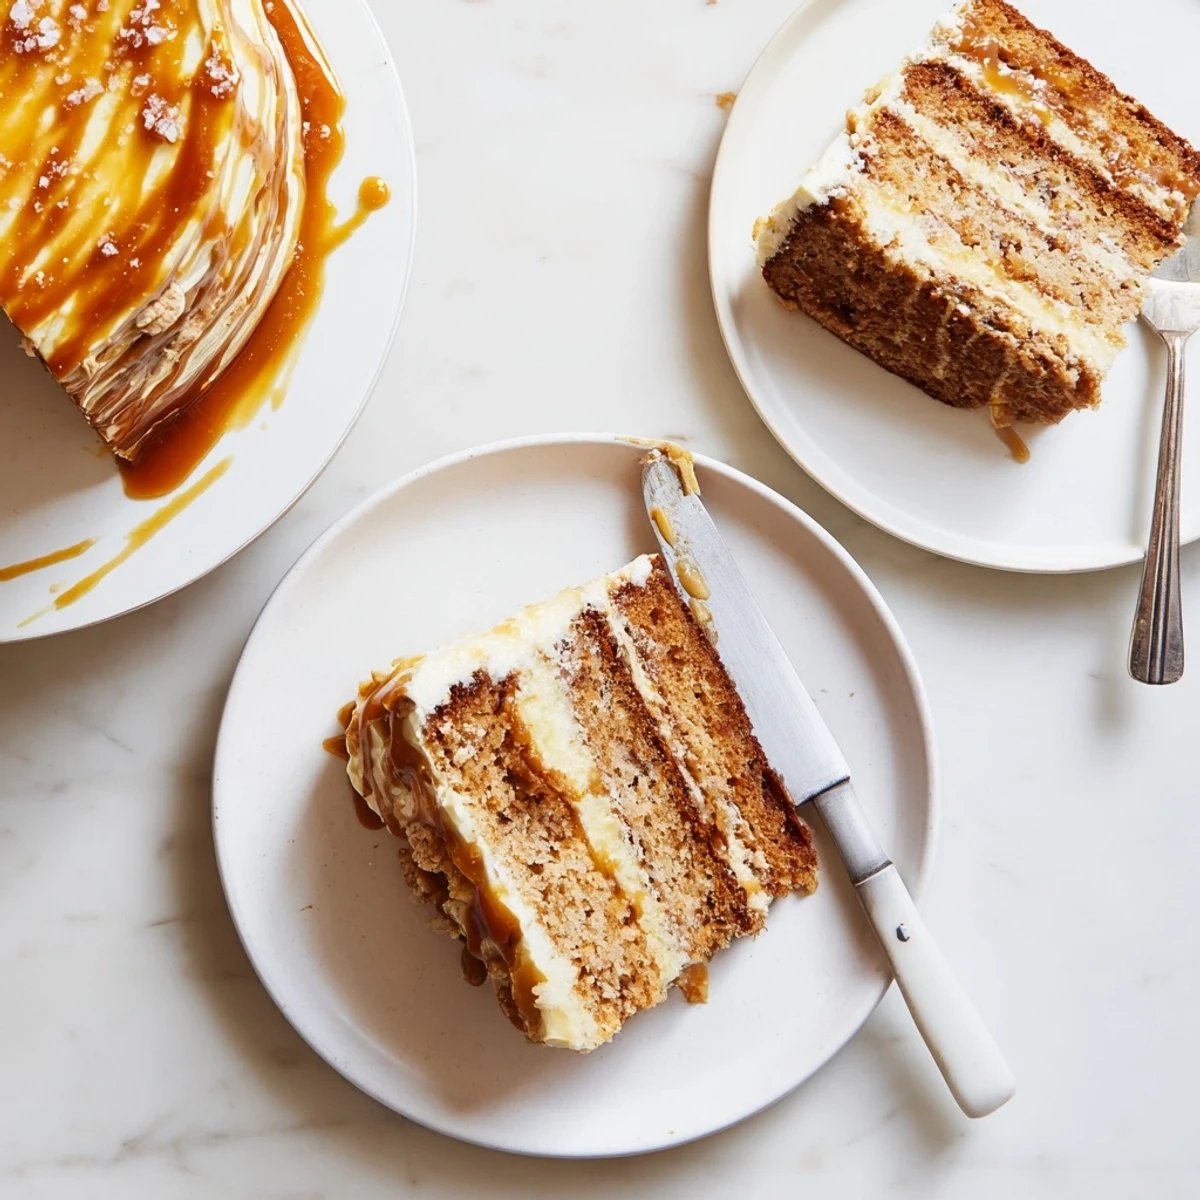 Save to Pinterest
 Every time I brown butter now, I think of that rainy afternoon and how the kitchen smelled like toast and toffee and something hard to name but easy to love. This cake is worth every minute of attention it asks for, and the people you share it with will remember it long after the last crumb is gone.
Recipes Q&A
- → How do I know when the butter is properly browned?
-
The butter is ready when it turns a golden-amber color and releases a distinct nutty aroma. This typically takes 3-5 minutes over medium heat. Swirl the pan frequently to prevent burning, and remove it from heat immediately once you see golden brown specks at the bottom of the pan.
- → Can I make the caramel sauce ahead of time?
-
Yes, the salted caramel sauce can be prepared up to one week in advance. Store it in an airtight container in the refrigerator. When ready to use, gently warm it in the microwave or on the stovetop to reach a spreadable consistency again.
- → What if my caramel sauce seizes or becomes grainy?
-
If your caramel hardens or develops crystals, don't worry. Simply return it to low heat and stir gently until it smooths out again. Adding a tablespoon of water can help dissolve any sugar crystals. Patience is key—avoid stirring too vigorously when first melting the sugar.
- → Can I substitute the buttermilk?
-
If you don't have buttermilk, make a DIY version by adding 1 tablespoon of white vinegar or lemon juice to 120 ml of regular milk. Let it sit for 5-10 minutes until it thickens slightly. This acidity is important for tenderizing the cake crumb.
- → How ripe should the bananas be?
-
Use bananas with plenty of brown spots—they should be soft and fragrant. Overripe bananas with black peels are ideal as they provide maximum sweetness and moisture. If your bananas aren't ripe enough, you can speed up the process by baking them at 150°C (300°F) for 15-20 minutes until blackened.
- → Why does my cake sometimes sink in the middle?
-
Sinking can occur if the oven temperature is too low or if you open the oven door too early. Make sure your oven is fully preheated before baking. Also, avoid overmixing the batter once the dry ingredients are added—this can cause the cake to collapse. Finally, ensure you're using the correct amount of baking soda.
