 Save to Pinterest
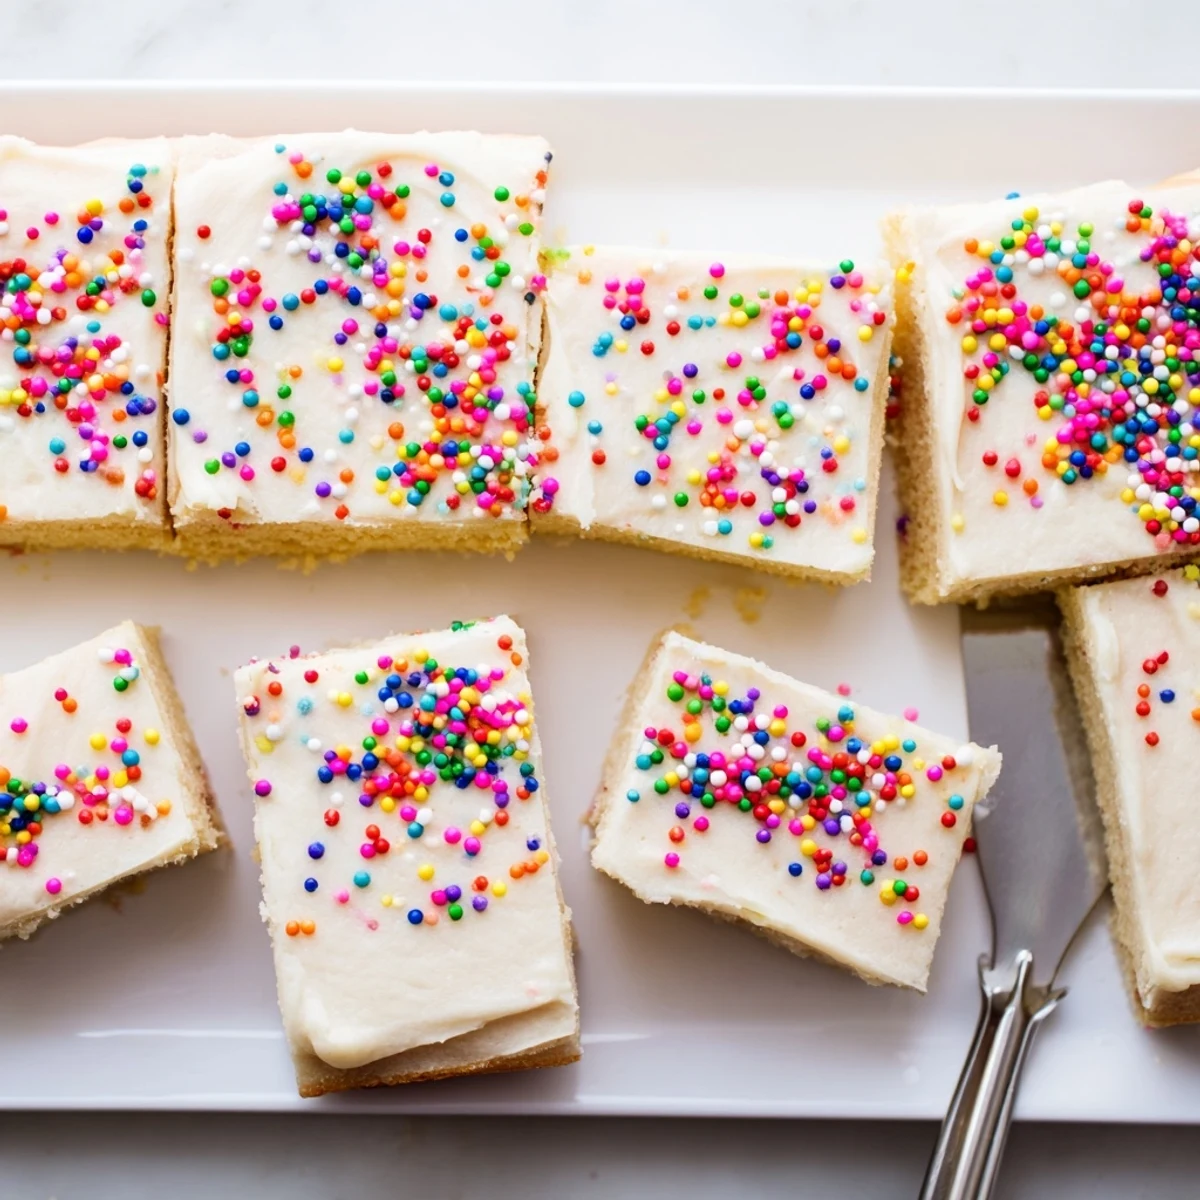
 These soft, buttery sugar cookie bars deliver the classic flavor you love in an easy-to-serve format. With a tender crumb and edges that bake to golden perfection, they're topped with silky vanilla frosting that melts in your mouth. Ready in just 40 minutes, they're ideal for birthdays, holidays, or whenever you need something sweet. Customize with food coloring and sprinkles for any occasion.
The first time I made sugar cookie bars, I was running late for a potluck and needed something portable but impressive. My grandmother stood in the kitchen doorway watching me press the dough into the pan, nodding approvingly. These have become my go-to dessert for everything from school bake sales to holiday parties because they feed a crowd without the fuss of individual cookies.
Last summer, my daughter requested these for her birthday instead of a cake. I tinted the frosting bright pink and loaded it with rainbow sprinkles—she beamed when I brought them out. The best part was watching her friends grab seconds without anyone needing utensils or plates.
Ingredients
- Unsalted butter: Room temperature butter creates the tender crumb that makes these bars so irresistible
- Granulated sugar: Cream this thoroughly with butter for that signature melt in your mouth texture
- Large egg: Adds structure and richness to the dough base
- Pure vanilla extract: Do not skip this—its the backbone of classic sugar cookie flavor
- All purpose flour: Measured properly, this creates the perfect balance between soft and sturdy
- Baking powder: Just enough lift to keep the bars light without making them cakey
- Salt: Enhances sweetness and balances the vanilla
- Butter for frosting: Softened to room temperature for silky smooth results
- Powdered sugar: Sift first to avoid any lumps in your creamy frosting
- Milk: Adjust this to reach your desired spreading consistency
- Food coloring: Optional but fun for matching any party theme
- Sprinkles: Add these immediately after frosting so they stick properly
Instructions
- Preheat and prepare your pan:
- Heat your oven to 350°F and line a 9x13 inch pan with parchment paper, leaving edges overhanging like little handles
- Cream the butter and sugar:
- Beat the softened butter and granulated sugar together until the mixture turns pale and fluffy, about 2 to 3 minutes
- Add the egg and vanilla:
- Mix in the egg and vanilla extract until everything is thoroughly combined and the mixture looks smooth
- Whisk the dry ingredients:
- In a separate bowl, stir together the flour, baking powder, and salt until evenly distributed
- Combine the mixtures:
- Gradually add the dry ingredients to the butter mixture, mixing only until the flour disappears—overmixing makes tough bars
- Press into the pan:
- Use your hands or the bottom of a measuring cup to press the dough evenly into the prepared pan until smooth
- Bake to perfection:
- Bake for 18 to 20 minutes until the edges turn barely golden and the center is set but still soft
- Cool completely:
- Let the bars cool completely in the pan before frosting—warm bars will melt your frosting right off
- Make the frosting:
- Beat the softened butter until creamy, then gradually add powdered sugar and milk until smooth and spreadable
- Finish and frost:
- Stir in vanilla and a pinch of salt, add food coloring if you like, then spread evenly over the cooled bars with sprinkles on top
- Slice and serve:
- Use the parchment paper to lift the whole sheet out, then cut into 24 squares and watch them disappear
 Save to Pinterest
 My neighbor once asked for the recipe after trying these at a block party. She admitted later that they became her family's new Christmas tradition, replacing the cutout sugar cookies she used to stress over decorating every year.
Frosting Like a Pro
I learned the hard way that room temperature ingredients make all the difference. Cold butter creates lumpy frosting that tears the cookie surface when you try to spread it. Take everything out an hour before you start baking, and your frosting will glide on like butter silk.
Storage Secrets
These actually taste better on day two after the flavors have melded together. Store them in a single layer with wax paper between stacked bars so the frosting stays pristine. I have kept them in the refrigerator for a week, but they never last that long at my house.
Easy Variations
Once you master the basic recipe, try folding citrus zest into the dough or swapping almond extract for vanilla in the frosting. The possibilities are endless while keeping that soft, buttery base everyone loves.
- Add 1 teaspoon of lemon zest to the dough for bright spring flavor
- Mix ½ cup sprinkles directly into the batter for funfetti bars
- Spread melted chocolate on top instead of buttercream for something different
 Save to Pinterest
 There is something deeply satisfying about a sheet pan full of frosted goodness ready to feed a crowd. These bars turn any ordinary Tuesday into a celebration worth savoring.
Recipes Q&A
- → Can I make these bars ahead of time?
-
Yes! You can bake the bars up to 2 days ahead. Store unfrosted bars in an airtight container, then frost shortly before serving. The frosting can also be made ahead and kept refrigerated—just bring to room temperature and whip before spreading.
- → How do I know when the bars are done baking?
-
The bars are ready when the edges are lightly golden and the center appears set, not jiggly. A toothpick inserted should come out with moist crumbs, not wet batter. Avoid overbaking to maintain that soft, tender texture.
- → Can I freeze these sugar cookie bars?
-
Absolutely! Freeze unfrosted bars for up to 3 months, wrapped tightly in plastic and foil. Thaw at room temperature before frosting. You can also freeze frosted bars, though sprinkles may bleed slightly when thawed.
- → What's the best way to get evenly thick bars?
-
Press the dough into the prepared pan using the back of a measuring cup or offset spatula for an even layer. Work from the center outward, applying gentle pressure to create a uniform thickness.
- → Can I double this recipe?
-
Yes! Double all ingredients and use two 9x13-inch pans, or bake in a larger 12x18-inch half-sheet pan. Adjust baking time—check a few minutes earlier as larger pans may bake faster due to increased surface area.
