 Save to Pinterest
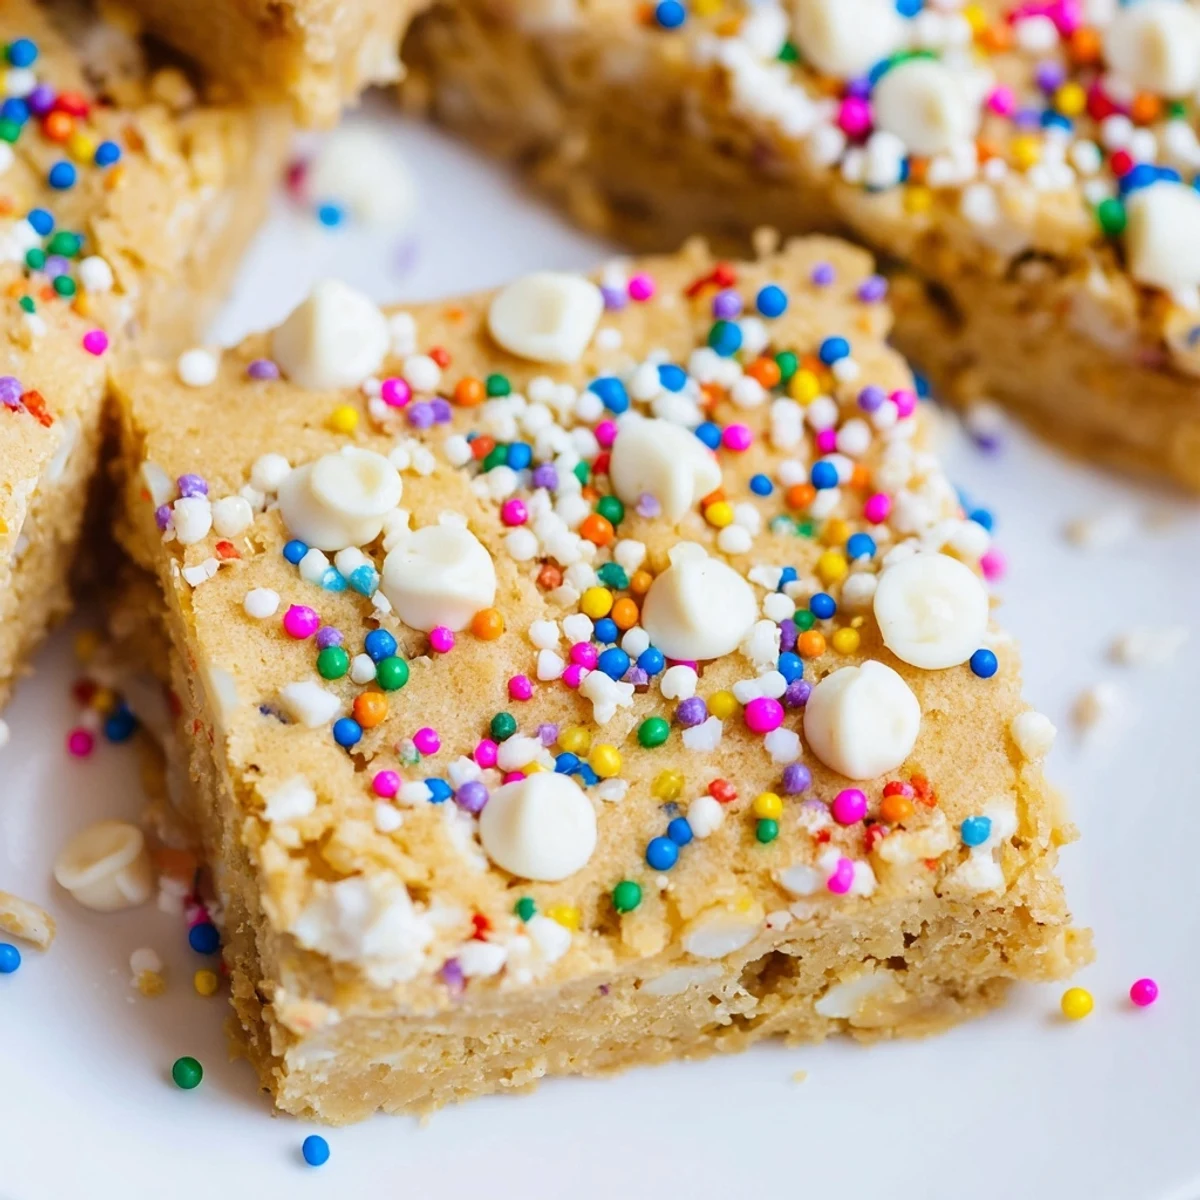
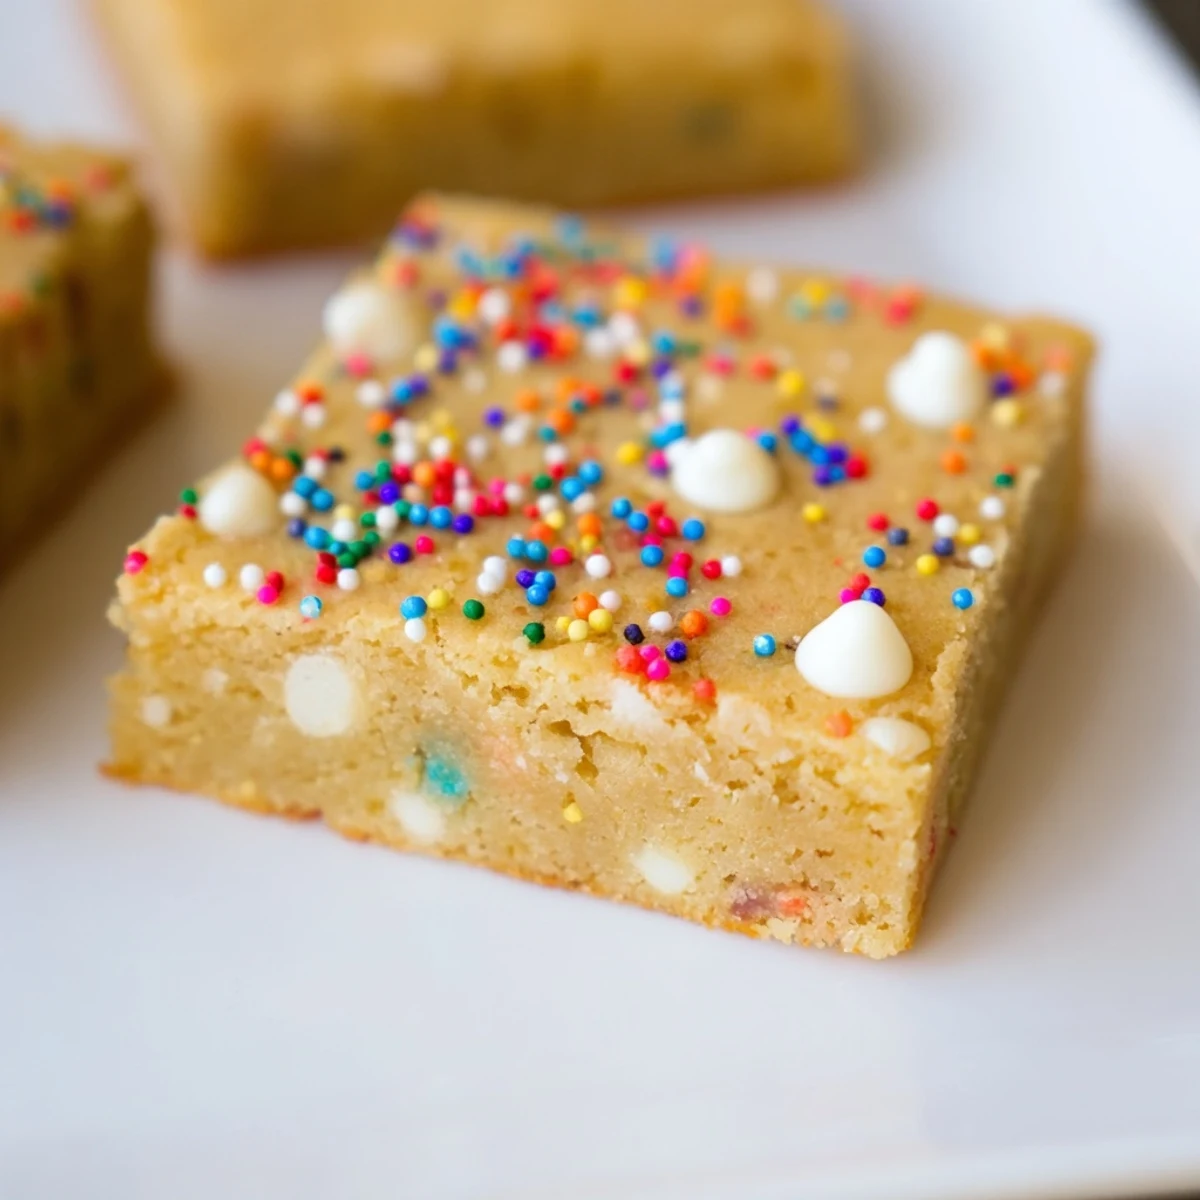
 These cheerful spring funfetti blondies feature a rich, buttery base loaded with rainbow sprinkles throughout. The blondies are soft and chewy with slightly crisp edges, offering a delightful texture that appeals to all ages. Perfect for spring celebrations, birthdays, or whenever you crave something festive and colorful.
The batter comes together quickly in one bowl, requiring just 15 minutes of prep time before baking. You can customize them by adding white chocolate chips for extra richness or swapping in chopped nuts for crunch. For an even more decadent flavor, try browning the butter before mixing—it adds a wonderful depth of nutty sweetness.
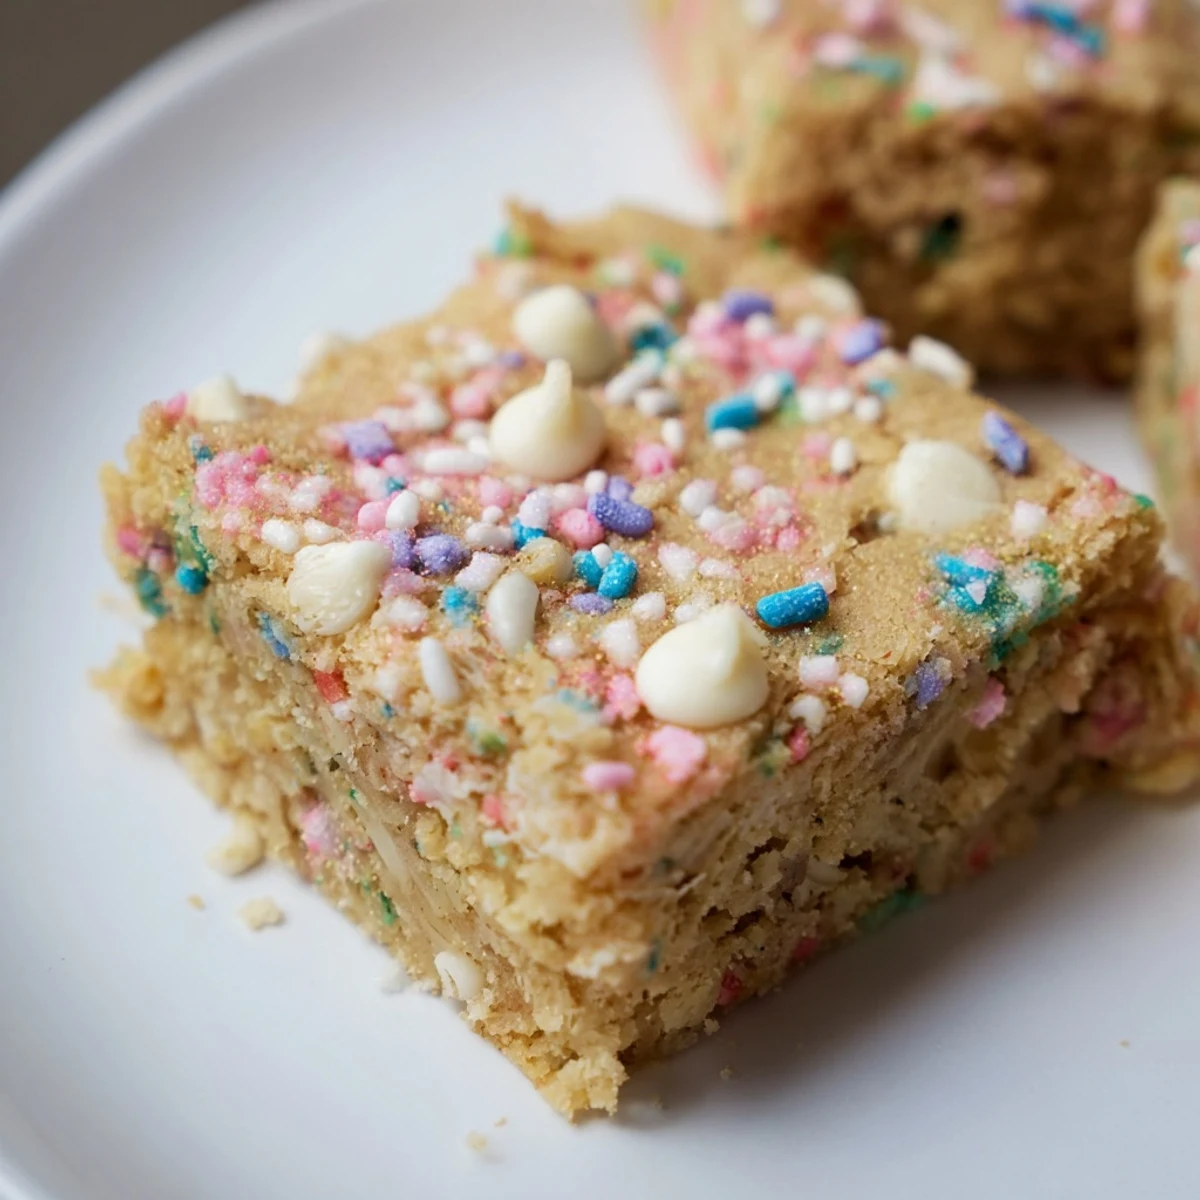
Use pastel-colored sprinkles to give these treats a softer springtime aesthetic, or go bold with classic rainbow jimmies. These blondies stay fresh for days and freeze beautifully, making them ideal for make-ahead treats or gift-giving.
The first time I made these funfetti blondies was actually by accident. I'd planned to make regular chocolate chip cookies but discovered I was completely out of chocolate chips. There was a half-empty container of rainbow sprinkles staring back at me from the pantry, probably leftover from my daughter's birthday cake the month before. Something about the cheerful colors made me smile, so I decided to throw caution to the wind and see what would happen.
I brought these to a spring potluck at work and watched my coworker Sarah literally do a little happy dance after her first bite. She said they reminded her of the birthday cake her grandmother used to make, right down to that slightly caramelized flavor from the brown sugar. Three people asked for the recipe before we'd even finished coffee break.
Ingredients
- All-purpose flour: The structural foundation that gives these blondies their perfect tender crumb
- Baking powder: Just a touch helps them rise slightly so they're not dense or flat
- Salt: Crucial for balancing all that sweetness and making the flavors pop
- Unsalted butter: Melted creates that rich chewy texture we all love in blondies
- Light brown sugar: This is the secret to that deep caramel flavor and irresistible chewiness
- Egg plus egg yolk: The extra yolk adds richness and helps create that fudgy center
- Pure vanilla extract: Don't skimp here because vanilla is the backbone of that classic birthday cake flavor
- White chocolate chips: Optional but they add these creamy pockets that complement the sprinkles beautifully
- Rainbow sprinkles: Use jimmies not nonpareils because they hold their shape better during baking
Instructions
- Get your oven ready:
- Preheat to 350°F and line your 8x8 pan with parchment paper letting it hang over the edges like a little sling for easy removal later
- Whisk the dry team:
- In a medium bowl combine the flour baking powder and salt until everything's evenly distributed
- Mix the melted butter and sugar:
- Whisk them together in a large bowl until the mixture looks smooth and glossy which takes about a minute of serious whisking
- Add the eggs and vanilla:
- Pour in the whole egg the extra yolk and all that vanilla then whisk until everything's completely blended
- Fold in the flour:
- Gently incorporate the dry ingredients with a spatula stopping the second you no longer see visible flour streaks
- Add the fun stuff:
- Fold in the white chocolate chips if you're using them plus almost all those sprinkles but save a tablespoon for topping
- Spread and decorate:
- Evenly press the thick batter into your prepared pan then scatter those reserved sprinkles over the top for maximum visual impact
- Bake to perfection:
- Slide into the oven for 23 to 26 minutes until the edges look set and a toothpick comes out with just a few moist crumbs attached
- The hardest part:
- Let them cool completely in the pan before lifting them out and cutting into 16 squares
 Save to Pinterest
 These have become my go-to whenever someone needs a pick-me-up. There's something about the combination of nostalgic birthday cake flavors and the happy colors that just makes people's days a little brighter.
Making Them Your Own
One afternoon I decided to brown the butter first and holy cow that took these to another level. The nutty toasty notes made them taste even more sophisticated while still keeping that playful funfetti spirit. Pastel sprinkles give such a lovely soft spring vibe while bright rainbow colors scream party time.
Storage Secrets
I've learned these actually taste better on day two after the flavors have had time to mingle and develop. Keep them in an airtight container at room temperature and they'll stay perfectly chewy for up to five days though they've never lasted that long in my house.
Serving Ideas
These blondies shine on their own but a scoop of vanilla ice cream turns them into an honest-to-goodness dessert. They're also incredible crumbled over vanilla pudding or used as the base for a trifle layered with whipped cream and fresh berries.
- Warm them for 10 seconds in the microwave for that just-baked experience
- Sprinkle a pinch of flaky sea salt on top before serving to contrast the sweetness
- Cut them into smaller squares for bite-sized party treats
 Save to Pinterest
 Whether you're celebrating something big or just need a Tuesday afternoon pick-me-up these blondies deliver happiness in every colorful bite.
Recipes Q&A
- → Can I use nonpareils instead of jimmies for sprinkles?
-
Nonpareils aren't recommended as they tend to bleed their color into the batter, creating streaks rather than distinct speckles. Stick with jimmies or rainbow sprinkles for the best visual results.
- → How do I know when blondies are done baking?
-
The edges should look set and slightly golden, while the center may still appear slightly soft. A toothpick inserted in the center should come out with a few moist crumbs, not completely clean. They'll continue to set as they cool.
- → Can I make these funfetti blondies ahead of time?
-
Absolutely! Once cooled completely, store them in an airtight container at room temperature for up to 5 days. They also freeze well—wrap individually or layer between parchment paper in a freezer-safe container for up to 3 months.
- → What's the best way to cut clean blondie squares?
-
Let them cool completely before cutting. For the cleanest edges, chill the cooled blondies in the refrigerator for about 30 minutes, then use a sharp knife wiped clean between each cut. The parchment overhang makes lifting the whole batch out easy.
- → Can I double this recipe for a 9x13-inch pan?
-
Yes, simply double all ingredients and bake in a 9x13-inch pan. The baking time may need to increase by 5-10 minutes—start checking at 28 minutes and continue until the edges are set and a toothpick shows moist crumbs.
- → Why do I need both an egg and an egg yolk?
-
The extra yolk adds richness and contributes to the fudgy, chewy texture that makes blondies irresistible. Using just whole eggs would result in a cakier texture, while the yolk ensures that dense, moist bite perfect for blondies.
