 Save to Pinterest
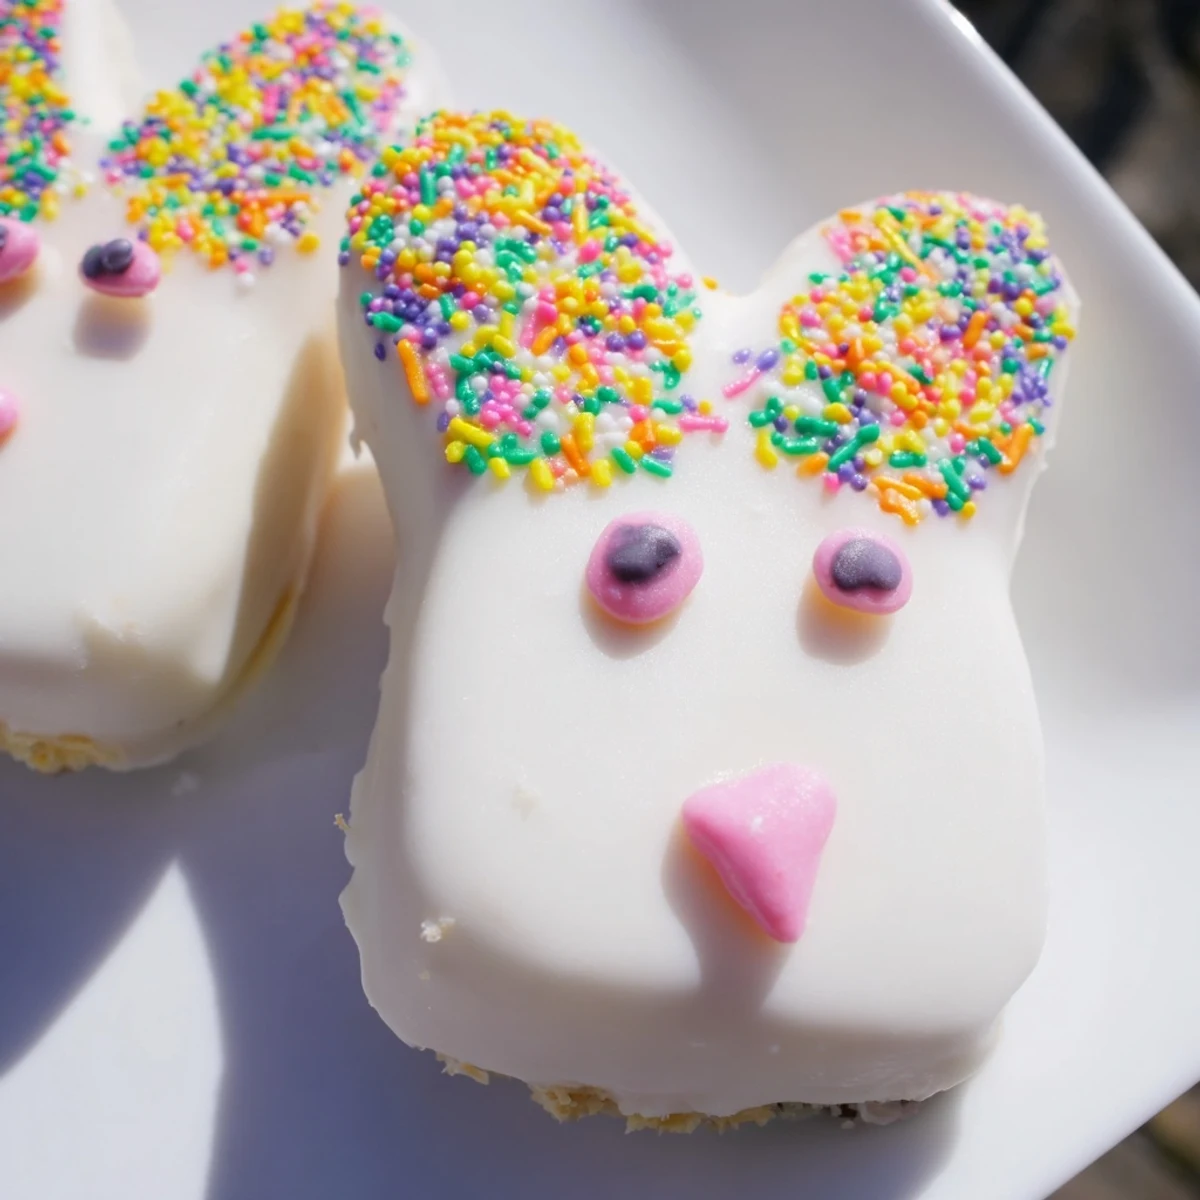
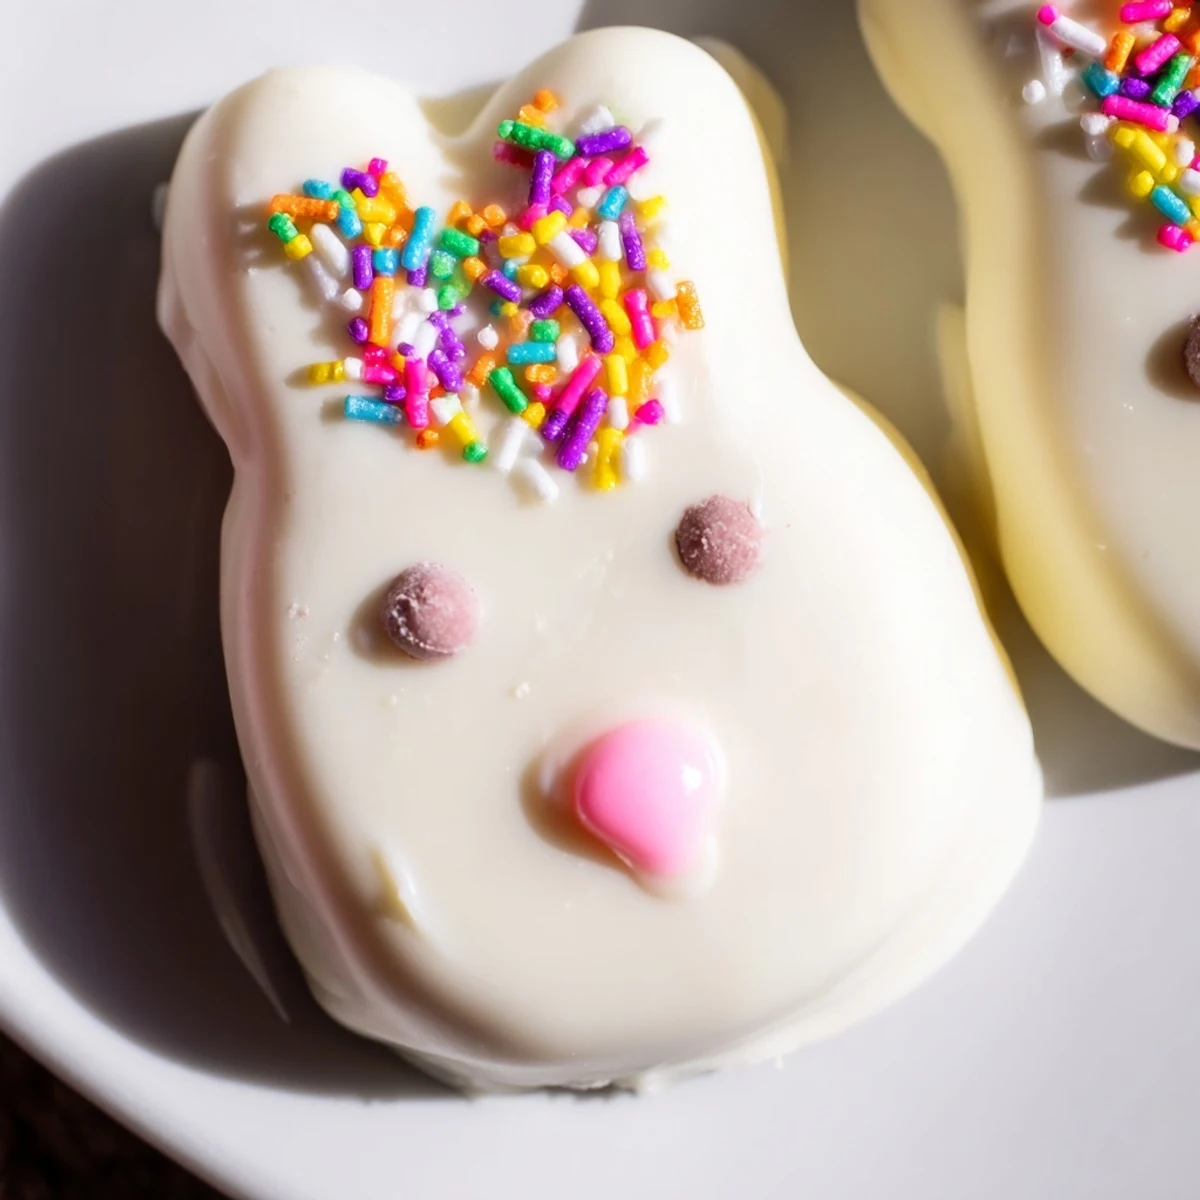
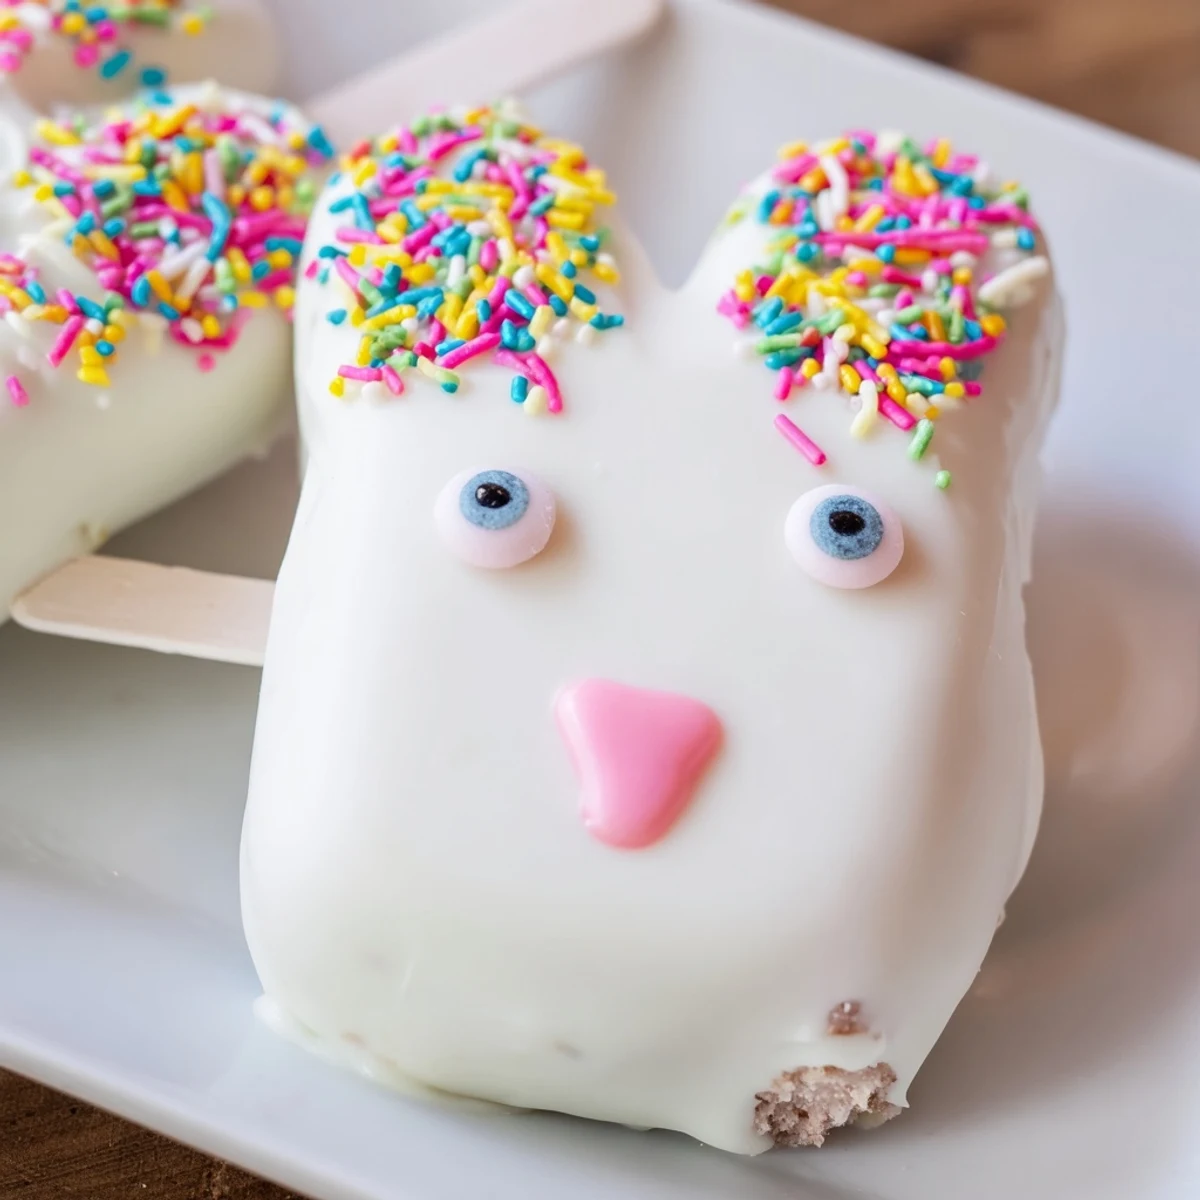
 These charming bunny-shaped treats combine moist vanilla cake crumbs with cream cheese and butter, dipped in luscious white chocolate for an adorable Easter dessert. The cake mixture forms perfectly into bunny face shapes that hold securely on sticks, making them fun to eat and easy to display. Each cakesicle gets fully coated in smooth white chocolate and decorated with candy eyes, sprinkles, or fondant features to bring the bunnies to life. The process is straightforward—mix the cake dough, shape into bunnies, chill until firm, then dip and decorate. You can customize with different cake flavors like chocolate or lemon, add marbled coloring effects, or experiment with various edible decorations. These festive treats stay fresh for up to three days when stored properly, making them perfect for preparing ahead of your Easter celebration.
The kitchen counter was covered in white chocolate splatters and my daughter was practically vibrating with excitement about making bunny shaped treats for Easter. We had this grand vision of picture perfect cakesicles that would impress everyone at the family gathering.
By the time we finished dipping our eighth bunny face the kitchen looked like a confectionery crime scene but nobody cared. My sister walked in saw our slightly lopsided creations and immediately demanded we teach her how to make them.
Ingredients
- Vanilla cake crumbs: The foundation of your cakesicle. Homemade cake gives you the best flavor but store bought works perfectly fine and saves time
- Cream cheese: This binds everything together. Make sure it is properly softened or you will end up with lumps in your mixture
- Unsalted butter: Adds richness and helps the filling hold its shape. Room temperature is non negotiable here
- Powdered sugar: Sweetens the filling while helping it firm up in the fridge
- Vanilla extract: Pure vanilla makes such a difference in the final flavor profile
- White chocolate: The coating that makes these irresistible. Candy melts are easier to work with but real white chocolate tastes better
- Edible gel food coloring: Optional but perfect for those pink bunny noses and ears
- Cakesicle sticks: Essential for that authentic popsicle look
- Sprinkles candy eyes or fondant: This is where you can let your creativity run wild
Instructions
- Mix the cake base:
- Combine your cake crumbs cream cheese butter powdered sugar and vanilla in a medium bowl until everything comes together into a soft dough that holds its shape when you squeeze it
- Shape your bunnies:
- Divide the mixture into eight equal portions then gently form each one into a flattened oval that resembles a bunny face. Do not worry about perfection here. The chocolate coating will hide any uneven edges
- Add the sticks:
- Push a cakesicle stick into the center of each bunny shape about halfway through. Give it a gentle twist to secure it and make sure the cake mixture holds tight around the stick
- Chill until firm:
- Place your bunny shapes on a parchment lined tray and refrigerate for at least 20 minutes. This step is crucial because warm cake centers will make your chocolate coating slide right off
- Melt the chocolate:
- Heat your white chocolate in a microwave safe bowl in 30 second intervals stirring between each burst. Stop when it is completely smooth and流动 like heavy cream
- Dip and decorate:
- Hold each cakesicle by the stick and dip it into the melted chocolate until completely coated. Gently tap against the bowl edge to remove excess chocolate then immediately add candy eyes sprinkles or fondant features before the coating sets
- Set and serve:
- Let the finished cakesicles rest at room temperature until the chocolate is completely firm. If you are in a rush pop them in the fridge for 10 minutes but avoid leaving them there too long or the chocolate might develop condensation
 Save to Pinterest
 Last Easter my niece who typically refuses to eat anything homemade ate three of these in a row. Something about the bunny shape and the fact that she helped decorate them made all the difference.
Making Them Ahead
You can prepare the cake centers and store them in the fridge for up to two days before dipping. Just let them come to room temperature for about 15 minutes before coating with chocolate. This is perfect for busy holiday schedules.
Coating Troubleshooting
If your chocolate develops gray streaks it has seized. This happens when even a drop of water gets into the melting chocolate. Sometimes you can rescue it by adding a teaspoon of oil but often you will need to start fresh with a new bowl.
Creative Variations
Once you master the basic technique these cakesicles become a canvas for any holiday or theme. Swap the white chocolate for milk or dark chocolate. Use red velvet cake crumbs for Valentine treats or chocolate cake for Halloween bats.
- Try swirling pink food coloring into white chocolate before dipping for a marble effect
- Use pretzel sticks as bunny whiskers or ears for a crunchy element
- Set up a decorating station at parties and let guests customize their own cakesicle
 Save to Pinterest
 These bunny cakesicles have become our most requested Easter treat and honestly the best part is not how they look but the giggles that happen while making them. Happy Easter baking.
Recipes Q&A
- → How far in advance can I make these bunny treats?
-
These cakesicles stay fresh in an airtight container in the refrigerator for up to 3 days, making them perfect for preparing 1-2 days before your Easter celebration. The coating may lose some shine over time, so if you're making them further ahead, consider decorating closer to serving time for the freshest appearance.
- → Can I use cake mix instead of homemade cake?
-
Absolutely! Store-bought cake or cupcakes work perfectly for creating the crumbs. Simply crumble any vanilla or chocolate cake you have—homemade, bakery, or box mix. The key is achieving fine, even crumbs that mix well with the binding ingredients to form the cake dough.
- → What type of white chocolate works best for coating?
-
White chocolate melts (also called candy melts or almond bark) are specifically designed for coating and provide the smoothest finish. However, high-quality white chocolate bars also work beautifully. If using real white chocolate, adding a teaspoon of coconut oil can help achieve a smoother consistency for dipping.
- → How do I prevent the sticks from falling out?
-
The key is ensuring the cake mixture is well-chilled before inserting the sticks. After shaping the bunnies, refrigerate for at least 20-30 minutes until firm. When inserting sticks, push gently but firmly about halfway into the cake. The chilled mixture holds the stick securely, and once dipped in chocolate, the coating helps lock everything in place.
- → Can I customize the bunny decorations?
-
The decoration possibilities are endless! Use candy eyes and pink sprinkles for classic bunnies, or try fondant or modeling chocolate for ears and noses. Pretzel sticks make adorable ears when dipped in pink chocolate. You can also swirl food coloring into the melted white chocolate for a marbled effect, or use edible markers for facial details after the coating sets.
- → What if I don't have a cakesicle mold?
-
No mold is needed for this recipe! Simply shape the cake mixture into flattened oval bunny face shapes by hand. While molds create uniform shapes, hand-shaping adds charm and character to each bunny. The dough is pliable and easy to work with, so you can create consistent sizes by portioning the mixture into 8 equal parts before shaping.
