 Save to Pinterest
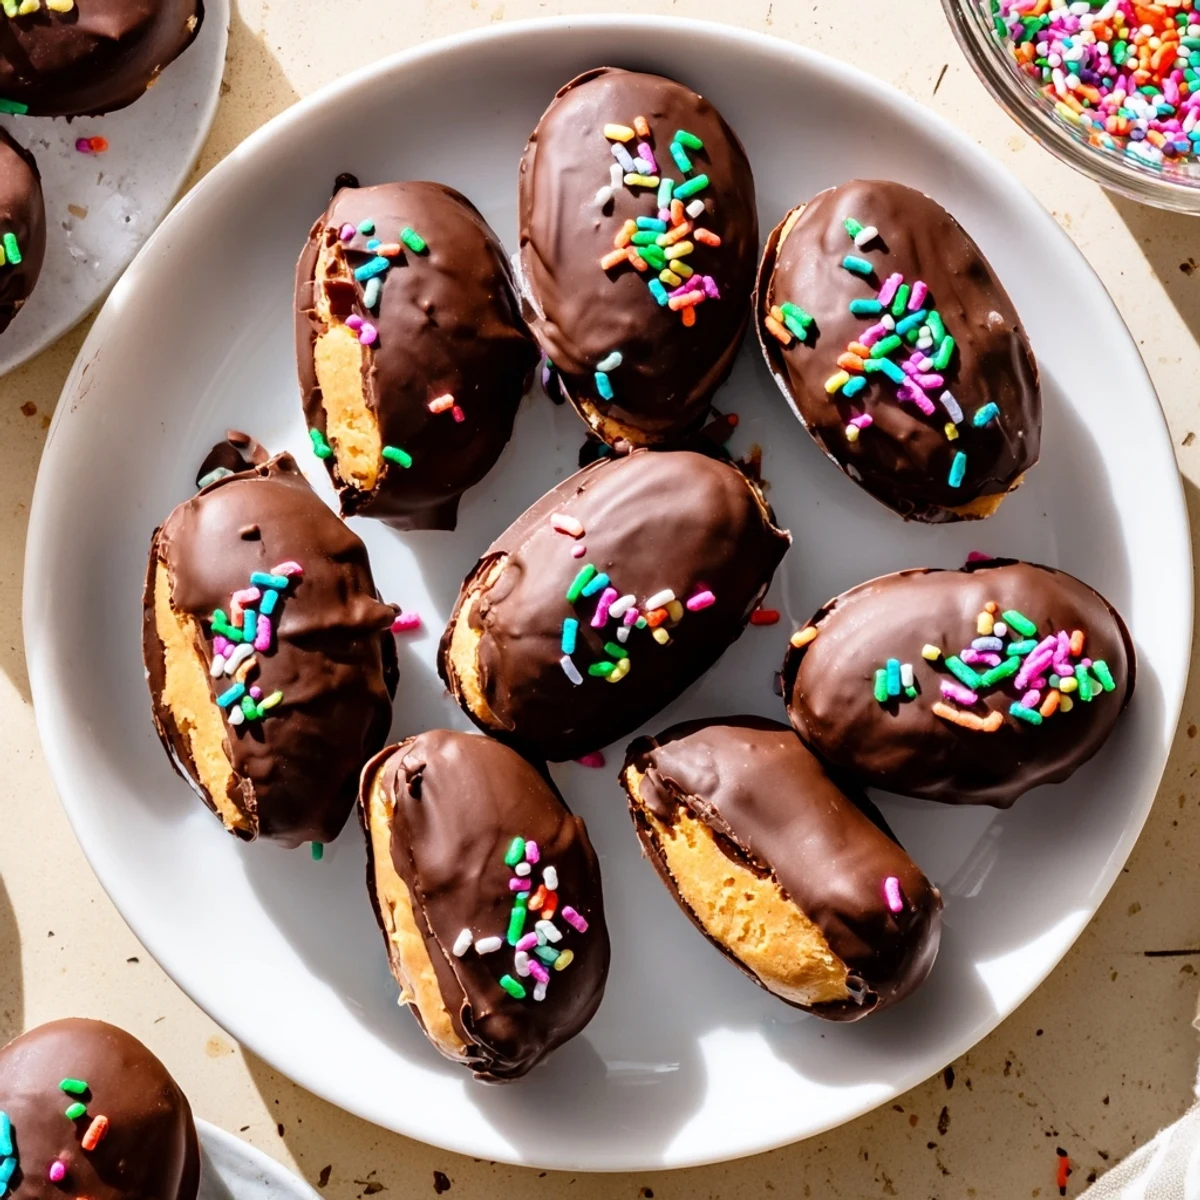
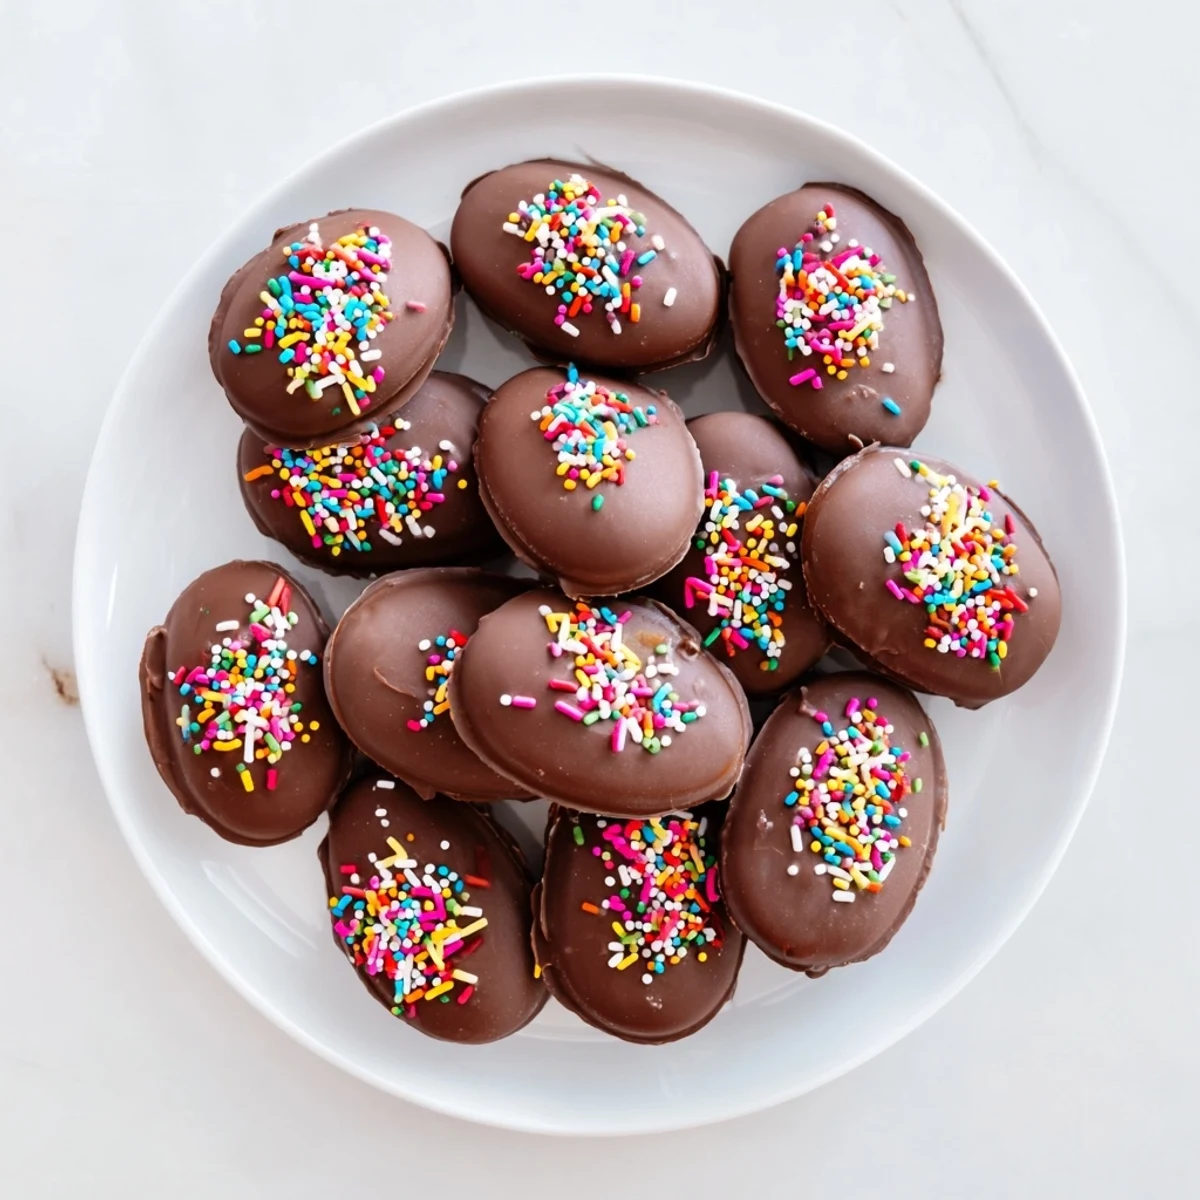
 These classic peanut butter eggs combine a sweet, creamy center with a velvety chocolate shell. The filling blends smooth peanut butter with butter and powdered sugar for a dough that's easy to shape into ovals. After chilling until firm, each egg gets dipped in melted semisweet chocolate mixed with coconut oil for a glossy finish. The result is a handheld treat with the perfect balance of salty peanut butter and sweet chocolate coating. Great for making ahead, these eggs store beautifully in the refrigerator for up to a week, making them ideal for Easter baskets, spring parties, or thoughtful homemade gifts.
The kitchen counter disappeared under a cloud of powdered sugar that one Sunday afternoon. I was attempting homemade peanut butter eggs for the first time, convinced somehow that I could replicate those fancy chocolate shop treats that always disappeared too quickly from Easter baskets. My hands were absolutely sticky, the dough was fighting back, and I wondered if I had completely misjudged this whole project. Then came that first bite of the finished eggs, rich and perfect and better than anything store bought, and I started planning my Easter production line.
Last spring I made a triple batch for my daughters classroom party. The teacher sent me a photo afterward of twenty first graders with chocolate smeared across their faces and the biggest grins. Those eggs became the talk of the pickup line, and three other moms messaged me for the recipe before I even made it to my car.
Ingredients
- Creamy peanut butter: The backbone of the filling and worth using a brand you love eating straight from the jar
- Unsalted butter: Room temperature butter blends seamlessly into the peanut butter without any weird lumps
- Powdered sugar: This sweetens and firms up the filling into a workable dough that holds its egg shape
- Vanilla extract: Pure vanilla adds a warm background note that rounds out the peanut butter flavor
- Semisweet chocolate chips: These provide the perfect balance between sweet and bitter for the coating
- Coconut oil: The secret ingredient that makes the melted chocolate glossy and helps it set beautifully
Instructions
- Mix the filling:
- Beat peanut butter and butter together until completely smooth and no butter chunks remain. Stir in vanilla and salt until everything is evenly combined.
- Add the sugar:
- Gradually mix in powdered sugar, starting slow to avoid a sugar cloud. Keep mixing until the dough pulls away from the bowl and feels like soft cookie dough.
- Shape the eggs:
- Scoop about 2 tablespoons of mixture and gently roll into balls, then taper the ends to form oval egg shapes. Place each one on your prepared baking sheet as you work.
- Chill until firm:
- Freeze the shaped eggs for 30 minutes until they are completely firm and cold to the touch. This step is non negotiable or the filling will melt into the chocolate.
- Melt the chocolate:
- Combine chocolate chips and coconut oil in a microwave safe bowl, heating in 30 second bursts and stirring between each. Stop when the mixture is glossy and completely smooth.
- Dip the eggs:
- Use a fork to lower each chilled egg into the chocolate, lift it out, and tap gently against the bowl edge. This removes excess chocolate and gives you that perfect thin shell.
- Set and decorate:
- Place dipped eggs back on the baking sheet and add sprinkles immediately while the chocolate is still wet. Refrigerate for 15 to 20 minutes until completely set.
 Save to Pinterest
 My grandmother started making these with me when I was barely tall enough to reach the counter. We would have chocolate on our elbows and sprinkles in our hair and she would say the mess was half the fun. Now every Easter I find myself grinning at the sticky countertops and remembering her hands guiding mine as I dip chocolate coated eggs onto wax paper.
Getting The Perfect Shape
I have tried shaping these eggs with spoons, cookie scoops, and even ice cream scoops over the years. My hands ended up being the best tool, slightly warmed and buttered to prevent sticking. Roll the mixture between your palms first, then gently elongate the ends with your fingers. Do not worry about them being identical and organic looking eggs feel more homemade anyway.
Chocolate Work Made Simple
The chocolate coating can feel intimidating if you have never worked with melted chocolate before. Start with your chocolate completely dry because even one drop of water will seize the mixture into a grainy mess. Work relatively quickly once the eggs come out of the freezer since their cold temperature helps the chocolate set faster. If you see little bare spots after dipping, just use a spare spoon to drizzle a bit more chocolate over those patches.
Storage And Gifting
These eggs keep beautifully in the refrigerator for up to a week, though they have never lasted that long in my house. Layer them between parchment paper in an airtight container to prevent the chocolate from getting scratched. For gifting, I nestle them in cupcake liners inside a pretty box or clear treat bags tied with ribbon.
- Bring the eggs to room temperature for about 10 minutes before serving for the best texture
- Crunchy peanut butter fans can swap the creamy variety for a little texture contrast
- A drizzle of white chocolate over the dark coating makes these look extra fancy
 Save to Pinterest
 There is something deeply satisfying about pulling out a container of these eggs and watching people eyes light up. They look impressive but the secret is they are actually quite forgiving and fun to make.
Recipes Q&A
- → How long do peanut butter eggs need to chill?
-
Freeze the shaped peanut butter mixture for 30 minutes until firm before dipping. This helps the eggs hold their shape when coated in warm chocolate. After dipping, refrigerate for 15–20 minutes until the chocolate sets completely.
- → Can I use crunchy peanut butter instead of creamy?
-
Yes, crunchy peanut butter works well and adds nice texture to the filling. The peanuts create small crunchy bits throughout the creamy center, providing a pleasant contrast to the smooth chocolate coating.
- → What's the best way to melt the chocolate?
-
Melt chocolate chips with coconut oil in the microwave in 30-second intervals, stirring between each, or use a double boiler on the stovetop. The coconut oil helps the chocolate thin slightly for even coating and creates a glossy finish.
- → How should I store these peanut butter eggs?
-
Keep them in an airtight container in the refrigerator for up to one week. The cool temperature prevents the chocolate from softening and maintains the firm texture of the peanut butter filling.
- → Can I make these peanut-free?
-
Substitute the peanut butter with sunflower seed butter or almond butter. Use allergen-free chocolate if needed. The texture and shaping process remain the same, though the flavor profile will change slightly.
