 Save to Pinterest
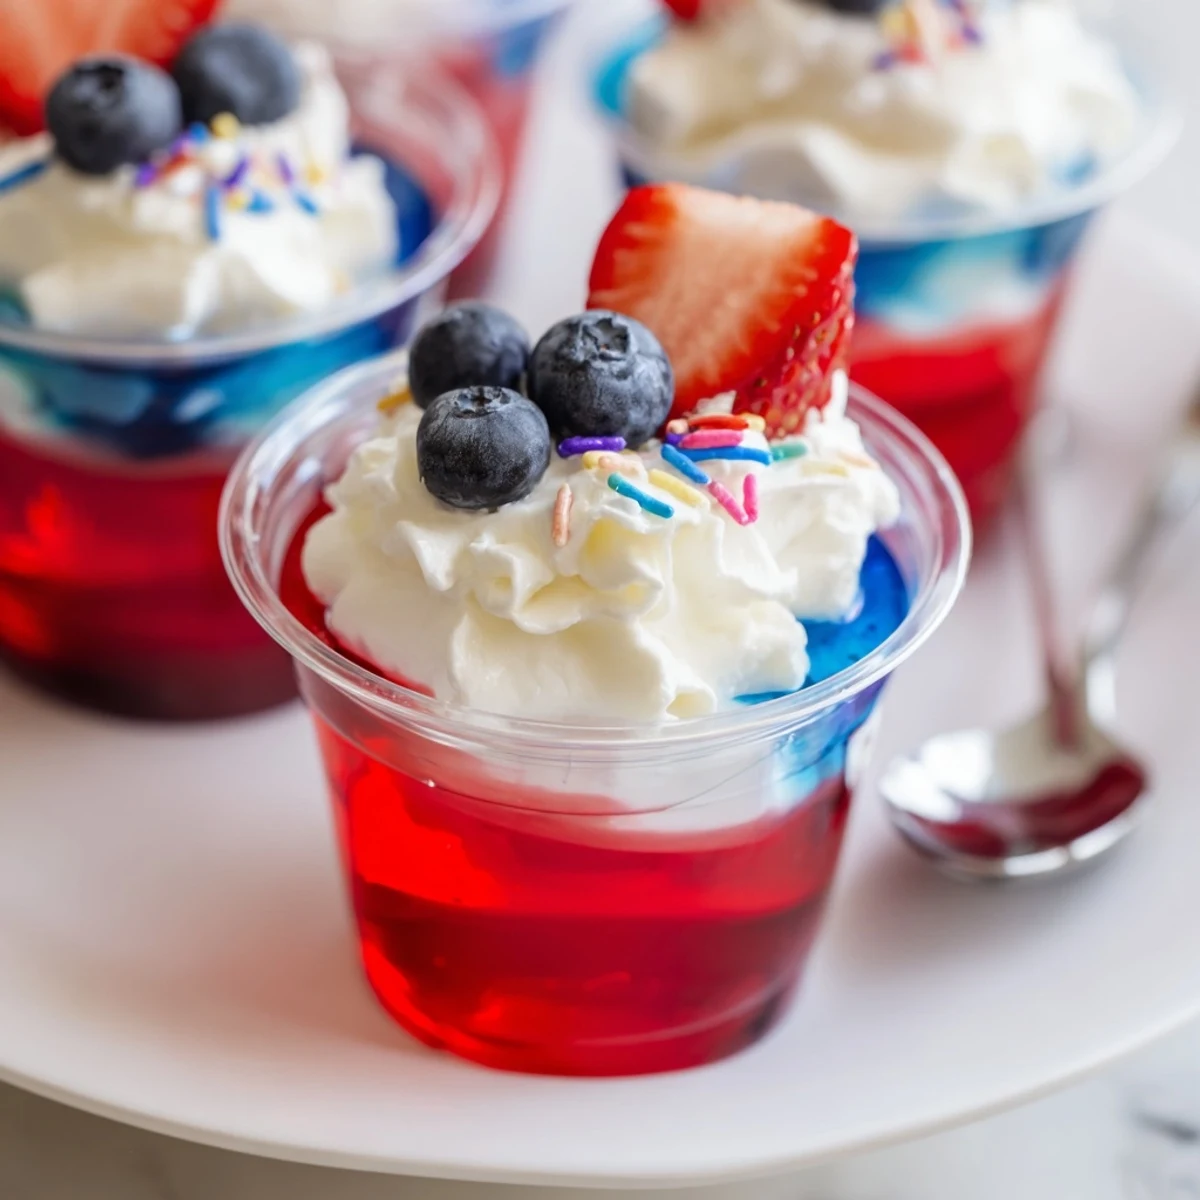
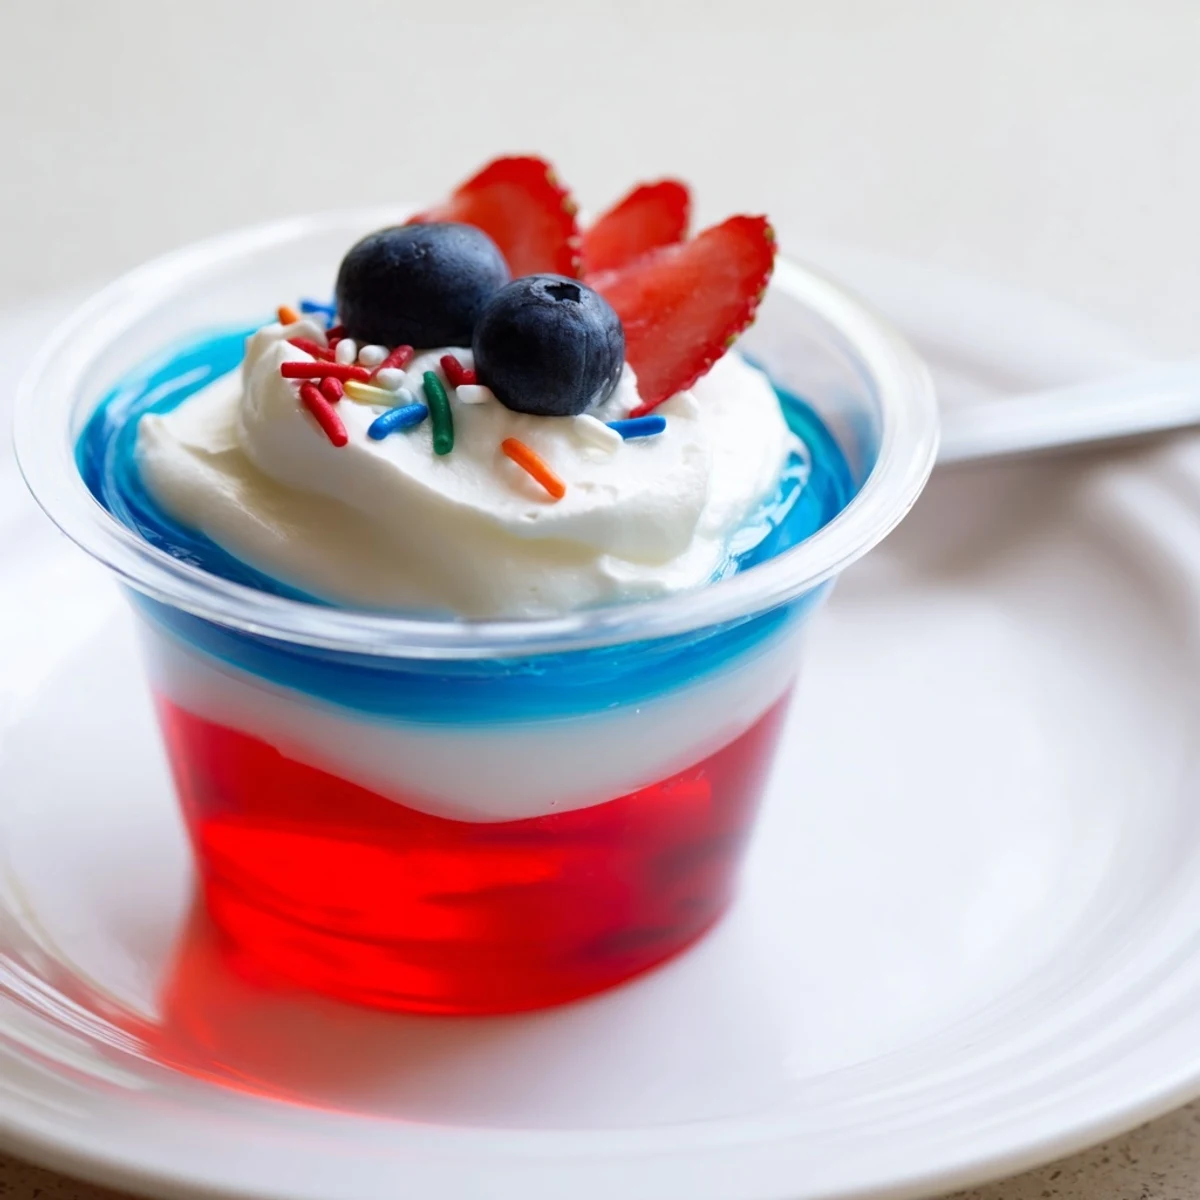
 Layer three chilled gelatin components with a creamy vanilla pudding center for striking red, white and blue cups. Dissolve each gelatin in 1 cup boiling and 1/2 cup cold water; divide the red and blue among eight clear cups and chill until set. Whisk instant vanilla pudding with cold milk, fold in whipped topping for the middle layer, chill between additions, then refrigerate 2–3 hours after assembly. Use clear cups and fresh berries to garnish; swap in plant-based milk and non-dairy whipped topping for a dairy-free version.
Standing in my kitchen just before the neighborhood fireworks show, I remember the blue hue of gelatin glowing through the fridge light as if the cups themselves were part of the celebration. There was a gentle, fizzing chorus from the kettle, hinting at summer evenings ahead and friends soon to be arriving. Sometimes the anticipation of a shared dessert feels as buoyant as the first spoonful. This recipe became my secret handshake for summer gatherings—simple, colorful, and irresistibly cheerful.
The first time I stacked these red, white, and blue layers for the Fourth of July, my cousin accidentally jiggled the table and one cup slid sideways, leaving a big smiley face in the top gelatin. We laughed so hard, and the lopsided one was chosen first—celebrated for its personality. Since then, a few imperfect cups became the norm and even more fun to serve.
Ingredients
- Strawberry or cherry-flavored gelatin: This bright red base sets the celebratory tone—stir until every grain dissolves for a crystal-clear layer.
- Boiling water: Essential for blooming and dissolving each colored gelatin; use freshly boiled for best results.
- Cold water: Helps the gelatin set with a perfect, wobbly texture; patience really pays off here.
- Instant vanilla pudding mix: The creamy white strip in the middle—choose a brand you trust for a smooth finish without clumps.
- Cold milk: Blends perfectly with the pudding for a silky layer; don't rush whisking, it makes all the difference.
- Whipped topping: Adds that necessary fluffy lift between layers and is also perfect for those optional swirls on top.
- Berry blue-flavored gelatin: The blue pop on top—go for a vivid shade to make those layers stand out in clear cups.
- Fresh berries (optional garnish): A juicy finish and a fresh burst against the creamy and jiggly layers.
- Additional whipped topping and sprinkles: Because more is more when it comes to festive desserts.
Instructions
- Start the Red Layer:
- Pour the boiling water over your red gelatin powder and stir until you can't hear that familiar gritty sound scraping on the bowl. Add cold water, then gently pour into your clear cups—watch how quickly each layer begins to look like a jewel.
- Chill and Set:
- Transfer the cups to the fridge; you'll want at least an hour, though I always peek after 45 minutes just in case.
- Mix the White Layer:
- In a clean bowl, whisk pudding mix and cold milk; the sound gets thicker, more musical, as it turns creamy. Fold in whipped topping gently—it should look pillowy but not flat.
- Spoon on the Pudding:
- When the red is firmly set, gently spoon the white mixture on top and smooth it just to the edges—don't rush, or you'll disrupt that perfect line.
- Chill Briefly:
- Pop the cups back in the fridge for half an hour; you'll see the layers holding strong by now.
- Top with Blue Gelatin:
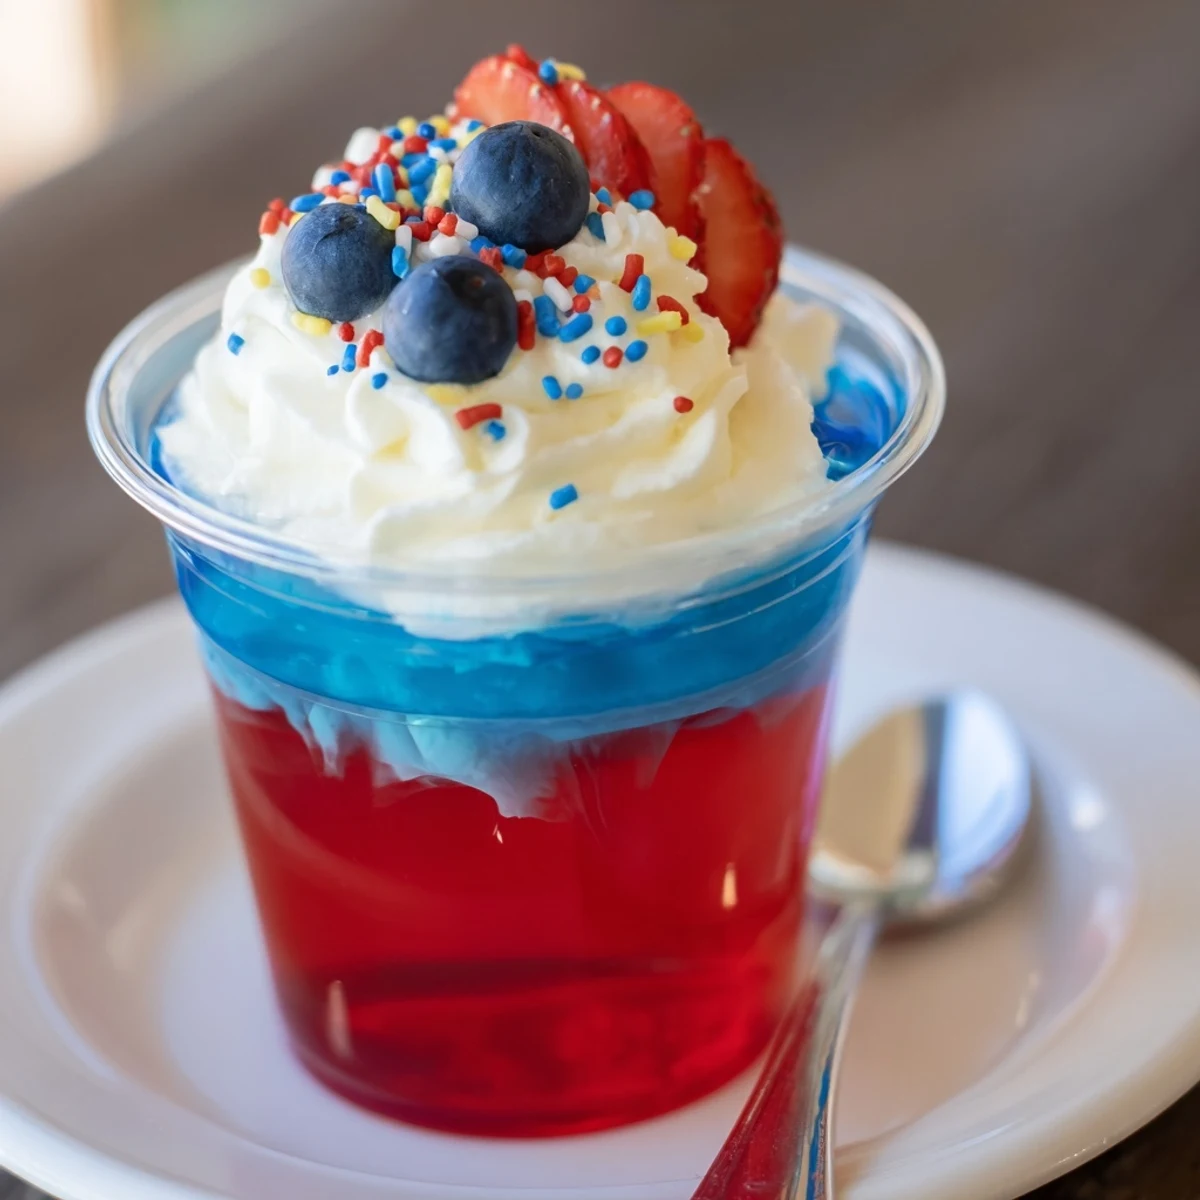
- Dissolve the blue gelatin in boiling water, stir in cold water, then wait a minute so it isn't too hot—pour or spoon gently over the white. The transformation is immediate—red, white, and blue, as if you planned it all along.
- Final Chill:
- Let everything set for 2–3 more hours, reward yourself for not sneaking bites, and anticipate the colorful reveal.
- Garnish and Serve:
- Just before serving, add swirls of whipped topping, dot with fresh berries, and a shower of sprinkles for the full party vibe.
 Save to Pinterest
 Watching kids at the picnic table layer their own toppings, I realized these cups sparked happy competition—whose had the most berries or the tallest swirl. It was no longer just dessert but a playful, edible craft that created more stories than I could imagine.
Getting the Layers Just Right
The real secret is letting each layer set completely before adding the next, even if patience gets thin with good smells wafting from the fridge. Chilling the cups angled in an egg carton or muffin tin can make diagonal stripes—a fun twist that always catches the light.
Choosing Your Cups
I love using clear plastic cups because watching those vivid stripes build up is half the fun, especially through little hands pressed against the sides. Glasses work just as well but take care when unmolding—plastic makes for speedier clean up post-party.
Flavor Twists for Any Occasion
Sometimes I swap in raspberry or grape for the classic berry flavors, or sneak in a lemon white layer for zing. There is no rule against mixing and matching as long as each layer sets solid.
- Add a splash of lemon juice to the white layer for tangy brightness.
- Mini marshmallows between layers can be a sweet surprise for kids.
- Chill a metal spoon before layering—it helps keep lines clean and sharp.
 Save to Pinterest
 Wishing you laughter and color at your next celebration—these jello cups always seem to multiply the smiles around the table.
Recipes Q&A
- → How long should each layer chill before adding the next?
-
Allow the red gel to set at least 1 hour before adding the white layer. After spooning the pudding, chill about 30 minutes to firm it, then add the blue gel and chill 2–3 hours until fully set.
- → Any tips to avoid layers mixing?
-
Pour the next layer slowly over the back of a spoon or use a small ladle to gently disperse liquid. Make sure the layer below is fully set and introduce the next layer at room-temperature to reduce melting.
- → Can I make a dairy-free version?
-
Yes. Use plant-based milk and a dairy-free instant pudding mix, and substitute non-dairy whipped topping. Chill times and textures may vary slightly, so check for firm set before proceeding.
- → What are good serving vessels for the best presentation?
-
Clear small cups or glass ramekins show the layers best. Use uniform-sized cups for even portions and an appealing striped presentation.
- → How far ahead can these be prepared?
-
Assemble up to 24 hours in advance and keep covered in the refrigerator. Garnish with fresh berries and whipped topping just before serving to retain texture.
- → Can I substitute gelatin with a vegetarian setting agent?
-
Agar-agar can be used, but it sets differently and often more firmly; follow agar package instructions and test small batches for texture adjustments to match the layered look.
